Today you build 5 min

Hi! Ribbit, ribbit!
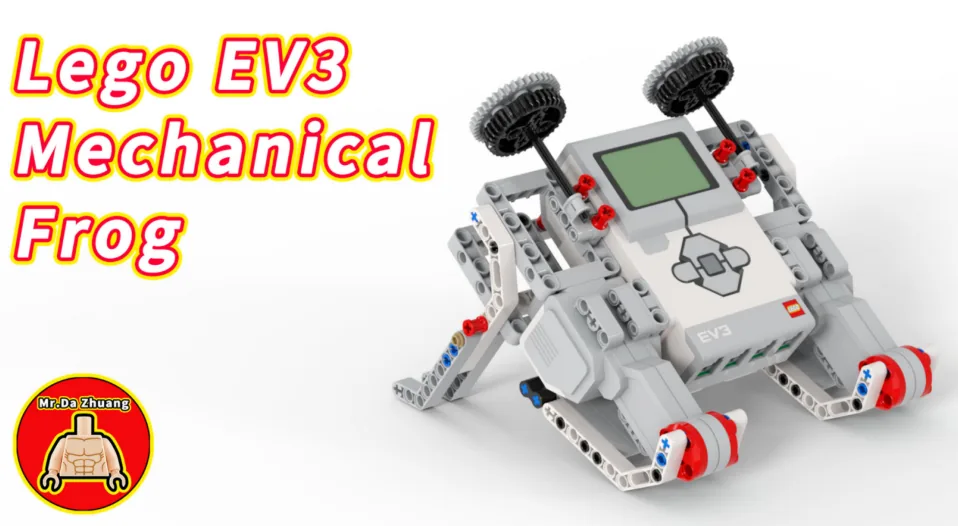
Today we build a frog!
This frog has two motors. One for each back leg.
The legs push back. The frog moves forward.
Like the Gear Bot. Two motors, B and C.
Where do we see it? 5 min

Look at the frog. Look at its back legs.
Both legs push at the same time.
That is how a frog jumps. Boing!
Building tips in the build
- Look at your teacher’s frog. Look closely.
- Build one small part. Check it.
- The two legs must look the same.
- The two motors must look the same.
- Stuck? That is OK. Ask your teacher.
Frog break! 5 min
Stand up. Be a frog!
- Squat down low. Hands on the floor.
- Say “Ribbit!”
- Jump up with both legs. Boing!
- Now try one leg. Is it hard?
- Sit down. Well done, frogs!
Meet the parts 5 min
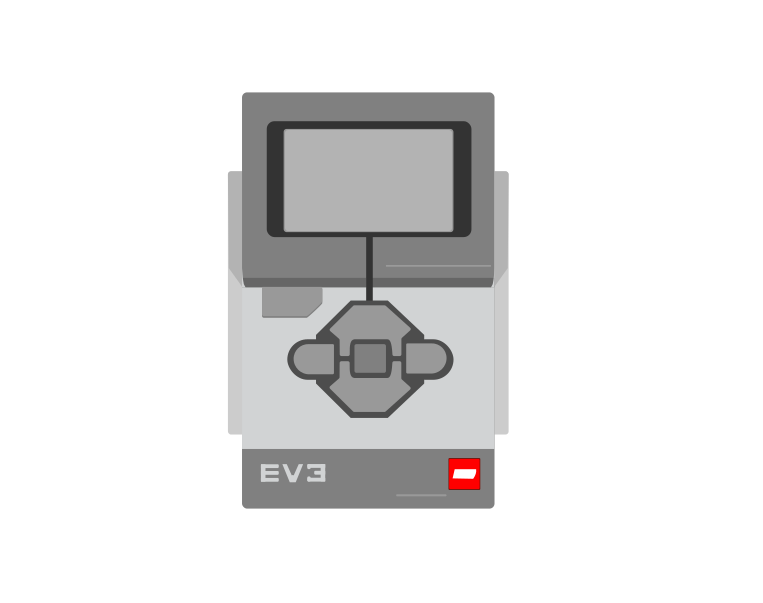
- The BrickIt is the brain. It is the frog's body too.
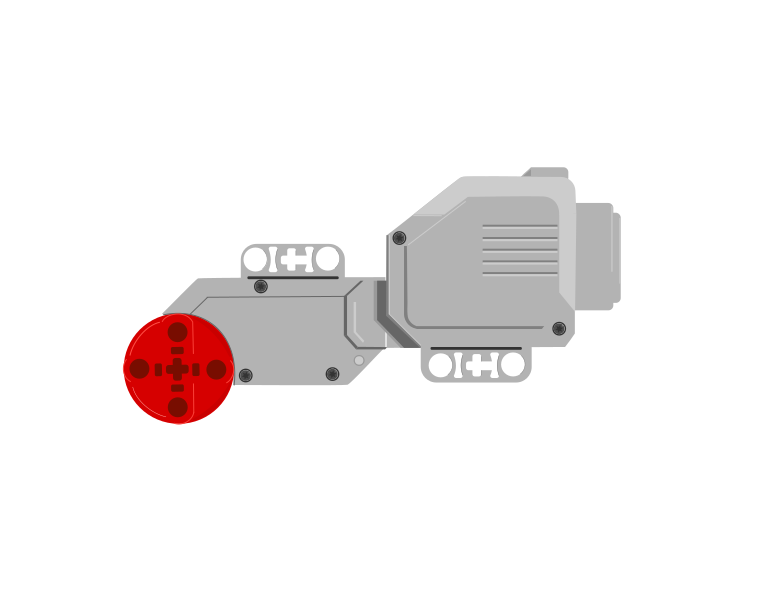
- Two motorsOne motor for each back leg.
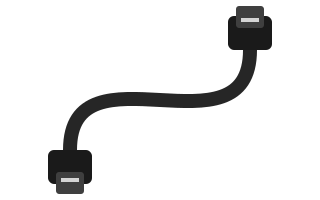
- Two cablesOne cable for each motor.
Plug it in 5 min
Two motors again. Just like the Gear Bot.
They go in B and C.
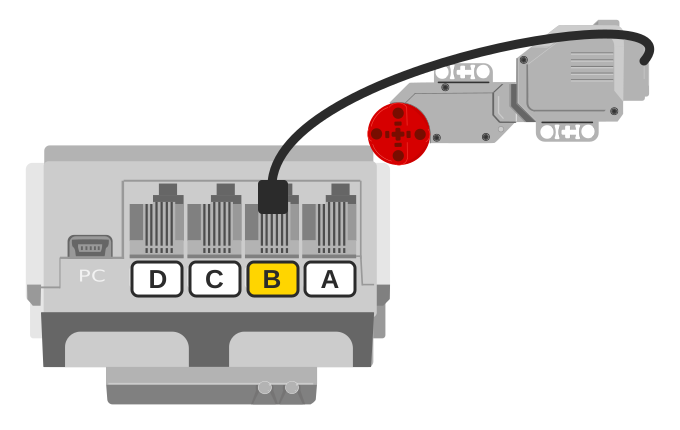
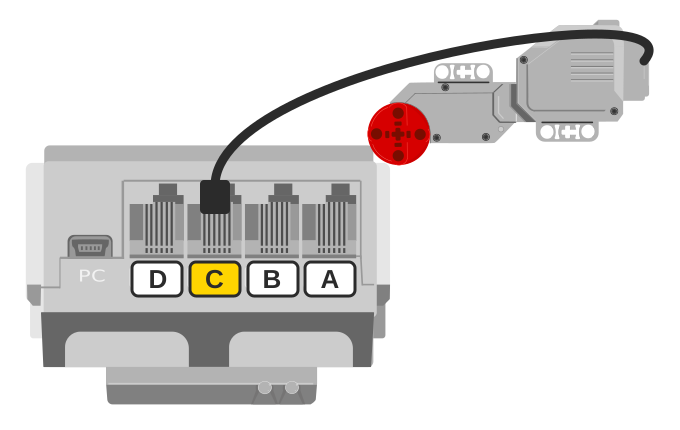
- Sit behind the frog. Look the way it goes.
- The left leg motor goes in B.
- The right leg motor goes in C.
- Pull each cable a tiny bit. Does it stay?
Talk to the Brick 5 min
The computer talks to the Brick. Your teacher will help.
- Press the middle button. The Brick turns on.
- Wait for the screen.
- Your teacher joins the Brick to the computer.
- Look at the computer. Is there a motor on B? On C?
For grown-ups: how to connectUSB or Bluetooth, and what to do when it will not connect.Show meHide
Two routes, and either is fine. USB is the reliable one and the one to fall back on when a room’s Bluetooth is busy; Bluetooth leaves the robot free to move, which some models need.
How to connect the BrickUSB and Bluetooth, step by step, with a photograph of every screen. Open it if you have not done this before — or if pairing is not working.Show meHide
USB — the reliable one
- Switch the Brick on with the dark grey centre button.
- Cable into the Brick’s PC port — the small square socket beside the numbered ports, not one of the numbered ones.
- Other end into the computer.
Bluetooth — name it first
Do these in order. Naming the Brick after you go looking for it in the list is how groups end up driving each other’s robots.
- Name your Brick. On the Brick: Settings (the spanner) → Brick Name. Type something nobody else will pick, then press the tick. Every Brick is called
EV3until somebody changes it. - Turn Bluetooth on. Settings → Bluetooth. Tick Bluetooth and Visibility. Leave iPhone/iPad/iPod unticked.
- Connect from EV3 Classroom. Click the Brick icon at the top of the programming area, find your Brick by name, and click Connect.
- Say yes on the Brick. It asks “Connect?” with the computer’s name — choose the tick, then accept the passkey, which is already 1234.
EV3.The two failures, every class, every time. The Brick has gone to sleep while you were building — press the centre button to wake it. Or you have paired with the group at the next table, which is why the name matters.
The long version, including Port View and how to read the port tiles, is in the Brick & Bluetooth guide.
Make it hop! 15 min
Today you meet a new block. The move block.
One move block moves two motors. Both at once!
No more two start motor blocks. Just one!
when program starts :: events hat
set movement motors to [B v] and [C v] :: movement
move [forward v] for (0.25) [rotations v] :: movement
move [backward v] for (0.25) [rotations v] :: movement
- Find the start block.
- Find the pink set movement motors block. Put it under. Check it says B and C.
- Add a move block. Pick forward.
- Add one more move block. Pick backward.
- Type 0.25 in both. It is a small turn.
- Press play. Watch the legs!
It does not jump very high. That is OK!
It shuffles. A little hop each time.
Your challenges 5 min
⭐ Challenge 1: Two hops
Add two more blocks. Make the frog hop two times.
⭐⭐ Challenge 2: Watch the legs
Press play. Watch only the legs. Do they move together?
⭐⭐⭐ Challenge 3: Frog race
Put two frogs side by side. Press play together. Which hops further?
Tidy up 5 min
- Turn the Brick off.
- Keep your frog in one piece. You need it next time!
- Put spare parts back in the box.

Well done! Your frog has two motors!
Teacher note
Timing (90 min): model and talk 5, real world 5, build 35, break 5, parts 5, ports 5, connect 5, first program 15, challenges 5, tidy 5.
There are no building instructions for this model, only a video of the finished frog (the same resource as Level 1 lesson 26). Build one frog before class and put it where every table can see it. Children copy it a piece at a time; check each group’s legs match before they fit the motors. If the build cannot be copied in time, build the frogs ahead and run this as a program lesson.
The catalogue lists two Large Motors; with no manual this is not verified, so check your own frog and correct the part card’s picture if needed. Both motors must be the same kind, or the frog always curves. Left leg in B, right leg in C, seen from behind. If the motors face opposite ways, “forward” drives one leg back; swap the cables or turn a motor round in the build.
The frog does not really leave the ground: the motors are not fast enough. Say so before the first run so nobody thinks their frog is broken. 0.25 rotations is the Level 1 page’s 90 degrees; reduce it if a leg hits its end.
The big idea: one move block moves both motors at the same moment. Do not teach two separate motor blocks for the legs; they run one after the other, and the frog waddles round.
Words met today: move block, B and C, left and right.