Challenge 1
Make the machine say which mode it is in. The screen must read READY when it is waiting, SINGLE while a single shot is firing, and AUTO while continuous fire is running — changing at the moment the behaviour changes, not before or after.
Quick Learn — the model, the instructions, the program and the challenges. The theory is in Full Lesson.
EV3 Robotics›Level 1 · Beginner›Lesson 38
Level 1 · Lesson 38 · EV3-L01-3860 minutes · Ages 9–16 · Model: EV3 Machine Gun
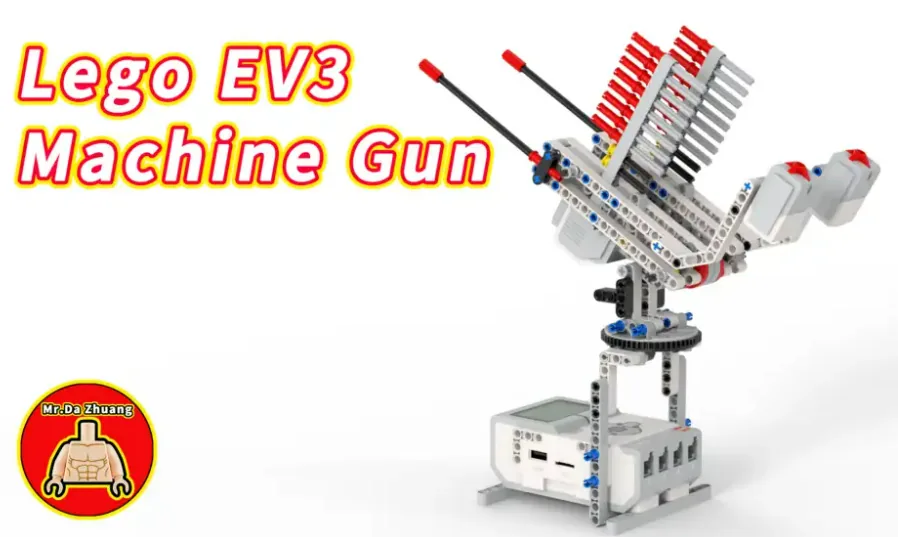
The EV3 Machine Gun: a motor and a rubber band flick LEGO bricks out of a magazine, one after another. Two Touch Sensors control it — one fires a single shot, the other keeps firing while you hold it down.
Every model so far has had at most one sensor. That has made the ports rule easy to obey and impossible to understand: with one Touch Sensor there is only one place it can go.
Today you have two of them. They are the same part, the same shape, the same colour — physically identical. The only thing in the entire system that knows them apart is which socket the cable is in.
The mechanism in your model — store energy, release it to fire one thing, reload, repeat — is not really a weapon mechanism. It is a nail gun, and there is one on every building site in the country.
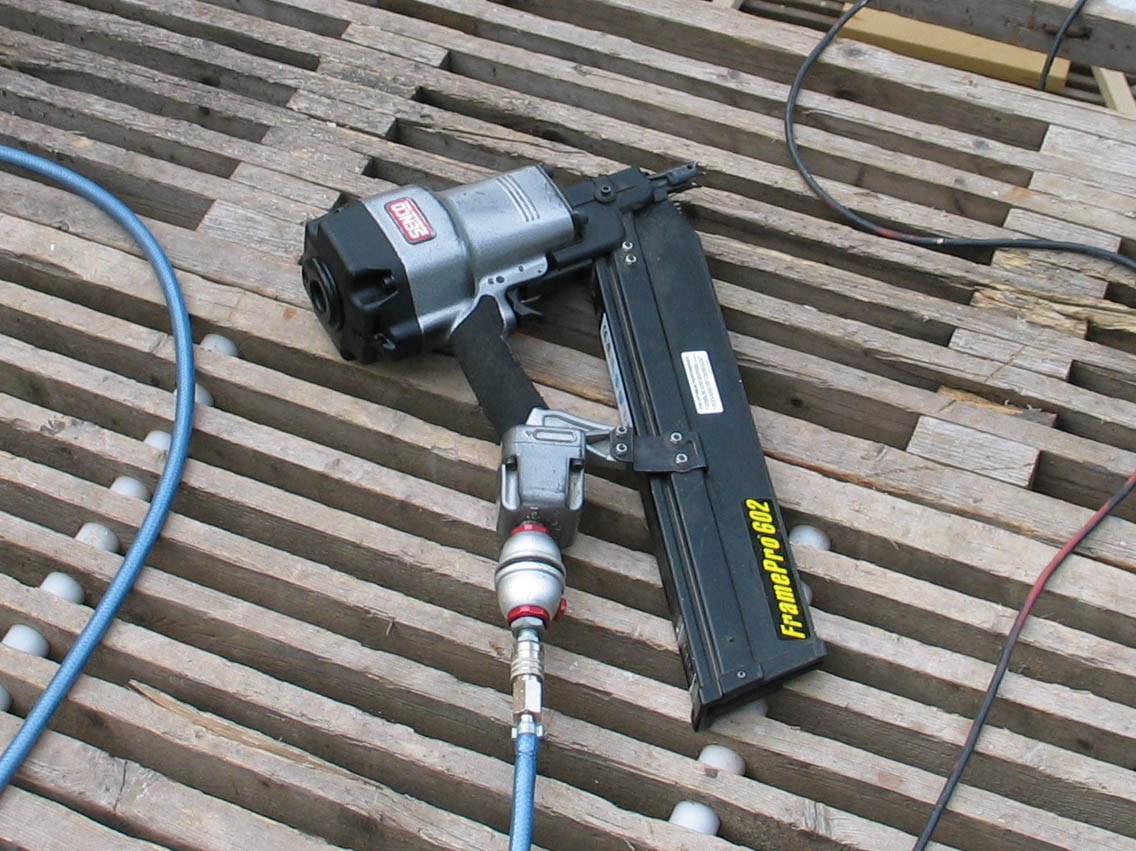
A nail gun has a magazine of nails, a store of energy — compressed air or a spring — and a mechanism that lets exactly one nail’s worth of that energy out at a time. Then a spring pushes the next nail into place and it is ready again.
Here is the part that matters today. A real nail gun has two controls, and they are deliberately different. There is a sequential mode, where you must press and release for each nail, and a bump mode, where holding the trigger fires one every time the nose touches wood. Roofers use the fast one. Anyone doing careful work uses the single-shot one.
Now imagine the two controls wired the wrong way round. You press what you believe is the careful single-shot trigger and the tool empties its magazine.
Nothing about the tool would look wrong. Both triggers are triggers. The mistake would be invisible until the moment it mattered — and that is exactly the mistake you can make today, because your two sensors are identical and the cables are not labelled.
When two parts are identical, the port is the only thing that tells them apart — so the port stops being a rule and becomes information.
This model has no step-by-step manual, and the video below is not one. It is a film of a finished machine working. Watch it for the target — especially for where the two switches sit — then build from the model your teacher has, or from a photograph of a finished one. You are not missing a page; the page does not exist.
Two Touch Sensors. Same part, twice. Nothing on either one says which is which.
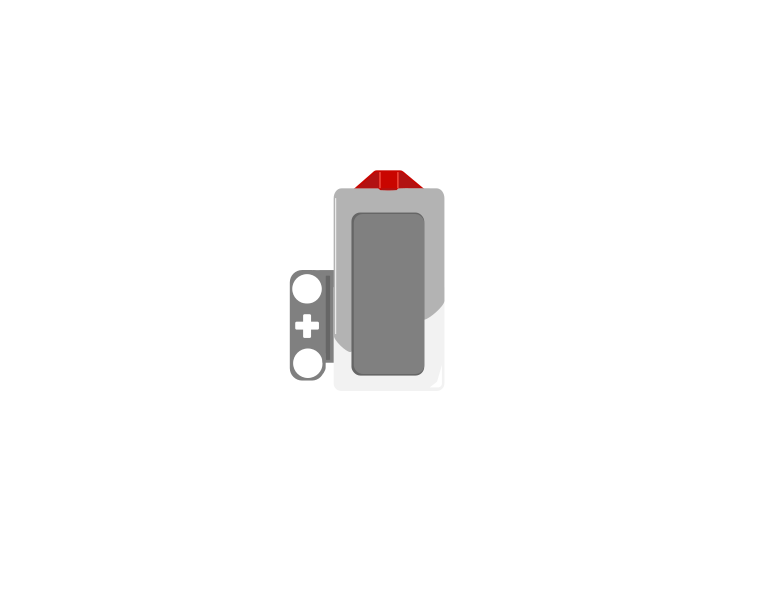 the one in port 1the one in port 2
When your program says [1 v] wait until [bumped v], the Brick does not look for “the single-shot trigger”. It has never heard of such a thing. It looks at socket number 1 and reads whatever is plugged into it.
| What you mean | What the Brick understands |
|---|---|
| “the single-shot trigger” | port 1 |
| “the rapid-fire trigger” | port 2 |
So swapping the two cables does not break the program. It silently swaps the two behaviours — everything still runs, nothing reports an error, and the machine simply does the wrong thing on the wrong button. That is a worse kind of bug than a crash, because a crash tells you where to look.
All course the sensor ports have had fixed jobs: Touch on 1, Gyro on 2, Colour on 3, Ultrasonic on 4. That convention exists so a program written by one group runs on another group’s robot.
This model has two of one kind, so the second sensor has to borrow a port from the table. It goes in 2. That is fine — there is no Gyro here to argue with — but it is a decision, and the rule to keep is the one underneath:
The program and the cables must agree. Which port you choose matters far less than writing it down and wiring it that way.
The Touch Sensor is the simplest input the EV3 has: a button that is either pressed or not. That sounds trivial, but it is how a robot knows it has hit a wall, reached the end of a track, or been told to start by a person.
released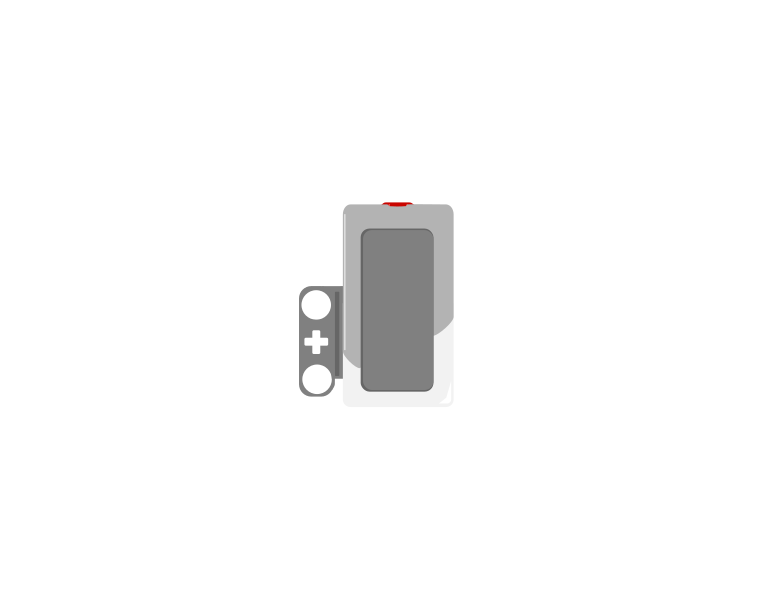 pressed
| Block | What it does |
|---|---|
wait until <[1 v] is pressed? :: sensors> | Holds the program here until somebody presses the sensor. |
<[1 v] is pressed? :: sensors> | Reports true or false. Drop it into a condition to make a decision rather than a wait. |
[1 v] when [bumped v] :: events hat | Starts a whole stack of its own. The dropdown chooses the moment: pressed, released or bumped. |
A button is not only “pressed”. One press is three things: the moment it goes down, the time it stays down, and the moment it comes back up. Watch what a single press does to three programs at once.
versus two hat blocks
The middle counter is the one that surprises people. Nothing is wrong with it — a loop really does check that fast, and every check really is a separate answer.
Nothing there is broken. A loop really does get round hundreds of times a second, and each time it asks is pressed? the honest answer is still yes — so if that loop plays a sound or counts something, it does it hundreds of times from one finger. The two hat blocks each fire once, and they fire at different moments: pressed the instant the button goes down, bumped only when it comes back up.
The three options, and what each is for:
when program starts :: events hat
set movement motors to [B v] and [C v] :: movement
start moving [straight: 0] :: movement
wait until <[1 v] is pressed? :: sensors>
stop moving :: movement
The robot drives until something presses the sensor. Note that the movement is started unmeasured on purpose — the sensor decides when to stop, not a distance.
Touch sensors are everywhere in machines you cannot see into: a lift knows the doors are shut, a printer knows the lid is closed, a washing machine will not spin until it is latched. They are safety devices as much as inputs.
Say this back before moving on: “The Brick does not know which sensor is which. It only knows which port.”
Four parts with cables — the most of any model so far. And once again you have to tell us which motor it is: this model has no manual, and the catalogue’s own notes disagree with themselves about it.
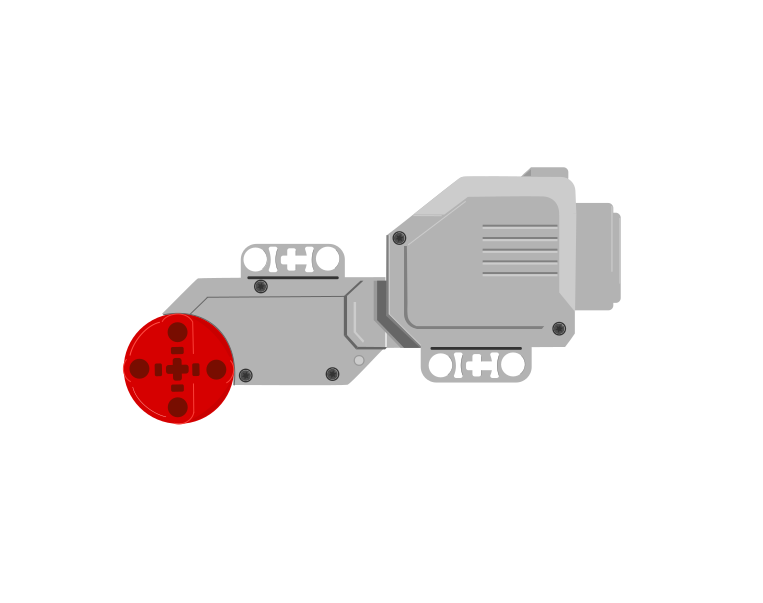 Large Motor
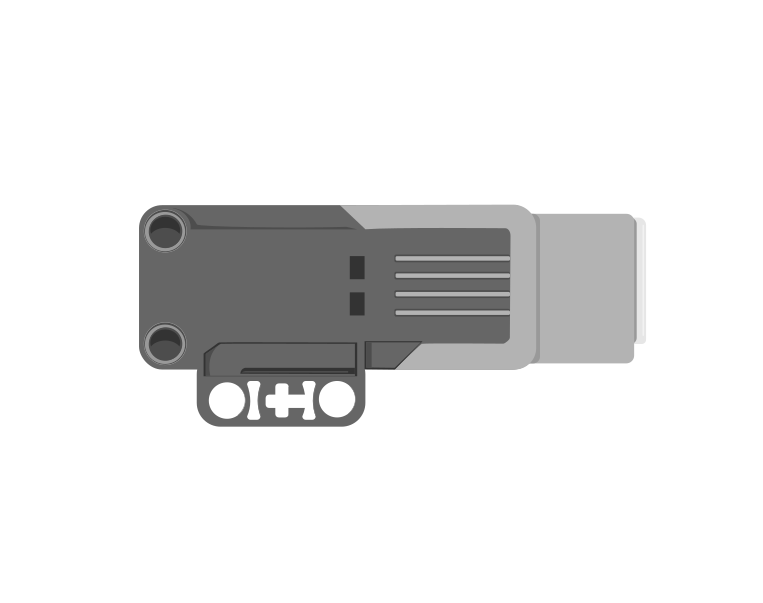 Medium Motor
| Part | What it is doing here |
|---|---|
| EV3 Intelligent Brick | Runs the program and holds the machine steady while it fires. |
| One motor — you decide which | Drives the firing mechanism through the rubber band. Whichever it is, it goes in port A. |
| Touch Sensor ×2 | The two triggers. Identical parts; the ports give them their jobs. |
This takes thirty seconds and it will save you the whole lesson.
This is what real engineers do. Every wiring loom in every machine you have ever used has labels on it, for exactly the reason you just met: identical parts, different jobs, no way to tell by looking.
Sensors go in ports 1, 2, 3, 4. Motors go in ports A, B, C, D. They are not interchangeable, and nothing will tell you politely if you swap them.
| Part | Port | Why this one |
|---|---|---|
| The motor (drives the firing mechanism) | A | A single working motor takes A, as it has all course. |
| Touch Sensor — single shot | 1 | Touch is always port 1 in this course. |
| Touch Sensor — rapid fire | 2 | Borrowed from the Gyro’s usual slot, because this model has no Gyro and needs a second number. |
Check your own build now:
Two routes, and either is fine. USB is the reliable one and the one to fall back on when a room’s Bluetooth is busy; Bluetooth leaves the robot free to move, which some models need.
Do these in order. Naming the Brick after you go looking for it in the list is how groups end up driving each other’s robots.
EV3 until somebody changes it.EV3.The two failures, every class, every time. The Brick has gone to sleep while you were building — press the centre button to wake it. Or you have paired with the group at the next table, which is why the name matters.
The long version, including Port View and how to read the port tiles, is in the Brick & Bluetooth guide.
Four cables on one Brick gets crowded. Route them so none crosses the firing path and none can be tugged out when the machine jumps — because it will jump.
This is the most useful confirm step in the whole course, because it is the one that catches a swap.
You cannot tell a swapped pair apart by looking at the model or by reading the program. This screen is the only place it shows.
One change at a time, and predict before each run. Keep the firing line clear on every single run.
Step 3 is the one to remember. You changed nothing in the program and the machine behaved differently — because half of what a program means lives in the cables, not the blocks.
A program is only half the machine. The wiring is the other half, and it is the half with no error messages.
Build the model before you read any further. Everything after this is about making it do something, and none of it will make much sense with nothing on the table in front of you.
Use the viewer's own controls to zoom and turn pages. Fullscreen makes it big enough to build from.
The same build on Google Drive — sometimes a video, sometimes a scan:
Use the viewer's own controls to zoom and turn pages. Fullscreen makes it big enough to build from.
Check the finished build against the picture before you switch anything on. A motor mounted the wrong way round is far easier to spot now than it is to debug later, when it looks like a program fault.
Eight blocks — the longest program in Level 1, and every one of them earns its place. Trigger 1 fires once. Trigger 2 starts continuous fire, and pressing it again stops.
when program starts :: events hat
[A v] set speed to (100) % :: motors
[1 v] wait until [bumped v] :: sensors
[A v] run [clockwise v] for (1) [rotations v] :: motors
[2 v] wait until [bumped v] :: sensors
[A v] start motor [clockwise v] :: motors
[2 v] wait until [bumped v] :: sensors
[A v] stop motor :: motors
Walk it in the order the Brick runs it:
What success looks like: click trigger 1, exactly one brick flies. Click trigger 2, a stream of them. Click trigger 2 again, it stops. If trigger 1 gives you a stream, your cables are swapped — go back to section 8.
Why bumped and not pressed? Same reason as the Timber Saw. With pressed, one long press on trigger 2 would satisfy both the start and the stop, and the machine would fire for a fraction of a second and stop again.
Work through them in order — each is harder than the last. The extra challenge comes after all three, and it is meant to make you plan before you build.
Make the machine say which mode it is in. The screen must read READY when it is waiting, SINGLE while a single shot is firing, and AUTO while continuous fire is running — changing at the moment the behaviour changes, not before or after.
Cause the swap bug on purpose, then make it impossible. First cross the two sensor cables and record exactly what a user would experience. Then change the model so the mistake cannot be made again — labels, cable routing, physical arrangement, your choice — and explain why your fix would still work for somebody who has never read this lesson.
Give the second trigger a proper hold-to-fire behaviour: it fires only while the button is actually held down and stops the instant it is released, rather than needing a second click. Then say which dropdown options you used on each sensor and why they are different.
Build a machine somebody else can pick up and use correctly first time. Hand your finished machine to a group who have not seen it, with no explanation beyond one sentence, and have them fire a single shot and then a burst without getting it wrong. Your model has to make its own controls obvious — through labelling, placement, what the screen says, or all three. Plan on paper before you build. Work out how a stranger will know which trigger is which before they press anything, and remember that identical parts give them nothing to go on. Two questions when you demonstrate it. What tells the user which trigger is which, and would it still work if the labels fell off? And what does the Brick actually know about your two sensors — in its terms, not yours?