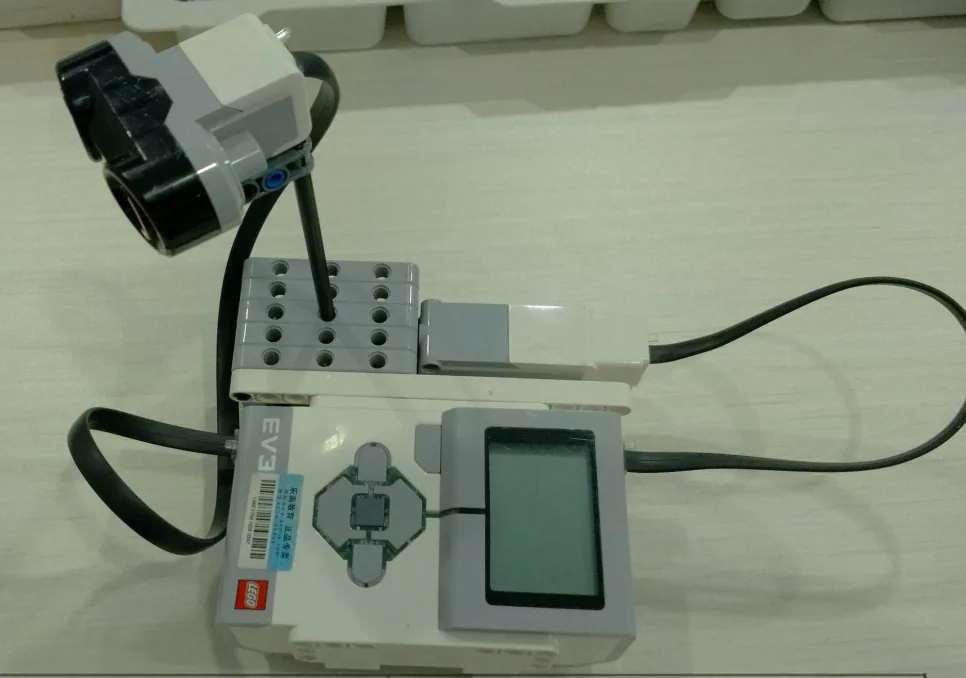
Challenge 1
Find one object and say where it is. Put a book somewhere in the arc, run the sweep, and read off the angle and the distance at which it appeared. Then measure the real thing with a ruler and a protractor and see how close the radar was.
Quick Learn — the model, the instructions, the program and the challenges. The theory is in Full Lesson.
EV3 Robotics›Level 1 · Beginner›Lesson 41
Level 1 · Lesson 41 · EV3-L01-4160 minutes · Ages 9–16 · Model: Pulley Machine
The Pulley Machine: a Medium Motor winding a string through a fixed pulley at the top and a movable pulley that rides on the load. Three buttons control it.
The lift in Lesson 36 had one string going straight to the car. This one threads the string through two wheels — and that small change means the motor can lift roughly twice as much.
Nothing is being created. The motor is not stronger than it was yesterday. Something is being traded, and today you find out what.
Look at the hook of any large crane. It does not hang on one rope — there are several, running up and down between the hook and the jib above it, over a set of wheels at each end.
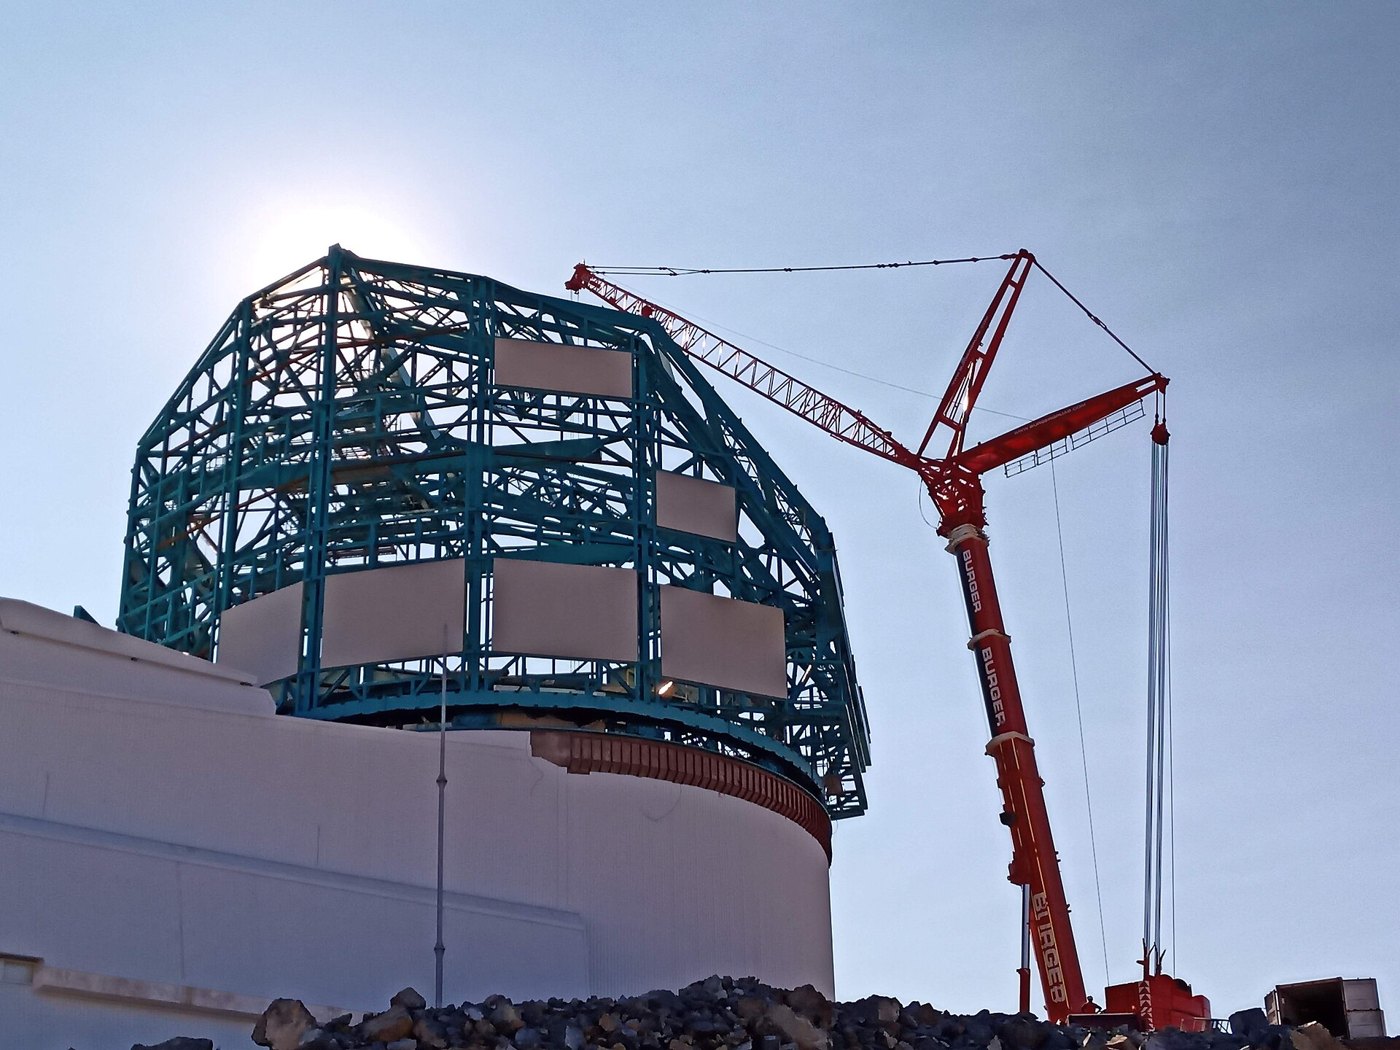
Count the ropes between the hook and the jib. If there are four, then each one carries a quarter of the load — so the winch at the other end only has to pull a quarter as hard.
That is the whole trick, and it is genuinely countable: the number of ropes holding the load is the number of times easier it gets.
There is a price, and it is exact. To lift the hook one metre, every one of those four ropes has to shorten by a metre — so the winch must reel in four metres. Four times easier, four times as much rope, four times as long.
A crane on a single rope would need a winch four times as powerful and an engine to match — heavier, more expensive, and harder to get onto a site.
Adding a couple of wheels and some extra rope is cheaper than making everything stronger. That is why the trick is everywhere: cranes, sailing boats, gym machines, lifts, and the flagpole outside your school.
You never get something for nothing. A pulley buys force with distance, and the exchange rate is exactly the number of ropes.
A fixed pulley changes the direction of a pull. A movable pulley changes how hard you have to pull. The second one is the interesting one.
| Ropes holding the load | Force you need | Rope you must pull |
|---|---|---|
| 1 (fixed pulley only) | All of it | 1 metre to lift 1 metre |
| 2 (one movable pulley) | Half | 2 metres to lift 1 metre |
| 4 | A quarter | 4 metres to lift 1 metre |
This is the same bargain you have made twice already, in different clothes. Gears traded turns for force (Lessons 5, 18, 40). A lever traded distance at one end for force at the other (Lesson 15). A pulley trades rope for force — and unlike the other two, you can count the ropes and know the answer before you test it.
Count the ropes holding the load. That number is how much easier it is, and how much further you have to pull.
A lever is a bar that turns about a point. Three things matter and no others: where the load is, where your effort goes, and where the pivot sits between or beside them.
What a lever actually balances is torque — a force multiplied by how far it is from the pivot. A small force a long way out does the same job as a large force close in, which is why a spanner with a longer handle undoes a tighter bolt.
effort × effort arm = load × load arm
Both distances are measured from the pivot. That is the part people get wrong: the arm is not the length of the bar, it is the distance from the pivot to where the force is applied.
Move the pivot and watch both sides of that equation change.
Drag the triangle, or use the arrow keys. The load never changes — only where you put the pivot.
The pivot is near the middle, so effort and load are close to equal. This is a seesaw: no force gained, no distance gained, and easy to reason about.
The mechanical advantage — how much your force is multiplied — is just the ratio of the two arms. And exactly as with pulleys and gears, whatever you gain in force you pay for in distance: a lever that lets you lift with a third of the effort makes your end travel three times as far.
| Class | Arrangement | Examples |
|---|---|---|
| First | pivot in the middle, effort and load on opposite sides | seesaw, crowbar, scissors, a pair of pliers |
| Second | load in the middle, pivot at one end | wheelbarrow, nutcracker, a bottle opener |
| Third | effort in the middle, pivot at one end | tweezers, a fishing rod, your own forearm |
A third-class lever always needs more effort than the load, which sounds useless until you notice what it buys: speed and reach. Your bicep pulls hard over a couple of centimetres and your hand travels half a metre quickly. A catapult arm and a robot’s throwing arm are the same idea.
Every gripper, every digger arm and every set of scales is a lever. So is a light switch, a car’s brake pedal and the claw on a claw machine. The question to ask of any of them is always the same: where is the pivot, and how far is each force from it?
Some models have no motors and no sensors at all. They are not lesser lessons — they are where the physics lives. A build that stores energy, changes a force, or turns one kind of motion into another explains why the powered models later need the gearing and the speeds they do.
Gears, pulleys and levers look like three different topics and are three shapes of the same deal: whatever you gain in force, you pay for in distance. Halve the effort and you move twice as far; move half as far and you need twice the effort. No arrangement of anything gives you both, and recognising that saves a great deal of time hunting for one.
What a mechanism actually does is let you spend the same effort in a form you can manage — a little at a time instead of all at once, or all at once instead of a little at a time.
| Tutorial | The question it answers |
|---|---|
| Gearing up and gearing down | How do I trade turns for force? |
| Changing the direction of a turn | Why is it going backwards, and how do I drive an axle at 90°? |
| Pulley systems | How does a rope let a small motor lift a big load? |
| Levers — effort, load and pivot | Where should the pivot go? |
| Elastic and stored energy | How much further does pulling back twice as far actually get me? |
| Scissor mechanisms | How do I make something extend a long way — and why won’t it start? |
| Oscillatory motion | How do I turn going round into going back and forth? |
| Centre of gravity | Why does it keep falling over? |
| Biomimetic mechanisms | How does a machine walk without ever being told to? |
Friction is what makes wheels grip and also what wastes effort. Every mesh, pin and rope turn loses a little to it, so a mechanism with more parts delivers less than the arithmetic promises. A build that binds — that is stiff to move by hand — is losing far more than that, and no amount of extra motor power fixes a mechanism that is rubbing.
Before measuring anything, turn the mechanism by hand. It should move smoothly and coast a little. If it does not, fix the build first; numbers taken off a binding mechanism describe the binding, not the idea you were trying to test.
Since there is nothing to program, the work is measuring. Change one thing, keep everything else the same, and record what happened — pull the car back 5 cm, then 10, then 15, and measure how far each one travels. Three readings at each setting, not one, because a single run is not evidence.
That is genuinely how engineers test, and it is the same discipline that makes debugging a program work: change one thing at a time.
Say this back before moving on: “Two ropes, half the force, twice the pulling.”
Four parts with cables — the most of any model in this course.
| Part | What it is doing here |
|---|---|
| EV3 Intelligent Brick | Runs the program and anchors the frame. |
| Medium Motor | Winds the string. Port A. Note it is the weaker motor — and the pulleys are what let it get away with that. |
| Touch Sensor ×3 | Up, down, and home. Three identical parts told apart only by port — the Lesson 22 rule, now with three of them. |
| The pulleys and string (no cable) | One fixed at the top, one riding on the load. Today’s subject. |
About the third button, honestly. The catalogue suggests it should send the load back to its starting position, however far it has travelled. Doing that properly means asking the motor how far it has turned — reading it back as a sensor — and that is a Level 3 skill. Today the third button gets a simpler job, and the real version is waiting for you two levels up.
Sensors go in ports 1, 2, 3, 4. Motors go in ports A, B, C, D. They are not interchangeable, and nothing will tell you politely if you swap them.
Three identical sensors is the most this course has asked you to keep straight. Label all three cables before you plug anything in.
| Part | Port | Why this one |
|---|---|---|
| Medium Motor (winds the string) | A | A single working motor takes A. |
| Touch Sensor — UP | 1 | Touch is always port 1. |
| Touch Sensor — DOWN | 2 | Second sensor, as on lessons 22, 23 and 36. |
| Touch Sensor — HOME | 3 | Third one takes the Colour Sensor’s usual slot. No Colour Sensor here to mind, and it keeps the three in an order anyone can remember. |
Check your own build now:
Two routes, and either is fine. USB is the reliable one and the one to fall back on when a room’s Bluetooth is busy; Bluetooth leaves the robot free to move, which some models need.
Do these in order. Naming the Brick after you go looking for it in the list is how groups end up driving each other’s robots.
EV3 until somebody changes it.EV3.The two failures, every class, every time. The Brick has gone to sleep while you were building — press the centre button to wake it. Or you have paired with the group at the next table, which is why the name matters.
The long version, including Port View and how to read the port tiles, is in the Brick & Bluetooth guide.
Nothing in this machine knows where the top is, just like the lift in Lesson 36. Keep the stop button within reach and keep watching the load.
Measure everything. Two columns: how far the load moved, and whether the motor managed it.
Step 5 is the honest edge of what Level 1 can do. Your HOME button does not really go home; it goes down six rotations, and if the load was already halfway down it will run the string slack. A button that genuinely returns to a position has to know where it is — and that is reading the motor back, in Level 3.
Force and distance are two sides of the same coin. Every machine that makes something easier makes something else longer.
Six blocks: click up, lift a measured amount; click down, lower it back. Measured this time rather than hold-to-run, because you want the same lift every run to compare against.
when program starts :: events hat
[A v] set speed to (30) % :: motors
[1 v] wait until [bumped v] :: sensors
[A v] run [clockwise v] for (3) [rotations v] :: motors
[2 v] wait until [bumped v] :: sensors
[A v] run [counterclockwise v] for (3) [rotations v] :: motors
Walk it in the order the Brick runs it:
What success looks like: the load rises smoothly on the first click and comes back to where it started on the second — and you have a number for how far it moved.
The load will rise less than you expect, and that is correct. Three rotations of string, shared between two ropes, lifts the load half as far as it would on one. You did not lose anything; you spent it on making the lift easy.
Build the model before you read any further. Everything after this is about making it do something, and none of it will make much sense with nothing on the table in front of you.
Use the viewer's own controls to zoom and turn pages. Fullscreen makes it big enough to build from.
Check the finished build against the picture before you switch anything on. A motor mounted the wrong way round is far easier to spot now than it is to debug later, when it looks like a program fault.
Work through them in order — each is harder than the last. The extra challenge comes after all three, and it is meant to make you plan before you build.
Find one object and say where it is. Put a book somewhere in the arc, run the sweep, and read off the angle and the distance at which it appeared. Then measure the real thing with a ruler and a protractor and see how close the radar was.
Sweep out and back and find the same object at the same angle both ways. If the two readings disagree, the dish is not returning to the same places — fix that and say what you changed.
Survey a room corner. Sweep at least twelve steps, write down every angle and distance pair, and plot them as dots on a fan-shaped diagram. The drawing should look recognisably like the corner you pointed it at.
Find the widest gap a robot could drive through. Set up two obstacles somewhere in the radar's arc with a gap between them, and do not tell the radar where they are. Its job is to find the gap and report the bearing of its middle. Plan the sweep first. Decide how fine the steps have to be — a coarse sweep is quicker and can miss a narrow gap entirely, and you should be able to say roughly how narrow a gap your chosen step size would step straight over. Run the sweep, write down every reading, and work out from the table where the gap is and how wide it is. Then measure it with a ruler and compare. Two questions when you present it. How far out was the radar, and was the error in the distance or in the angle? And your radar reports its findings to a person who then does the thinking — describe what the machine itself would have to be able to do for it to drive through the gap on its own.