Challenge 1
Measure your own reaction. Start the watch and stop it as fast as you physically can, ten times. Report all ten readings and your best. Then do it for everyone in your group and put the numbers side by side.
Quick Learn — the model, the instructions, the program and the challenges. The theory is in Full Lesson.
EV3 Robotics›Level 1 · Beginner›Lesson 35
Level 1 · Lesson 35 · EV3-L01-3560 minutes · Ages 9–16 · Model: Stop Watch · No motor
The Stop Watch: a Touch Sensor with a lever over it, so a whole hand can slap it rather than a fingertip. Press once to start the clock, press again to stop it.
No motor. Eighteen pages, one sensor, one cable — the shortest build in the course, and the second model with nothing that moves under power, after the Fencing sword.
You already met the Brick’s clock on the Stone Grinder in Lesson 20, where it measured how long the machine ran. But the machine chose how long to run, so the clock was really just checking the program’s own homework.
Today the clock measures something the program knows nothing about and cannot control: a person.
Round the neck of every PE teacher, and at the end of every swimming lane. A stopwatch does one thing, and it has done it since long before anything was electronic.
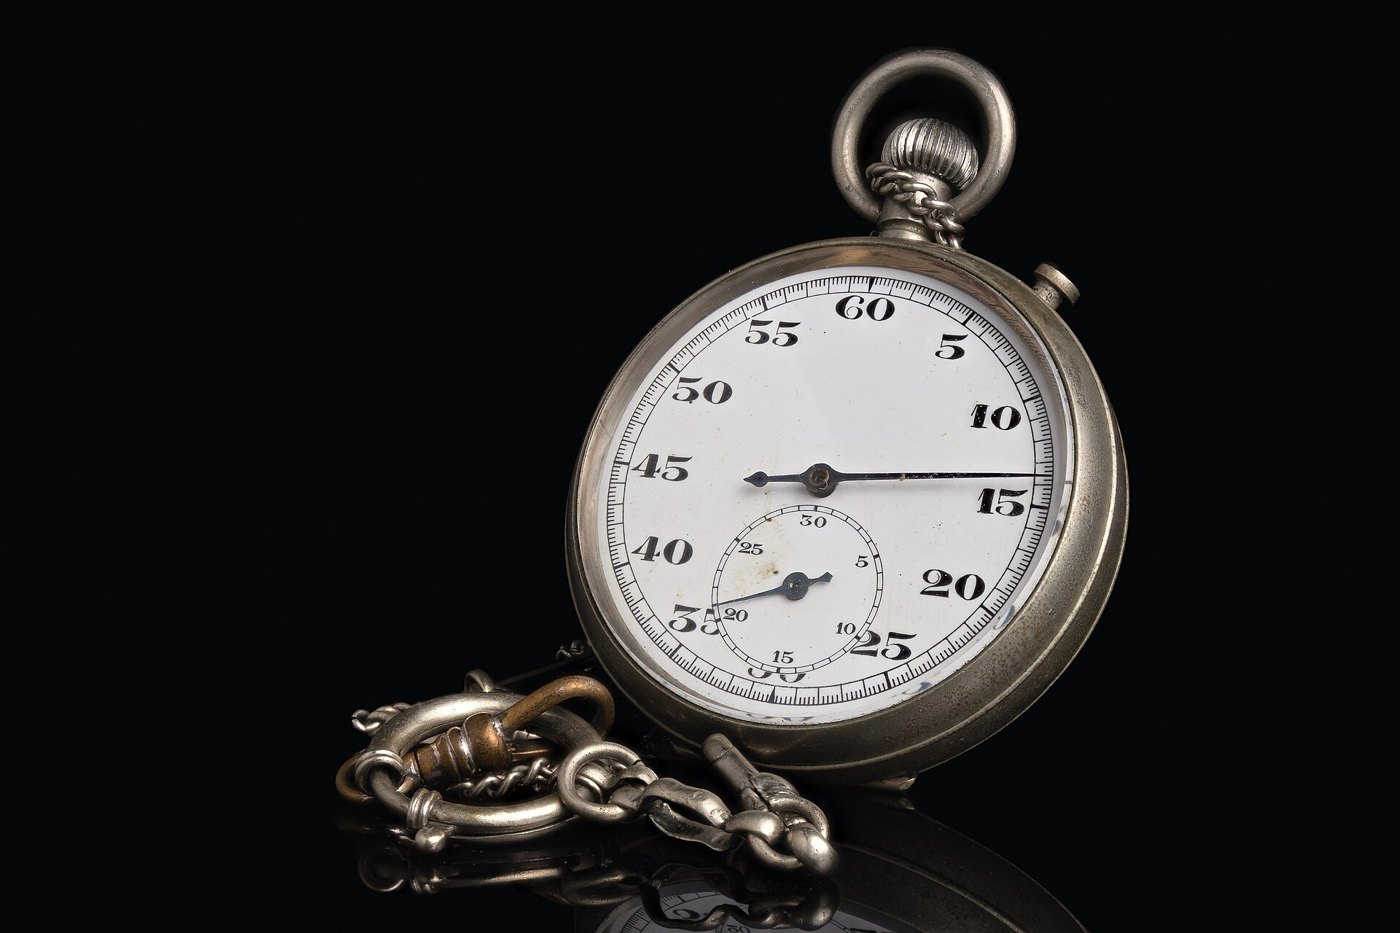
Notice what a stopwatch does not have: a way of knowing when the race started. It has a button, and a human presses it.
That is the whole design. The instrument is very good at the one thing a person is bad at — counting hundredths of a second — and it leaves the one thing a person is good at, deciding when the race began, to the person.
Serious athletics has since taken the human out of the loop: a starting pistol wired to the clock, and pressure pads in the blocks. They did that because of what you are about to measure.
A person cannot react instantly. Between seeing something and your finger moving, roughly two tenths of a second goes by while the signal travels to your brain and back out to your hand.
In a hundred-metre sprint decided by hundredths, a hand-timed result is hopeless — the timekeeper’s reaction is bigger than the gap between first and second. That is not carelessness. It is the speed of a human being.
Every measurement made by a person carries that person inside it. The first job of an instrument is to find out how much.
Same two blocks as Lesson 20. Completely different job.
| Lesson 20 — the Stone Grinder | Lesson 42 — the Stop Watch | |
|---|---|---|
| What ends the timing | A number in the program | A person |
| Could you predict the answer? | Yes — roughly 15 seconds, because you asked for 15 | No. That is the entire point of measuring it. |
| What the reading tells you | That the program did what it said | Something new about the world outside the robot |
The blocks are unchanged: reset timer to start counting, and timer to read the seconds since. What has changed is that the number is now information — nobody in the room knows what it will say until it says it.
And notice the shape of the program. It is: wait for a person → start counting → wait for a person → read it. The two waits are the two ends of the measurement, and the robot does nothing at all in between except count.
Bumped, not pressed. A stopwatch must not start and stop from one slap of the lever. Use bumped — down and up — so each complete click is one event, exactly as on the Timber Saw in Lesson 16.
A clock that measures the program is a check. A clock that measures the world is an instrument.
A wait pauses for a length of time. The timer is different: it runs in the background and can be read at any moment, so the robot can know how long something has taken while it is still happening.
| Block | What it does |
|---|---|
(timer) | Reports the seconds since the timer was last reset. |
reset timer | Sets it back to zero, so the next reading counts from here. |
The most valuable use of a timer is escaping a wait that might never end. A robot told to drive until it sees a wall will drive for ever if the wall is not there. Combined with a timer, it can give up:
Repeat until the wall is close or five seconds have passed. That one change turns a program that can hang into one that always finishes. Both robots below are looking for a wall that is not there.
no way out
with a timeout
The sensor is not faulty and the program is not wrong. There is simply no wall, and only one of these two programs has a way of noticing that.
The left-hand robot is not broken, and neither is its sensor. Its condition is simply one that will never come true, so the program sits on that block for ever — with nothing on the Brick to say so. The right-hand program asks the same question with an escape route bolted on, and finishes every time.
Real systems time themselves out constantly — a lift that cannot close its doors eventually gives up and beeps rather than trying for ever. A robot with no timeout simply stops responding, and there is nothing on screen to say why.
The Touch Sensor is the simplest input the EV3 has: a button that is either pressed or not. That sounds trivial, but it is how a robot knows it has hit a wall, reached the end of a track, or been told to start by a person.
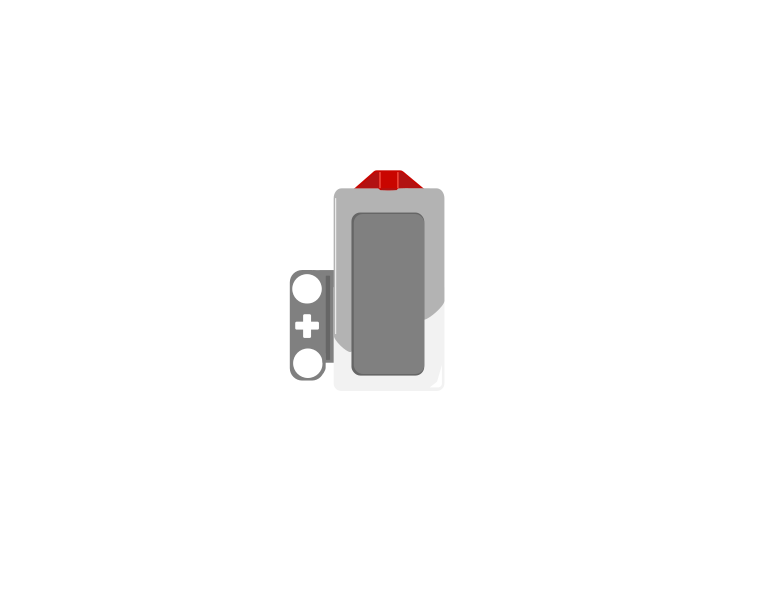 released
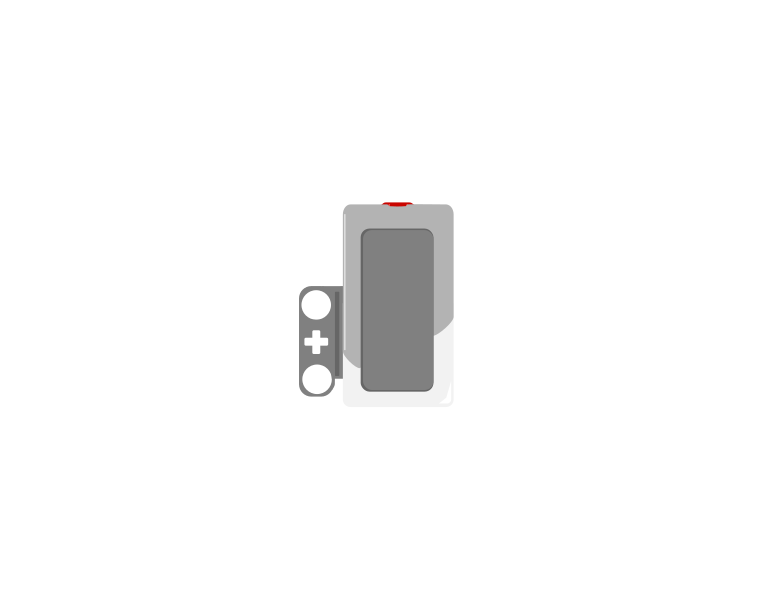 pressed
| Block | What it does |
|---|---|
wait until <[1 v] is pressed? :: sensors> | Holds the program here until somebody presses the sensor. |
<[1 v] is pressed? :: sensors> | Reports true or false. Drop it into a condition to make a decision rather than a wait. |
[1 v] when [bumped v] :: events hat | Starts a whole stack of its own. The dropdown chooses the moment: pressed, released or bumped. |
A button is not only “pressed”. One press is three things: the moment it goes down, the time it stays down, and the moment it comes back up. Watch what a single press does to three programs at once.
versus two hat blocks
The middle counter is the one that surprises people. Nothing is wrong with it — a loop really does check that fast, and every check really is a separate answer.
Nothing there is broken. A loop really does get round hundreds of times a second, and each time it asks is pressed? the honest answer is still yes — so if that loop plays a sound or counts something, it does it hundreds of times from one finger. The two hat blocks each fire once, and they fire at different moments: pressed the instant the button goes down, bumped only when it comes back up.
The three options, and what each is for:
when program starts :: events hat
set movement motors to [B v] and [C v] :: movement
start moving [straight: 0] :: movement
wait until <[1 v] is pressed? :: sensors>
stop moving :: movement
The robot drives until something presses the sensor. Note that the movement is started unmeasured on purpose — the sensor decides when to stop, not a distance.
Touch sensors are everywhere in machines you cannot see into: a lift knows the doors are shut, a printer knows the lid is closed, a washing machine will not spin until it is latched. They are safety devices as much as inputs.
Say this back before moving on: “Reset the timer when it starts, read the timer when it stops.”
One part with a cable, and that is the whole electronic parts list.
| Part | What it is doing here |
|---|---|
| EV3 Intelligent Brick | The clock, the screen and the speaker. All three are the instrument, and none of them needs a port. |
| Touch Sensor | The button. Port 1, as always. |
| The lever (no cable) | A beam over the sensor so a whole hand can hit it. It exists to make the press quicker and more reliable — which matters when you are measuring tenths of a second. |
| No motor | Nothing on this model moves under power. |
Sensors go in ports 1, 2, 3, 4. Motors go in ports A, B, C, D. They are not interchangeable, and nothing will tell you politely if you swap them.
The simplest port table in the whole course, and worth a look for that reason alone.
| Part | Port | Why this one |
|---|---|---|
| Touch Sensor (the button) | 1 | Touch is always port 1 in this course. |
| Everything else | none | No motors at all, and the clock, screen and speaker are inside the Brick. |
Check your own build now:
Two routes, and either is fine. USB is the reliable one and the one to fall back on when a room’s Bluetooth is busy; Bluetooth leaves the robot free to move, which some models need.
Do these in order. Naming the Brick after you go looking for it in the list is how groups end up driving each other’s robots.
EV3 until somebody changes it.EV3.The two failures, every class, every time. The Brick has gone to sleep while you were building — press the centre button to wake it. Or you have paired with the group at the next table, which is why the name matters.
The long version, including Port View and how to read the port tiles, is in the Brick & Bluetooth guide.
Either is fine — the model does not go anywhere. Just make sure the cable does not stop the whole thing sliding about when somebody hits the lever hard.
Now use the instrument on yourselves. Write every reading down — you need several to say anything useful.
Step 2 is the number to keep. Everything a person times by hand carries that couple of tenths at each end — and now you have measured your own rather than being told it.
The clock is not the slow part. You are, and knowing by how much is what makes you able to trust a measurement.
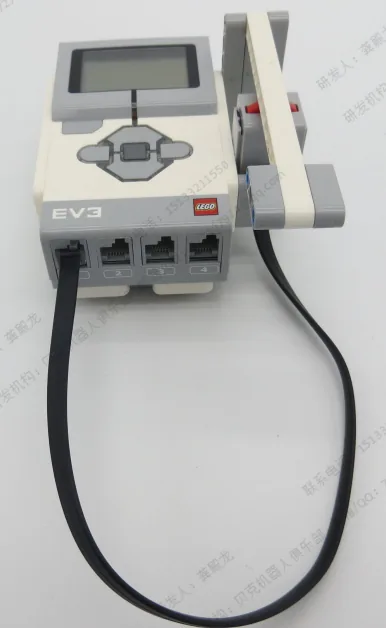
Seven blocks, and nothing moves — as with the Fencing sword, this is “make it work”. Click to start, click to stop, and the elapsed time appears.
when program starts :: events hat
clear display :: display
write [PRESS TO START] at line (1) :: display
[1 v] wait until [bumped v] :: sensors
reset timer
[1 v] wait until [bumped v] :: sensors
write (timer) at line (3) :: display
Walk it in the order the Brick runs it:
What success looks like: click, wait a few seconds, click again, and a believable number appears. Test it against something you can check: count “one elephant, two elephant” up to ten and see whether the Brick agrees with you.
If it stops the instant you start it, you have used pressed instead of bumped somewhere. Your hand is still on the lever when the program reaches the second wait, so it is satisfied immediately — the Timber Saw problem, in a new place.
Build the model before you read any further. Everything after this is about making it do something, and none of it will make much sense with nothing on the table in front of you.
Use the viewer's own controls to zoom and turn pages. Fullscreen makes it big enough to build from.
Check the finished build against the picture before you switch anything on. A motor mounted the wrong way round is far easier to spot now than it is to debug later, when it looks like a program fault.
Work through them in order — each is harder than the last. The extra challenge comes after all three, and it is meant to make you plan before you build.
Measure your own reaction. Start the watch and stop it as fast as you physically can, ten times. Report all ten readings and your best. Then do it for everyone in your group and put the numbers side by side.
Make it a usable instrument. The screen must say what to do before each press, show the result clearly at the end, and be ready to time again without restarting the program. Somebody who has not seen it should manage a timing first go.
Compare a person against a machine. Time something twice — once with your stopwatch pressed by hand, once by having the robot itself both start and stop the timing. Report both and explain where the difference came from.
Build a reaction tester and use it on your class. Your machine must test somebody's reaction time honestly: they must not be able to guess when the signal is coming, and the reading must be their reaction rather than their guessing. You will need a second person to spring the signal, since your robot cannot yet be unpredictable on its own. Plan on paper before you build. Work out exactly which moment starts the clock and which stops it, and be careful — if the clock starts before the signal, you are measuring the wrong thing. Two questions when you demonstrate it. What exactly is your machine measuring, second by second? And could somebody cheat your tester, and what would you change to stop them?