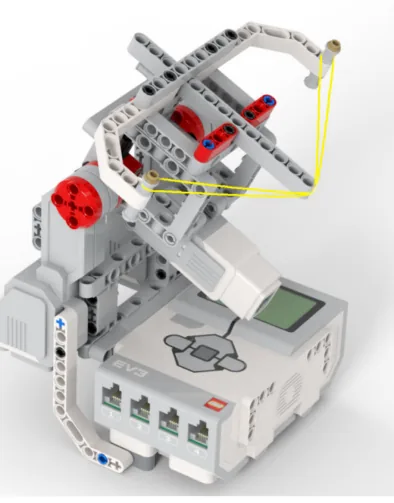
The Mechanical Crossbow: a motor winds the string back, the string stays back, and a second motor lets it go. Two Brick buttons — one to draw, one to fire.
The interesting part is the middle bit. The string stays back. The winch motor has finished its job and stopped, and an elastic band is pulling on it hard, trying to spin it backwards — and it does not move.
Whether it holds or gives way is not decided by the motor, the band or the build. It is decided by one dropdown in one block, and that dropdown is today’s lesson.
In the real world 5 min
Where you have seen it
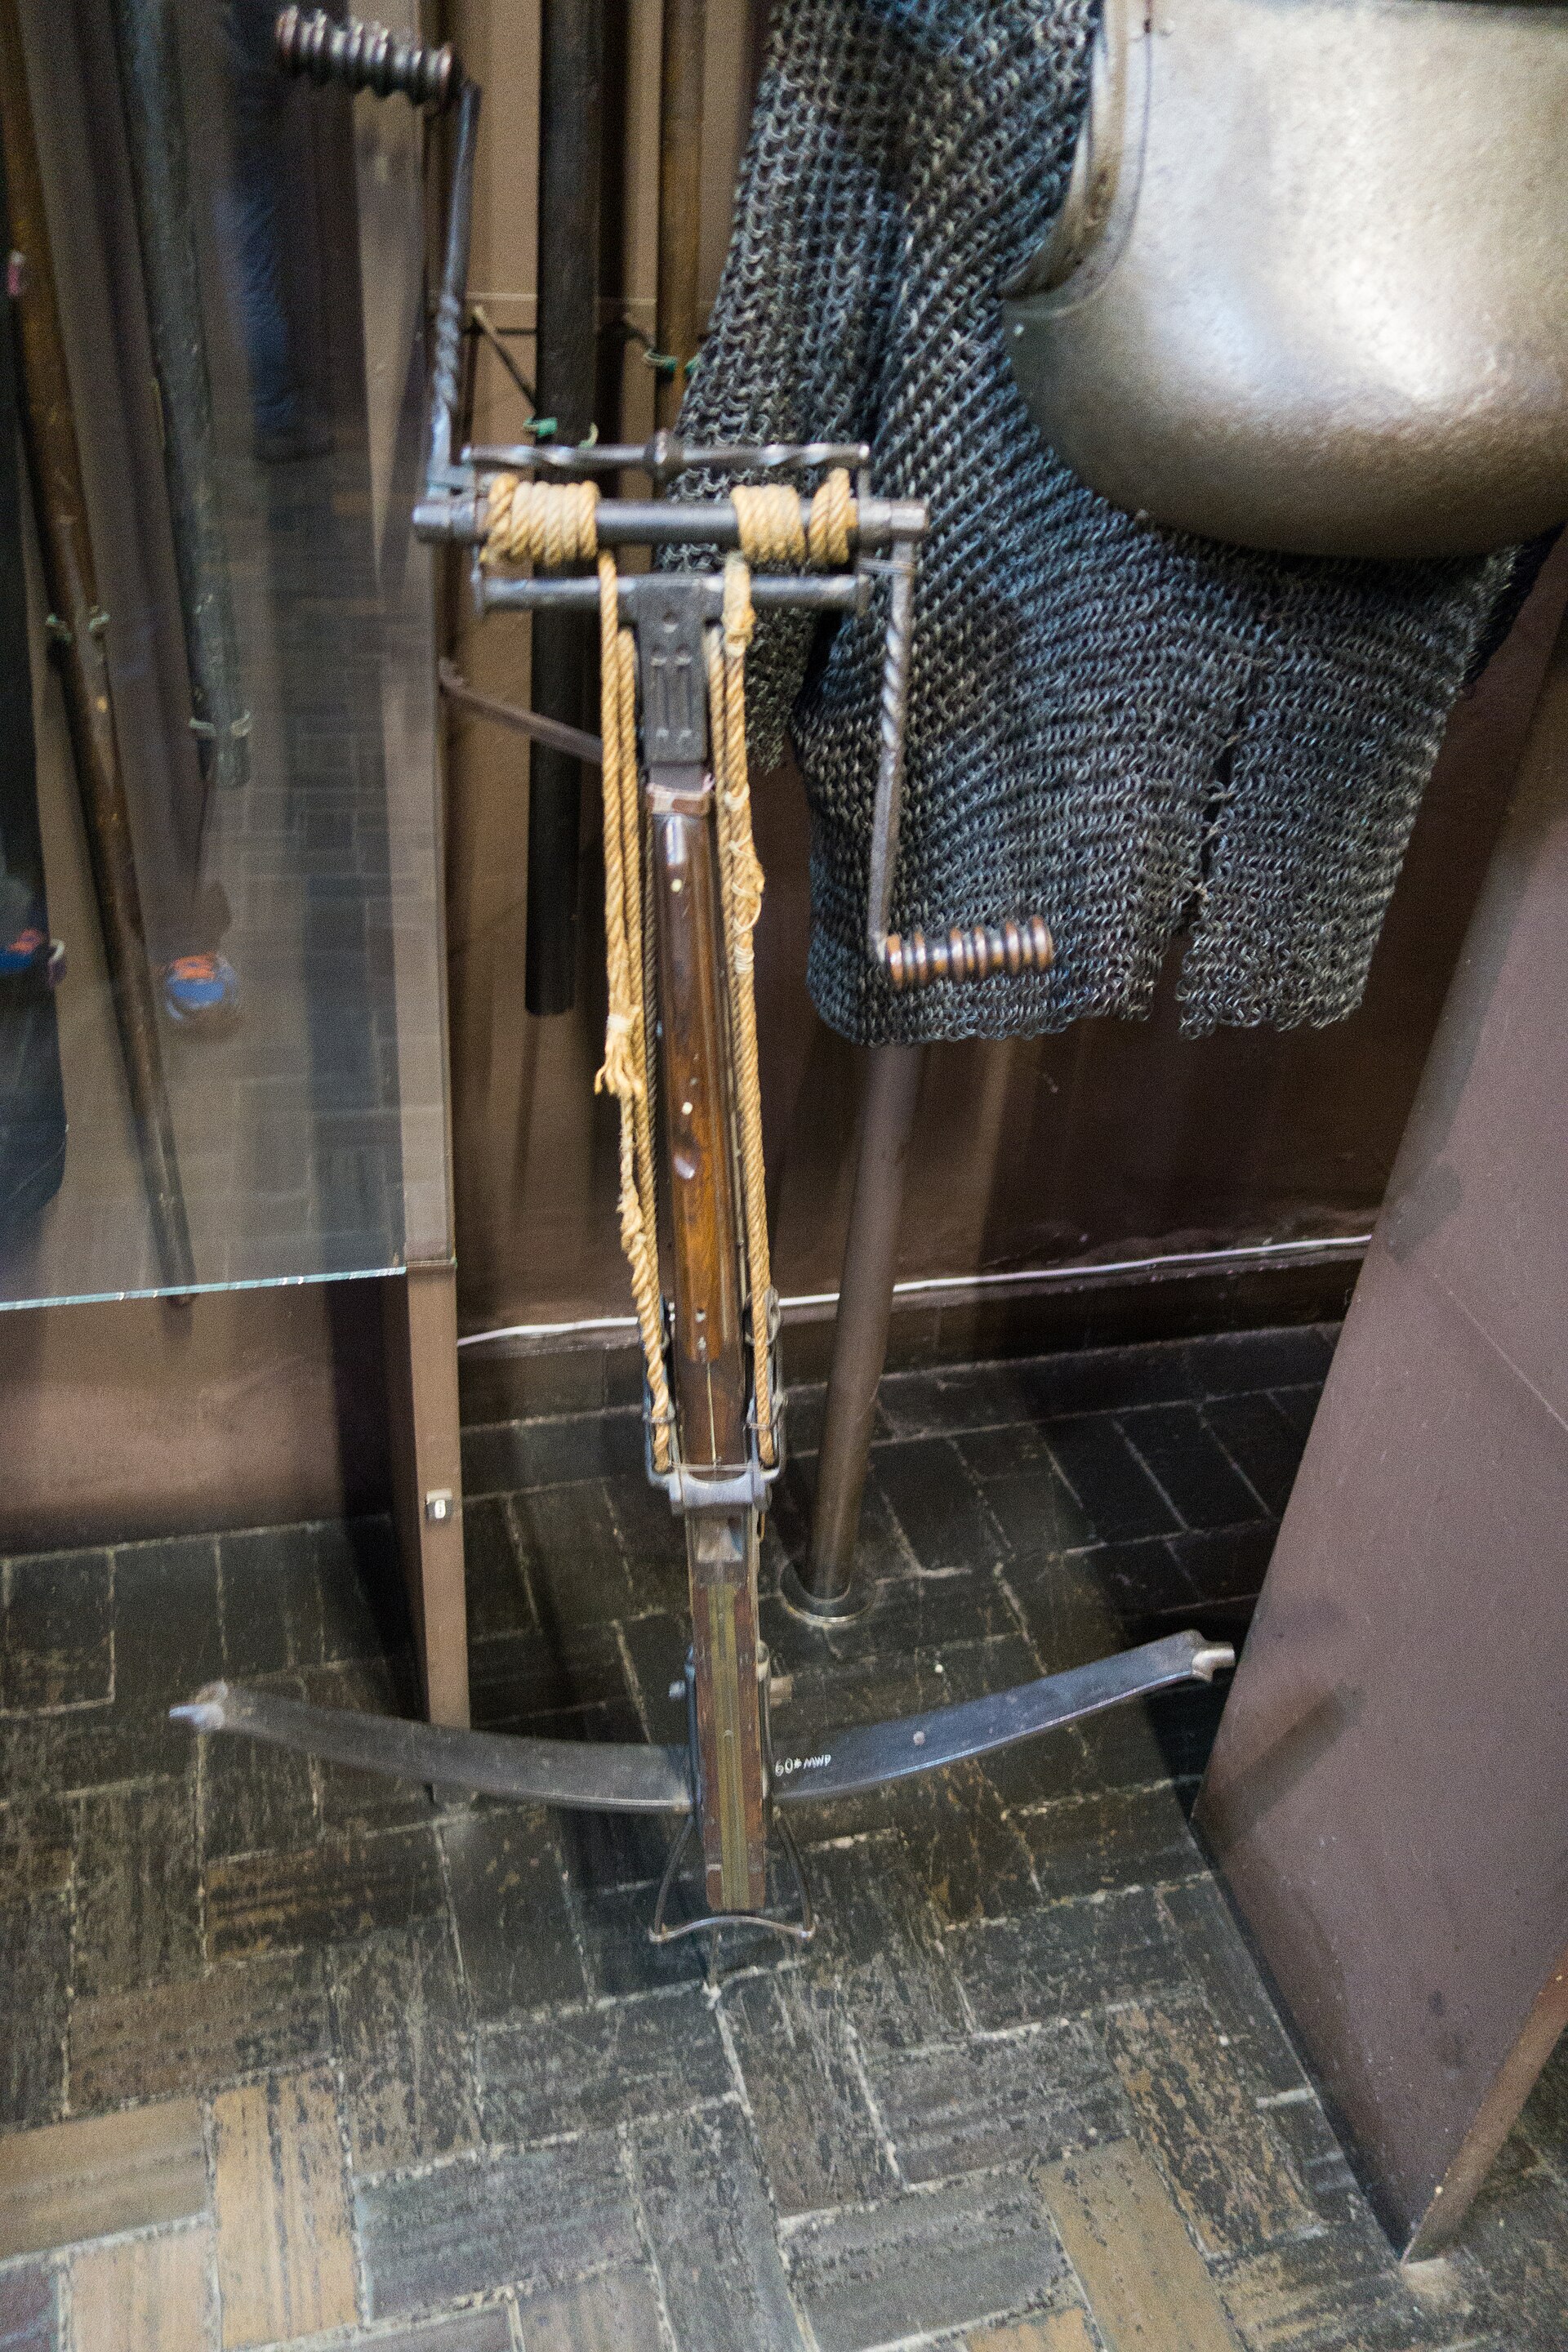
A crossbow’s string is far too stiff to pull by hand, so the heavy ones were drawn with a windlass — a crank and a rope. Wind the handle, the string comes back, and then you let go of the handle and walk away with the bow still loaded.
A wind-up crossbow. The crank at the back does the pulling — and something has to stop it unwinding. Photo: Thomas Quine / Wikimedia Commons (CC BY 2.0).
Why it is built that way
Let go of that crank without a ratchet and the whole thing runs backwards. The string has hundreds of newtons of pull in it, and the crank is the easiest way for that energy to escape — it would spin the handle out of your hand and dump the load.
So every windlass has a pawl: a little catch that drops into the teeth of a wheel and lets it turn one way only. The ratchet is not part of the pulling. It is entirely there for the moment after the pulling stops.
What would go wrong without it
No ratchet, no loaded crossbow. You could draw the string perfectly and it would unwind the instant you stopped winding, every time, however good the rest of the machine was.
Half of engineering is making a thing move. The other half is making it stay where you put it.
The main concept — stopping has a setting 6 min
When a motor finishes, it does one of two things: it holds on, or it lets go. Your EV3 motor has a built-in ratchet, and this block is how you switch it on.
[A v] set motor to [hold position v] at stop :: motors
A setting, not an action. It changes what every later stop on motor A does.
Setting
What the motor does when it stops
Use it when…
coast
Lets go completely. The shaft spins freely and you can turn it with a finger.
Nothing is pulling on it, or you want to reset it by hand.
brake
Resists turning, and stops quickly — but can still be forced round by a strong pull.
You want a crisp halt without spending power holding it.
hold position
Actively fights back. If something moves the shaft, the motor drives it straight back to where it was.
Something is pulling — a load, a spring, gravity. This is the crossbow.
ComponentMotion4 min
Brake or coast
Telling a motor to stop does not say how it should stop. There are two very different behaviours, and which one you want depends entirely on what the mechanism is holding up.
Brake — the motor actively holds its position. A lifted arm stays lifted; a robot stops dead where it is.
Coast — the motor lets go. A lifted arm sags under its own weight; a moving robot rolls on a little before stopping.
When this motor is told to stop, it either holds its shaft still or lets it spin freely. Which one it does is the whole of this module.
Watch what happens after the stop
Both arms below are lifted by the same program and stopped at the top. The only difference is one word in the stop block. Everything worth seeing here happens after the movement has finished.
when program starts
A run clockwise for 1rotations
A stop motor brake
the only change on the other arm
A stop motor coast
0%braked, held0%coasting
Brake: still where it was putCoast: back on the floor
Two identical arms, each with a weight on the end.Both motors lift their arm to the top. So far the two are the same.Both are now told to stop — one set to brake, the other set to coast.The braked arm holds. The coasting arm lets go and falls under the weight.Same lift, same stop block, opposite results.Finished — it will run again in a moment.
stopped
If a mechanism you just lifted sags the moment it stops, the stop action is the first thing to check — not the lifting movement.
The coasting arm does not slide down steadily — it starts slowly and picks up speed, because it is gravity pulling it and not a motor lowering it. That is also why a coasting robot rolls a little past where its measured movement ended.
Which to choose
If gravity is pulling on the mechanism, you almost always want brake — otherwise the thing you just lifted comes back down on its own. If you want a smooth, natural halt, or you want to be able to push the robot by hand afterwards, coast is friendlier.
Coasting also makes a robot travel slightly further than its measured movement, because it keeps rolling after the motor has finished. On a precise task that error matters.
Why it matters
A crane must brake — a coasting crane drops its load. A train coasts into a station rather than stopping dead, because passengers would be thrown forward. The same choice, made differently, for good reasons.
The demo above lifts two arms with the same program and stops them the same way. Everything worth watching happens after the movement ends — which is exactly the part of a program students never think about.
If something is pulling on your mechanism, the stop setting is not a detail. It is the mechanism.
Holding costs power. A motor on hold position is working the whole time it is holding, and it warms up and drains the battery. That is fine for the minute your crossbow is loaded. It would not be fine for an hour.
▶Brick buttons as inputsThe five buttons on the Brick, and how a program listens for one. Open it if the button hats are new.Show meHide
ComponentSensing4 min
The Brick buttons
The Brick has five buttons of its own — up, down, left, right and centre. They need no sensor, no cable and no port, which makes them the easiest way to let a person tell the robot to do something.
Five buttons — up, down, left, right and centre — built into the Brick. No cable, no port, no sensor to plug in.
Blocks reference
Block
What it does
when [center v] button [pressed v] :: events hat
Starts a whole stack when that button is pressed.
wait until <is [center v] button pressed? :: sensors>
Holds an existing program until the button is pressed.
Press to begin
A program sitting on a wait block looks exactly like a program that has crashed. Watch one wait — including through two presses of the wrong button.
when program starts
wait until is center button pressed?
A run clockwise for 1rotations
the other way to do it
when center button pressed
A run clockwise for 1rotations
The program has reached the wait block. It is not stuck — it is waiting, and nothing below it will run until the centre button goes down.Up is pressed. The button reporter changes to 4, but this wait is watching the centre button, so the program stays where it is.Right: 3. Still not the one.Centre: 2. The condition is true and the wait lets go.The motor runs. One press, at the moment a person chose.Finished. The robot did nothing at all until a person said so.
waiting for centre
A program parked on a wait block looks identical to a crashed one. This is why the status light or a line on the screen is worth setting before you wait.
The wait is watching one button. Up and right change the (button) reading, and the program does not care. That reading is a number rather than a name: 0 for nothing, then 1 left, 2 centre, 3 right, 4 up, 5 down.
A hat, or a wait?
A hat gives the button its own separate stack, which can run at any time. Good for a control the user may press whenever they like.
A wait puts the button in the middle of a sequence. Good for “press to begin”, where nothing should happen before it.
Why it matters
Nearly every machine has a start button that is deliberately separate from switching the power on. A robot that begins moving the instant it is powered up is hard to set down and hard to test — one that waits for a press can be positioned first.
Say this back before moving on: “Coast lets go, hold fights back.”
What’s in this build 4 min
Part
What it is doing here
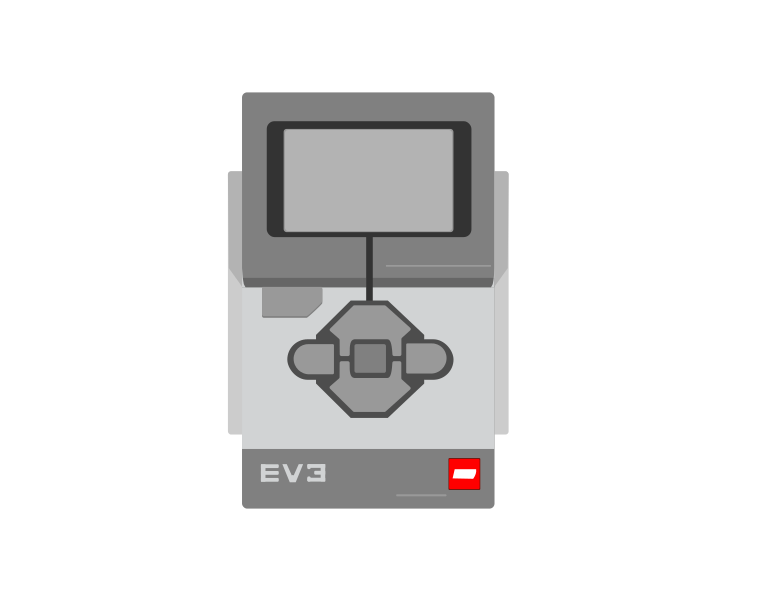
EV3 Intelligent Brick
Runs the program, and its five buttons are the controls — no separate sensor needed to fire this one.
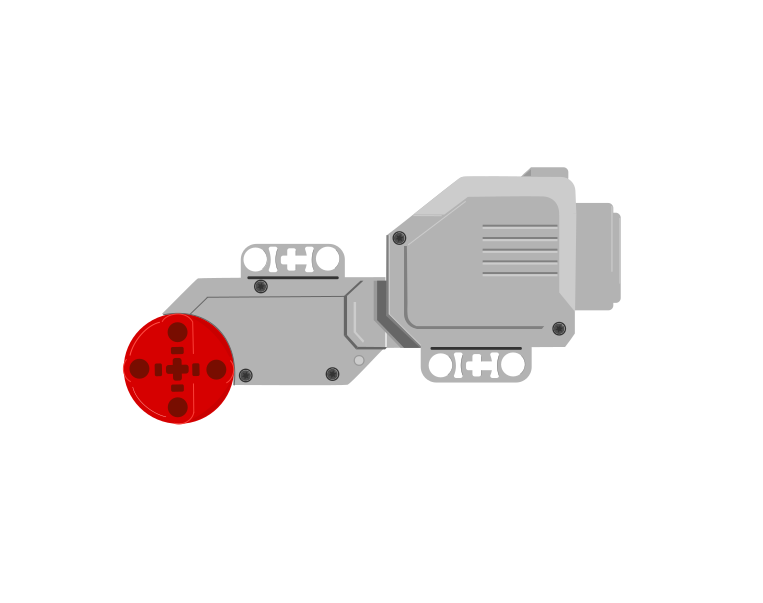
Large Motor — the winch
Drags the string back against the elastic. This is the job that needs strength, which is why it gets the Large Motor, and it is the motor whose stop setting matters.
Medium Motor — the trigger
Flicks the catch out of the way. It needs to be fast rather than strong — a slow release lets the string escape unevenly.
The elastic band (not electronic)
Stores the energy. It is also the thing trying to undo your winch all lesson.
Safety, and it is not optional
Ports — and the rule 4 min
Sensors go in ports 1, 2, 3, 4. Motors go in ports A, B, C, D. They are not interchangeable, and nothing will tell you politely if you swap them.
Part
Port
Why this one
Winch (Large Motor)
A
A job motor, not a driving wheel. It is also the one you will be changing the stop setting on, so keep it somewhere you remember.
Trigger (Medium Motor)
D
The far end of the Brick, so the trigger cable is nowhere near the string.
Sensors
none
The Brick’s own buttons are the input today. There is nothing to plug into ports 1–4.
Check your own build now:
Find the motor connected to the winch — follow the string, not the cable. Put it in A.
The trigger motor goes in D.
Route both cables behind the string. A cable in front of a loaded crossbow is a cable that gets hit.
Wind the winch by hand, a little, and let go. It should unwind — that is what coast feels like, and it is what you are about to change.
Connect the Brick 4 min
Two routes, and either is fine. USB is the reliable one and the one to fall back on when a room’s Bluetooth is busy; Bluetooth leaves the robot free to move, which some models need.
▶How to connect the BrickUSB and Bluetooth, step by step, with a photograph of every screen. Open it if you have not done this before — or if pairing is not working.Show meHide
USB — the reliable one
Switch the Brick on with the dark grey centre button.
Cable into the Brick’s PC port — the small square socket beside the numbered ports, not one of the numbered ones.
Other end into the computer.
Bluetooth — name it first
Do these in order. Naming the Brick after you go looking for it in the list is how groups end up driving each other’s robots.
Name your Brick. On the Brick: Settings (the spanner) → Brick Name. Type something nobody else will pick, then press the tick. Every Brick is called EV3 until somebody changes it.
Turn Bluetooth on. Settings → Bluetooth. Tick Bluetooth and Visibility. Leave iPhone/iPad/iPod unticked.
Connect from EV3 Classroom. Click the Brick icon at the top of the programming area, find your Brick by name, and click Connect.
Say yes on the Brick. It asks “Connect?” with the computer’s name — choose the tick, then accept the passkey, which is already 1234.
Where to read it. The name sits in the bar across the very top of the screen, on every screen — so you can check which Brick you are holding at any moment without going into a menu. This one is EV3VE. A Brick nobody has renamed says EV3.Step 3, and the reason step 1 exists. Three Bricks in range — read the name before you click Connect. Pairing with the wrong one is not an error: it works perfectly, on somebody else’s robot.
Step 2.Bluetooth switches the radio on; Visibility is what lets the computer find you. With Visibility off your Brick works perfectly and simply never appears in the list.Step 4. Look at the Brick. It asks whether to accept and names the computer. Choose the tick.Then the passkey, already 1234. Press the tick again and you are connected.
The two failures, every class, every time. The Brick has gone to sleep while you were building — press the centre button to wake it. Or you have paired with the group at the next table, which is why the name matters.
The long version, including Port View and how to read the port tiles, is in the Brick & Bluetooth guide.
Bluetooth suits this one. You are going to be pressing the Brick’s own buttons, so the Brick needs to be in your hand or in front of you — not tethered to wherever the laptop happens to be sitting.
Confirm the connection 2 min
Check the Brick icon: connected, or not.
You should see a Large Motor on A and a Medium Motor on D. Two different pictures — if both tiles look the same, one motor is the wrong type for the job.
Turn the winch by hand and watch tile A count. That is your proof the winch is where you think it is.
You do not need to test the buttons in the app — they are on the Brick, and you will hear them work in a moment.
Change it and test 8 min
One change at a time, and after each one draw the string and wait ten seconds before firing. Most of what you are testing today happens during that wait.
Change motor A to coast at stop. Draw the string and let go. Watch it unwind itself — this is the crossbow without a ratchet, and it is worth seeing once.
Change motor A to brake. Draw it and wait. Does it hold, or creep? Try again with the band stretched further.
Put A back on hold position. Now try to turn the winch with your fingers while it is loaded. Feel it push back.
Change the draw to 3 rotations. More stretch, more range — and a harder job for the hold. Does it still hold?
Change the trigger speed from 100% to 20%. Fire it. A slow trigger is a bad trigger, and this is why the release motor is the one that gets to run flat out.
Step 5 is the one that surprises people. Everywhere else in this course, slower has meant more controlled and more accurate. A trigger is the exception: the release has to be quicker than the string, or the catch drags on the way out.
Choose the stop, not just the start. “Where does it end up?” is a different question from “how does it move?”
Make it move 10 min
Three stacks. One sets the machine up when the program starts, and one for each button — exactly the trick from Lesson 1, used for real.
when program starts :: events hat
[A v] set motor to [hold position v] at stop :: motors
[D v] set motor to [coast v] at stop :: motors

when [up v] button [pressed v] :: events hat
[A v] run for (2) [rotations v] at (30) % speed :: motors

when [down v] button [pressed v] :: events hat
[D v] run for (1) [rotations v] at (100) % speed :: motors
Up draws the string. Down fires it. The setup stack is what makes the string stay back in between.
Walk it through:
Press Play. The setup stack runs once and finishes. Nothing moves — settings are not actions.
Press UP. The winch draws the string back over 2 rotations, slowly, at 30%. Slow matters here: winding fast against an elastic band is how a model tears itself apart.
The winch stops — and holds. The band is pulling. The motor is pulling back just as hard. Nothing happens, which is the whole point.
Press DOWN. The trigger motor snaps round at 100% and the string goes. Then it coasts, so you can flick the catch back with a finger and load again.
What success looks like: you can press UP, take your hands off, count to ten out loud, and the crossbow is still loaded.
If the string creeps back while it is loaded, the winch is on brake rather than hold position. Brake resists but does not fight; a strong band beats it slowly. Change that one dropdown.
Build it 15 min
Build the model before you read any further. Everything after this is about making it do something, and none of it will make much sense with nothing on the table in front of you.
Use the viewer's own controls to zoom and turn pages. Fullscreen makes it big enough to build from.
Check the finished build against the picture before you switch anything on. A motor mounted the wrong way round is far easier to spot now than it is to debug later, when it looks like a program fault.
Challenges 27 min
Work through them in order — each is harder than the last. The extra challenge comes after all three, and it is meant to make you plan before you build.
Challenge 1
Load the crossbow and walk away. Draw the string, take your hands off, and leave it for a full minute without touching the model. It must be exactly as taut at the end of the minute as it was at the start. If it creeps, say which stop setting you were using and what you changed it to.
Challenge 2
Make it say whether it is loaded. Somebody walking up to your crossbow should be able to tell from the Brick alone whether the string is drawn — screen, status light or sound, your choice. Then test it: load it, hand it to someone who has not watched, and see whether they know.
Challenge 3
Find where brake stops being enough. Set the winch to brake rather than hold position, and draw the string a little further each run until it starts to creep back. Record the point at which it fails. Then explain in one sentence what hold position is doing at that point that brake is not.
Extra challenge
Build a loading routine that cannot go wrong in somebody else's hands.
A loaded crossbow is a stored-energy machine, and the person using it next may not be the person who programmed it. Your job is to make the whole cycle — load, wait, fire, reset — safe for a stranger.
Plan on paper before you touch the program. Decide what the machine does the instant it is switched on so its state is never a surprise, what stops a second press of the draw button over-winding a string that is already back, and how a user knows it is safe to approach.
Then test it properly. Hand it to somebody from another group with no explanation, stand back, and watch. Do not help them. Write down every moment they hesitate or do something you did not expect.
Two questions when you demonstrate it. What did your tester do that you had not planned for? And your crossbow still cannot tell whether the string is actually drawn — it only knows what it was last told to do. Describe exactly what you would add to the model, and where, so that it could know for certain.
This is what you are building: the EV3 Mechanical Crossbow.