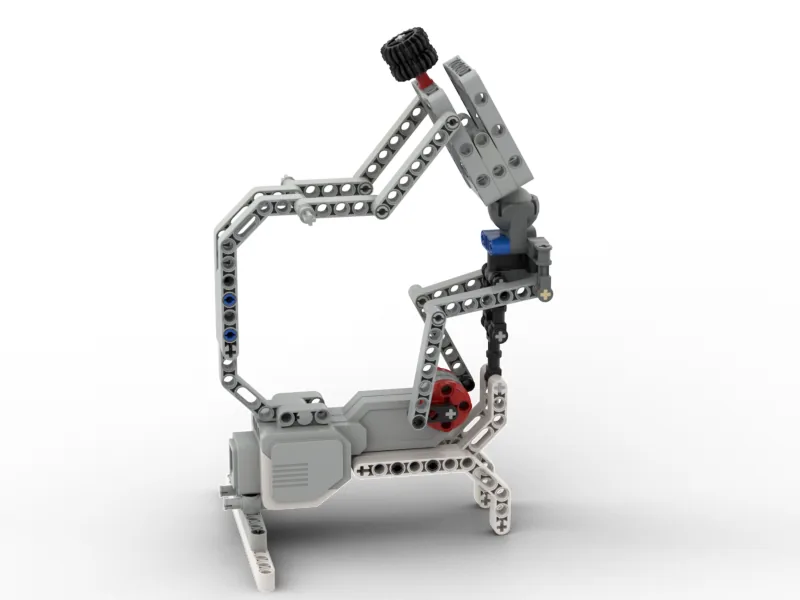
The Cyclist: a rider whose legs are driven round by a Large Motor through a crank, exactly the way a real pair of legs turns a real pair of pedals.
Run it the way you have run everything so far and it snaps straight to full pedalling from a dead stop. It looks wrong, and it looks wrong for a reason you already know from your own body: nobody starts a bicycle at racing speed.
Today you make the motor build up to its speed and wind back down again — which is the difference between a machine that runs and a machine that looks alive.
In the real world 5 min
Where you have seen it
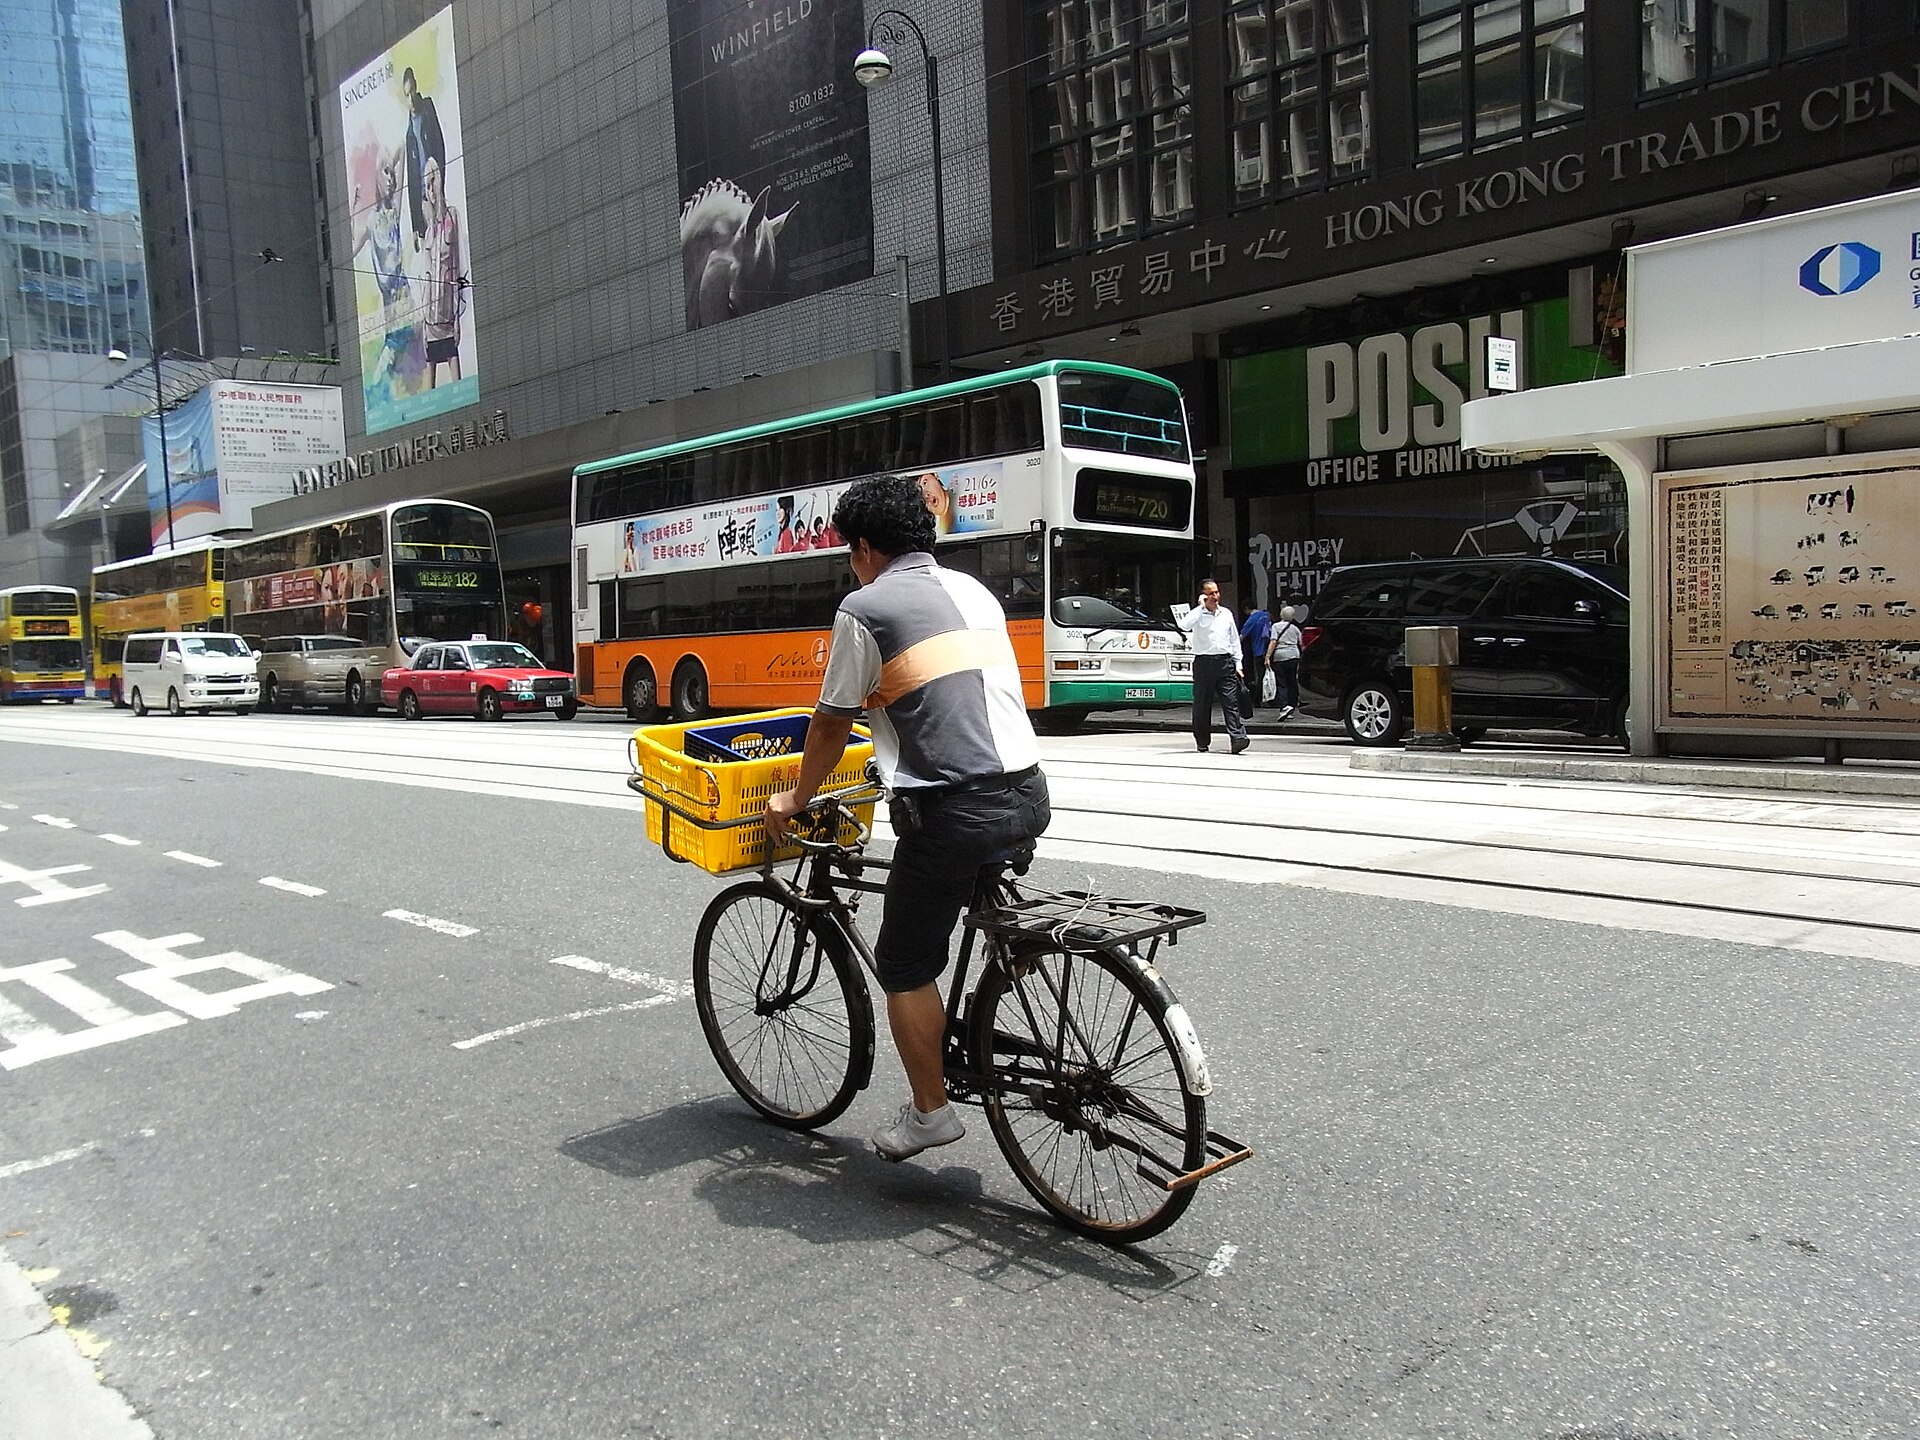
Watch anyone set off on a bicycle. The first few turns of the pedals are slow and heavy, they stand on the pedals to get it going, and only once the bike is rolling do the legs settle into a rhythm. Stopping runs the same way backwards.
A cyclist on Des Voeux Road Central, Hong Kong. Photo: Adsworldra / Wikimedia Commons (CC BY-SA 3.0).
Why it is built that way
It is not a choice. A bicycle and rider together weigh something, and anything with weight resists being sped up — that resistance is called inertia. The heavier the thing, the longer it takes to get to speed with the same push.
Which is why a loaded lorry pulls away from traffic lights slowly and a motorbike does not, and why a train takes a kilometre to stop. None of them are being gentle on purpose. They are all just heavy.
What would go wrong without it
Force a heavy thing to change speed instantly and something has to give. A train that stopped dead would throw every passenger down the carriage. A model that starts dead is doing the same thing at a smaller scale: the crank jerks, the rider’s legs slam round, and the whole machine hops on the table.
Speeding up is not free, and pretending it is breaks things.
The main concept — changing a speed that is already running 6 min
Every motor block you have used so far started something. This one changes something that is already going.
[A v] start motor at (20) % speed :: motors
wait (1) seconds
[A v] set speed to (60) % :: motors
The motor never stops between those blocks. It is turning at 20, then it is turning at 60.
Notice what is not there: no second start, no stop. The motor was already running and set speed to reached in and changed the number it was running at.
Block
What it does
start motor at () % speed
Sets it going and moves straight on to the next block. It does not wait, and the motor keeps running until something stops it.
set speed to () %
Changes the speed of a motor that is already turning. Instant, and it does not start or stop anything.
stop motor
Ends it. How it ends depends on the stop setting you met in Lesson 2.
A ramp is just several of them in a row
Put a wait between each change and you have a staircase of speeds. Small enough steps, close enough together, and a staircase stops looking like steps at all:
[A v] start motor at (20) % speed :: motors
wait (0.5) seconds
[A v] set speed to (40) % :: motors
wait (0.5) seconds
[A v] set speed to (60) % :: motors
wait (0.5) seconds
[A v] set speed to (80) % :: motors
Four speeds over a second and a half. The rider winds up instead of snapping to full pace.
ComponentMotion4 min
Speed and power
Speed is set separately from movement. You tell the motor how fast it should go, and then you tell it to go — two blocks, in that order.
Speed is a percentage of what this motor can do, not a real-world unit — the same 50 % moves a light arm quickly and a heavy one slowly.
Blocks reference
Block
What it does
[A v] set speed to (25) % :: motors
Sets the speed for this motor from now on. Nothing moves — it only changes what the next movement will do.
[A v] run [clockwise v] for (2) [rotations v] :: motors
Now moves, at whatever speed was last set.
Set it first
when program starts :: events hat
[A v] set speed to (25) % :: motors
[A v] run [clockwise v] for (2) [rotations v] :: motors
Swap those two blocks round and the program still contains a speed of 25 % — it just never gets used. Both shafts below are asked for exactly 2 rotations; watch how long each one takes.
speed first — works
A set speed to 25 %
A run clockwise for 2rotations
speed last — does nothing
A run clockwise for 2rotations
A set speed to 25 %
0.00rotations · slow0.00rotations · fast
Speed first: the movement was slowSpeed last: it only affects the NEXT movement
Two programs. Same two blocks in each — only the order is different.Both are running — and the right-hand one is already finished. The left is barely a third of the way.Its speed block runs now, far too late to affect the movement above it. The left motor is still going, slowly, as it was told to.Both turned exactly 2 rotations. Only one of them did it at the speed the program asked for.Finished — it will run again in a moment.
stopped
Both shafts turn exactly 2 rotations. Only the time they take is different — and the right-hand program never gets the slow movement it was written to have.
The right-hand movement is over before the left is a third of the way round, because it ran at the default speed. Its set speed to () block does run — you can see it light up — but by then the movement it was meant to slow down has already happened. A speed block only ever affects the movements after it. This catches people out constantly.
Slow is often better
A high speed is not a better program. Slow movements are gentler on the gears, easier to watch and debug, and look more like the real machine — a barrier that snaps up in a fraction of a second reads as broken rather than fast.
A ramp is not a special block. It is the same block, used more than once, on a motor you never stopped.
▶Where the waits come fromThe wait block, and why time is the right unit for a ramp even though it was the wrong one in Lesson 3.Show meHide
ComponentControl4 min
Waiting
Waiting is how a program gives the physical world time to catch up. There are two kinds, and choosing between them is one of the first real design decisions in robotics.
Blocks reference
Block
What it does
wait (1) seconds
Holds the program for a fixed length of time, whatever else is happening.
wait until <>
Holds the program until a condition becomes true — usually a sensor reading.
One wait for every sensor
Most sensors bring their own ready-made wait block, already coloured to match the sensor and with its comparison built in. They are all the same idea — hold here until this is true — and they live in the sensor’s own palette rather than in Control.
Sensor
Block
Waits until
Touch
[1 v] wait until [pressed v] :: sensors
the button is pressed. The dropdown also offers released and bumped.
Colour
[3 v] wait until color is [red v] :: sensors
the surface underneath is that one of the eight colours.
something is nearer than 15 cm. Flip the dropdown to > to wait for something to move away.
Gyro
[2 v] wait until angle [< v] (45) :: sensors
the robot has turned past that angle.
Brick buttons
wait until [center v] button is [pressed v] :: sensors
somebody presses that button on the Brick. No port — it is built in.
When there is no ready-made block
Some readings have no wait block of their own — reflected light, ambient light, the timer, and a motor’s degrees counted. For those, drop the matching boolean into the plain wait until from Control. It does exactly the same job:
wait until <[3 v] is reflected light intensity [< v] (30) %? :: sensors>
wait until <[3 v] is ambient light intensity [> v] (50) %? :: sensors>
wait until <(timer) > (5)>
wait until <([A v] degrees counted :: sensors) > (720)>
This is also the way to wait for two things at once, which no ready-made block can do — the sensor blocks each take one condition, but a boolean can be combined:
wait until <<[1 v] is pressed? :: sensors> or <(timer) > (5)>>
That one says “stop waiting when the button is pressed, or after five seconds, whichever comes first” — which is how you stop a wait hanging for ever when the thing you are waiting for never happens.
Guessing, or knowing
Two robots, the same job: drive up to the wall and stop. One waits two seconds; the other waits for the wall. Let it run several times — the interesting part is what happens on the second and third run.
wait for a length of time
start moving straight: 0
wait 2 seconds
stop moving
wait for a condition
start moving straight: 0
4 wait until distance <15cm
stop moving
60cm left · timed60cm left · sensed1run
Timed: 60 cm — a different answer againSensed: 15 cm, as asked
Both robots start driving towards the wall.The left one is counting two seconds. The right one is watching the wall come closer.Both have stopped. Only one of them stopped somewhere it chose.Watch where the timed robot ends up on the next run, and the one after that.Finished — and it will bet again in a moment.
both stopped
Each orange dash is where a previous timed run finished. The sensing robot has never left a second mark, because it has never stopped anywhere else.
The timed robot is not being careless. Two seconds is a perfectly good guess, and on the first run it may look exactly right. But a second covers a different distance on a fresh battery, on a dusty floor, or with a heavier load, so the robot finishes somewhere new every run — sometimes short, sometimes into the wall. The sensing robot has never had to guess.
wait () seconds is a guess. You are betting that two seconds is long enough. On a fresh battery, on a smooth floor, it might be — and then it is not.
wait until is knowing. The robot carries on the moment the thing has actually happened, however long that takes.
Prefer waiting for a condition wherever a sensor can tell you. Keep timed waits for things with no sensor to check — letting a sound finish, or pausing so a person can watch.
Why it matters
A lift that waits three seconds for its doors is guessing; one that waits for the door sensor knows. The first eventually closes on somebody.
Yes, seconds — after Lesson 3 said not to. Lesson 3 was about distance: how far the rickshaw travelled. A ramp is about how long the change takes, and that genuinely is a length of time. Seconds are wrong for measuring a journey and exactly right for pacing one.
Say this back before moving on: “Set speed changes a motor that is already running.”
What’s in this build 4 min
Part
What it is doing here
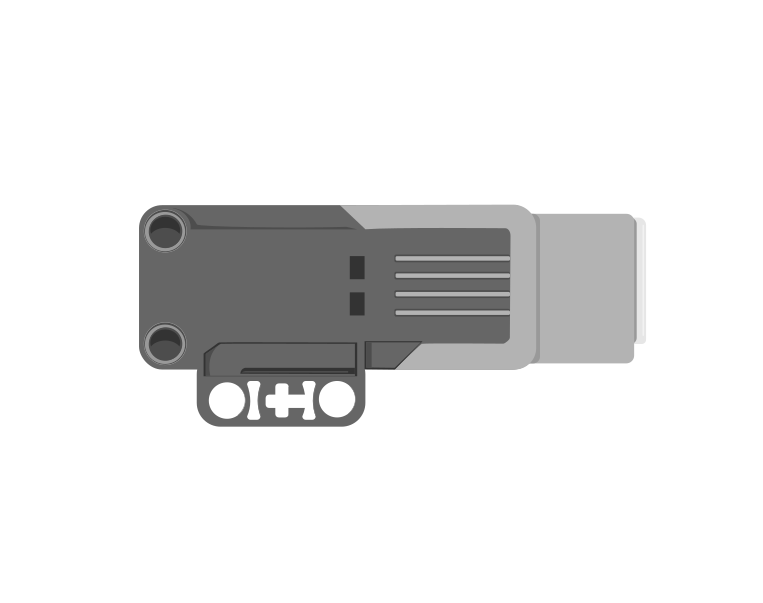
EV3 Intelligent Brick
Runs the ramp. It is also most of the model’s weight, which is what the motor is fighting every time the speed goes up.
Large Motor — the pedals
Turns the crank that drives the rider’s legs. Large rather than Medium because a crank with a linkage on it is a heavier job than it looks.
The crank and linkage (not electronic)
Turns rotation into a pedalling motion. It has a heavy point and a light point in every revolution, which is exactly why a jerky start is so obvious on this model.
Feel the resistance before you program it
Turn the crank slowly by hand through a full revolution. It is not equally hard all the way round — find the heaviest point.
Now turn it fast. Once it is going it wants to keep going: that is the same inertia the motor has to deal with.
Stop it dead with your finger. Feel how much it resists — that is what a sudden stop is doing to your gears.
Leave the crank at its heaviest point before your first run. A ramp that starts from the hardest position is the honest test.
Ports — and the rule 4 min
Sensors go in ports 1, 2, 3, 4. Motors go in ports A, B, C, D. They are not interchangeable, and nothing will tell you politely if you swap them.
Part
Port
Why this one
Pedal motor (Large)
A
One motor doing one job. Not a driving pair, so Motor blocks rather than Movement blocks.
Sensors
none
The Cyclist cannot tell how fast it is actually going — it only knows what it was told. Remember that when you reach the challenges.
Check your own build now:
Pedal motor into A.
Hold the model down, or clamp it. A machine that hops is a machine you cannot judge the ramp of.
Check the linkage swings clear of the cable at every point in the rotation.
Connect the Brick 4 min
Two routes, and either is fine. USB is the reliable one and the one to fall back on when a room’s Bluetooth is busy; Bluetooth leaves the robot free to move, which some models need.
▶How to connect the BrickUSB and Bluetooth, step by step, with a photograph of every screen. Open it if you have not done this before — or if pairing is not working.Show meHide
USB — the reliable one
Switch the Brick on with the dark grey centre button.
Cable into the Brick’s PC port — the small square socket beside the numbered ports, not one of the numbered ones.
Other end into the computer.
Bluetooth — name it first
Do these in order. Naming the Brick after you go looking for it in the list is how groups end up driving each other’s robots.
Name your Brick. On the Brick: Settings (the spanner) → Brick Name. Type something nobody else will pick, then press the tick. Every Brick is called EV3 until somebody changes it.
Turn Bluetooth on. Settings → Bluetooth. Tick Bluetooth and Visibility. Leave iPhone/iPad/iPod unticked.
Connect from EV3 Classroom. Click the Brick icon at the top of the programming area, find your Brick by name, and click Connect.
Say yes on the Brick. It asks “Connect?” with the computer’s name — choose the tick, then accept the passkey, which is already 1234.
Where to read it. The name sits in the bar across the very top of the screen, on every screen — so you can check which Brick you are holding at any moment without going into a menu. This one is EV3VE. A Brick nobody has renamed says EV3.Step 3, and the reason step 1 exists. Three Bricks in range — read the name before you click Connect. Pairing with the wrong one is not an error: it works perfectly, on somebody else’s robot.
Step 2.Bluetooth switches the radio on; Visibility is what lets the computer find you. With Visibility off your Brick works perfectly and simply never appears in the list.Step 4. Look at the Brick. It asks whether to accept and names the computer. Choose the tick.Then the passkey, already 1234. Press the tick again and you are connected.
The two failures, every class, every time. The Brick has gone to sleep while you were building — press the centre button to wake it. Or you have paired with the group at the next table, which is why the name matters.
The long version, including Port View and how to read the port tiles, is in the Brick & Bluetooth guide.
USB is fine. The Cyclist stays on the table, and you will be changing numbers and re-running a lot this lesson — a cable makes that faster.
Confirm the connection 2 min
Check the Brick icon: connected, or not.
One Large Motor tile on A. If it reads Medium, the wrong motor is in the model.
Turn the crank by hand and watch tile A count.
Watch the tile’s speed reading, not just its degrees, while you turn it fast and slow. That number is what your program is about to control.
Change it and test 8 min
One change at a time, and listen — this lesson is easier to hear than to watch.
Delete every block except start motor at (60) % speed, a wait, and a stop. Straight to cruising speed with no ramp at all. Watch the model jump, then put the ramp back.
Halve every wait in the ramp — 0.5 instead of 1. A quicker wind-up. At what point does it stop looking smooth?
Add two more steps on the way up: 15, 25, 35, 50, 60. More steps, same total time. Smoother, or just longer?
Take the wind-down out and leave the stop. A rider going from cruising to nothing — and with coast set, watch how far the crank carries on by itself.
Change the stop setting to hold position and run step 4 again. Now it stops dead. Which one looks like a bicycle?
Step 5 is where two lessons meet. The ramp decides how it gets to speed; the stop setting from Lesson 2 decides how it leaves it. A good machine needs both, and neither is visible in a program that only ever says run for 2 rotations.
How a machine reaches its speed is as much a design decision as what the speed is.
This is what you are building: the Cyclist.
Build it 15 min
Build the model before you read any further. Everything after this is about making it do something, and none of it will make much sense with nothing on the table in front of you.
Use the viewer's own controls to zoom and turn pages. Fullscreen makes it big enough to build from.
Check the finished build against the picture before you switch anything on. A motor mounted the wrong way round is far easier to spot now than it is to debug later, when it looks like a program fault.
Make it move 10 min
A whole ride: set off gently, build to cruising speed, hold it, then wind down and stop.
when program starts :: events hat
[A v] set motor to [coast v] at stop :: motors
[A v] start motor at (15) % speed :: motors
wait (1) seconds
[A v] set speed to (35) % :: motors
wait (1) seconds
[A v] set speed to (60) % :: motors
wait (3) seconds
[A v] set speed to (30) % :: motors
wait (1) seconds
[A v] set speed to (10) % :: motors
wait (1) seconds
[A v] stop motor :: motors
Up in three steps, cruise for three seconds, down in two, then stop. Twelve blocks, one motor, and it never stops turning until the end.
coast at stop — a bicycle freewheels to a halt. Set it once at the top, and the ending looks right without any extra work.
start motor at 15% — barely moving. This is the rider leaning on the pedals to get going.
35, then 60 — the wind-up. The motor never stops; only the number changes.
wait 3 seconds at 60 — cruising. The longest single wait in the program, because this is the bit that reads as “riding” rather than “starting”.
30, 10, stop — slowing down, then coasting to rest.
What success looks like: you should be able to look away and still hear the ride happen — the motor note climbs, holds, and falls. Nothing about it should sound sudden.
If the model jumps at the start, your first speed is too high for the crank’s heavy point. Drop the 15 to 10 and give it another half-second before the first change.
Challenges 27 min
Work through them in order — each is harder than the last. The extra challenge comes after all three, and it is meant to make you plan before you build.
Challenge 1
Put a speedometer on it. Take the ramp from the lesson and, at every step, write the new speed number on the brick's display as well as sending it to the motor.
The brick is not on the model — it sits beside it, joined by one cable — so the display is the only place that number ever appears. Somebody standing back should be able to read the whole ride off the screen without looking at the crank at all.
Success looks like: the number on screen changes at exactly the moment the motor note changes. If the screen updates late, your display block is in the wrong place.
Challenge 2
Give it a throttle. Use the brick's Up and Down buttons to change the speed while the motor is still running — Up adds 10%, Down takes 10% away — and keep the display showing the current number at all times.
Start at 30%. Do not let it go past 100% or below 0, and decide for yourself what should happen when somebody keeps pressing at either end.
Success looks like: you can wind the Cyclist up to full and back down to a stop using nothing but your thumbs, and the screen always agrees with your ears.
Challenge 3
Now make the throttle smooth. A press of Up should not jump straight to the new speed — it should ease there over about half a second, the same way the ramp in the lesson eases from one number to the next.
This is the lesson's idea moved from a script to a control. The speed the rider is asking for and the speed the motor is actually at are two different numbers, and your program has to move the second one towards the first a little at a time.
Success looks like: hold Up down and the machine winds up the way a real bike does. Nothing in the mechanism should hop, at any speed you can reach.
Extra challenge
Turn the brick into a bicycle's handlebars.
Right now the brick is a box running a script. Make it the thing a rider actually holds: Up and Down are the gears, the display is the speedometer, and the centre button is the bell.
Plan it on paper before you build any of it. Write down what each button does, what the screen shows, and what the rider hears. Then settle the awkward cases nobody plans for. What should the bell do while the bike is stopped? What does Down do when the speed is already zero? Should every gear change be the same size, or should the first one be gentler than the rest?
Now build exactly what you wrote, and hand the brick to somebody who has not seen your notes. If they can work the controls out for themselves, the design is good. If you find yourself explaining it, change the machine rather than the explanation.
Remember what this model is and is not. The Cyclist does not travel — the crank turns on the spot and the brick sits beside it on a cable — so "speed" here means how fast the rider is pedalling, and everything the audience learns about it has to come off that screen or out of that speaker.
Two questions when you present it. Which of your awkward cases did you get wrong first time, and how did you find out? And the Large Motor already knows how fast it is really turning, because it has a rotation sensor inside it — say how you would show the speed it is ACTUALLY doing next to the speed you asked for, and what you would expect the gap between those two numbers to do as the crank goes over its heaviest point.