Challenge 1
Climb one step square. Start the machine dead in front of the step, run it, and look at the BACK corners as it goes up — both should lift at the same moment. Do it three times from the same start.
Quick Learn — the model, the instructions, the program and the challenges. The theory is in Full Lesson.
EV3 Robotics›Level 2 · Intermediate›Lesson 5
Level 2 · Lesson 5 · EV3-L02-0560 minutes · Ages 9–16 · Model: Stair Climber Simple
The Stair Climber: two Large Motors, one on each side, driving a mechanism that lifts the machine up a step and then pulls the rest of it after.
A step is not a floor. On a floor, one wheel running slightly faster than the other just means the robot drifts a little to one side — a nuisance. On a step, one side arriving before the other means the machine goes up at an angle, one corner catches, and it falls off backwards.
Both sides have to move as one. Today you find out why two motor blocks cannot promise that, and what to use instead.
Delivery drivers use stair-climbing trolleys, and they are one of the few pieces of machinery that look like they should not work. Instead of wheels there are clusters of three, mounted on a spider. The cluster rolls along the floor, and when it meets a step it rotates as a whole, walking the next wheel up onto the stair.
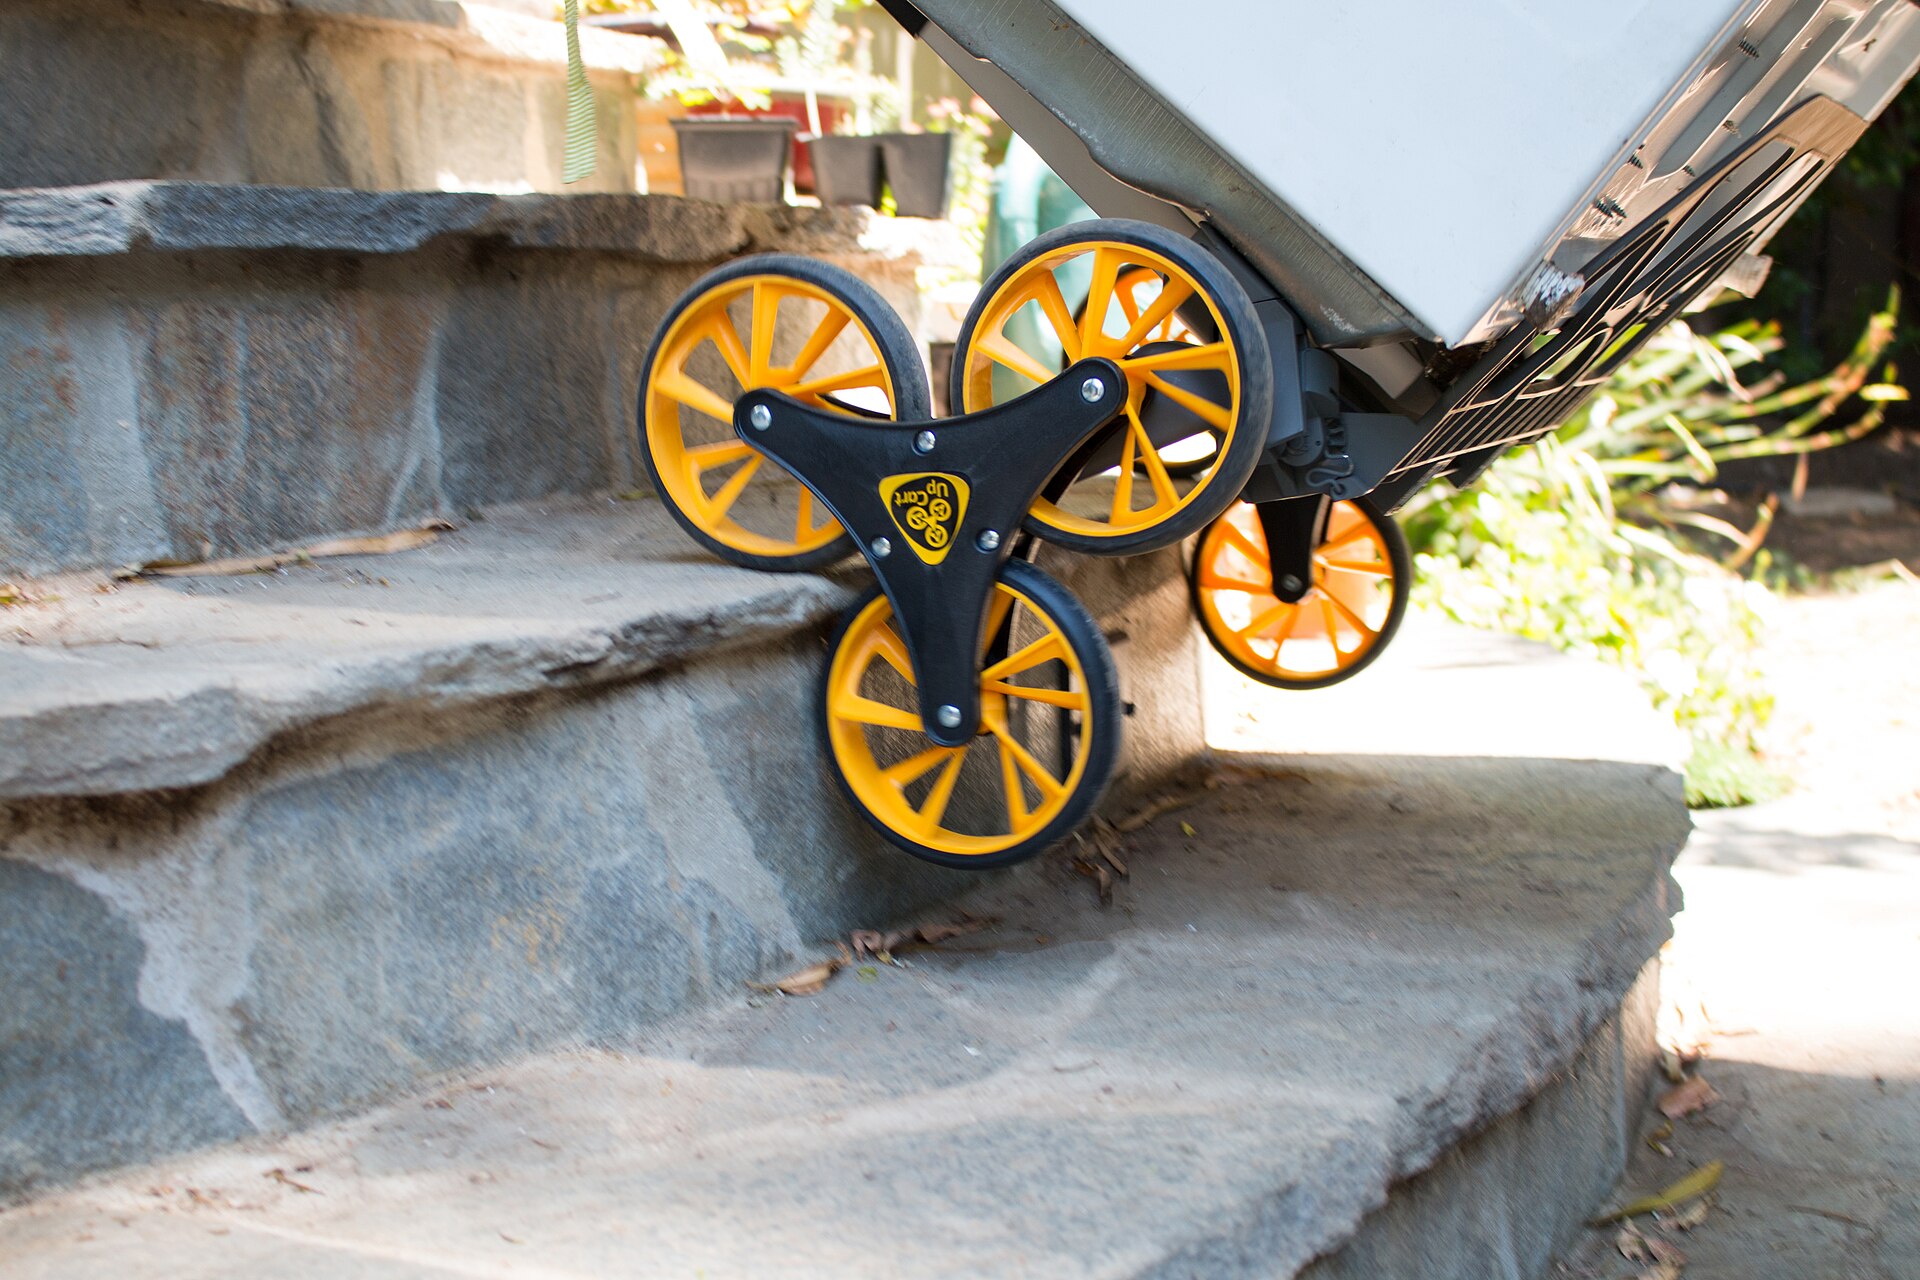
The clusters on the two sides are joined by an axle running right through the trolley. That is not laziness — it is the design. A shared axle means the left cluster physically cannot rotate without the right one doing the same, so the two sides are kept in step by the metal, not by the person pushing.
Anything that climbs does something equivalent. A tracked digger, an escalator, a lift with cables on both sides: they all have something forcing the two sides to agree.
Let one side get ahead on a step and the machine twists. Now the two sides are being asked to lift different amounts of weight, so the one carrying less pulls further ahead, which twists it more. It gets worse on its own until something jams or the whole thing tips.
On the flat, a difference between two sides is a drift. On a step, a difference is a fall.
You have two ways to drive a pair of motors, and they are not equally good. One of them keeps the pair level. The other only hopes.
[B v] run for (1) [rotations v] at (40) % speed :: motors
[C v] run for (1) [rotations v] at (40) % speed :: motors
You could fix the taking-turns part with the parallel stacks from Lesson 1. But even side by side, these are still two motors being told the same thing separately. If one meets more friction than the other it falls behind, and nothing in the program notices or corrects it.
set movement motors to [B v] and [C v] :: movement
move [forward v] for (1) [rotations v] :: movement
The magenta Movement blocks treat two motors as one machine. The Brick compares what each one has actually done and slows the one that is running ahead so they stay matched. That correction happens continuously, and it is the entire reason these blocks exist.
| Block | What it actually does |
|---|---|
| set movement motors to B and C | Nothing moves. It says which two motors are the pair, and which is left. A setting, like the stop setting in Lesson 2. |
| move forward for () rotations | Drives both, together and level, for that many rotations, then ends. |
| set movement speed to () % | Sets the speed the Movement blocks will use — the pair’s version of Lesson 5’s speed block. |
A driving base has two Large Motors, one per wheel. You could drive them with two separate motor blocks — but they would never start at quite the same instant, and the robot would curve away. EV3 has a separate family of Movement blocks that treat the pair as a single driving base.
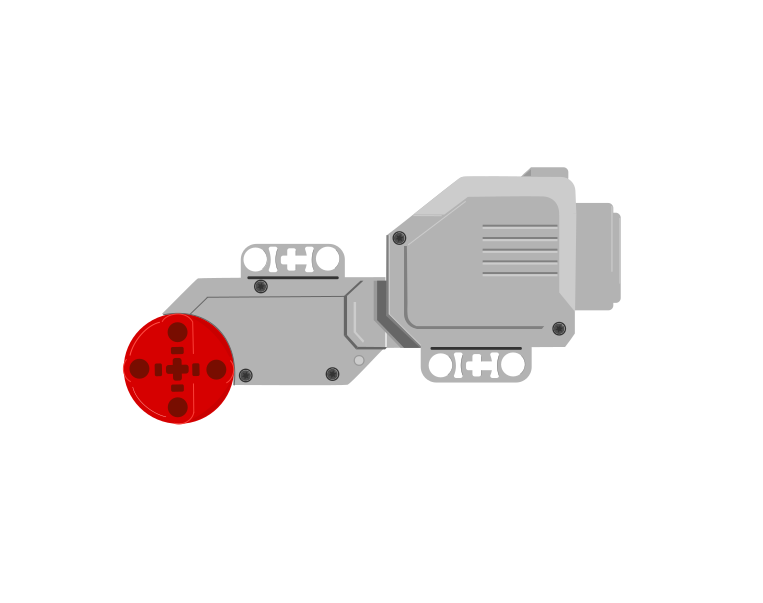 port Bport C
| Block | What it does |
|---|---|
set movement motors to [B v] and [C v] :: movement | Tells the Movement blocks which two ports are the driving wheels. Put it at the top of the program, before any movement. |
move [forward v] for (2) [rotations v] :: movement | Drives both wheels together, so the robot travels in a straight line. |
move for (1) [rotations v] at (75) (25) % speed :: movement | Drives the two wheels at different speeds, which makes the robot curve. |
set movement speed to (50) % :: movement | Sets how fast the driving base travels from now on. |
set movement motors to [B] and [C] is the block that decides which two motors every Movement block after it will drive. It does not look at the robot. It drives the two ports you name, whether or not there is a motor in them — so those two letters have to be the two sockets the cables are actually in.
This is the single commonest reason a driving base does nothing, and it is invisible in the program: every block is spelled correctly and the robot still will not go.
the same program on both robots
The yellow outline marks the two ports the block is driving. A robot only goes straight when both of them have a motor in them.
Both robots run the identical program. The left one has its motors in B and C, so both named ports have a motor and the robot drives straight. The right one is plugged into A and B: the block drives B, finds nothing in C, and never mentions the motor in A at all — so one wheel turns, one wheel sits there, and the robot swings round the dead one instead of driving.
If neither named port has a motor in it — cables in A and D, say, with the block still set to B and C — the robot does not move at all. The program runs happily to the end and the Brick reports nothing wrong, because as far as it is concerned it did exactly what it was told.
So before you look for a bug in the program, look at the cables: read the port letters off the Brick, then make the block say those two. B and C are only the usual choice, not a rule — if your build has the driving motors in A and D, set the block to A and D and everything works.
Everything a driving base can do comes from those two speed numbers. Try each button below and watch the trail the robot leaves.
The path is worked out from the two wheel speeds in the block, not drawn by hand — so changing the preset changes the numbers and the shape together.
Notice there is no steering block anywhere in that program, and no steering part anywhere on the robot. The turn is made entirely by driving the two wheels different amounts.
when program starts :: events hat
set movement motors to [B v] and [C v] :: movement
move [forward v] for (2) [rotations v] :: movement
move for (1) [rotations v] at (50) (-50) % speed :: movement
“Move forward 2 rotations” says nothing about the floor — it says how many times the wheels go round. How far the robot actually travels depends on how big the wheels are, and once round a standard EV3 driving wheel is about 17.5 cm.
Before doing any sums, get a feel for it. Drag the robot along and watch both scales at once — rotations on top, centimetres underneath, the same line. Land on the half marks: there is a number between 1 and 2, and it is 1.5.
Drag the robot, or use the arrow keys — it moves in half rotations. Rotations above the line, centimetres below.
1.5 — a half rotation past 1. Half a turn of the wheels is 8.75 cm, so halves matter.
35 ÷ 17.5 = 2. That is a number you can type straight into the block.
set movement motors to [B v] and [C v] :: movement
set movement speed to (30) % :: movement
move [forward v] for (2) [rotations v] :: movement
Steering at right 100 or left 100 drives the two wheels in opposite directions, so the base stops travelling and pivots where it stands. The angle it sweeps is a simple doubling of the rotations:
Half a rotation is the one worth remembering: a square corner, 90°.
| Rotations | The robot turns |
|---|---|
| 0.25 | 45° — half a corner |
| 0.5 | 90° — a square corner |
| 1 | 180° — turn round and face back |
| 2 | 360° — all the way round |
The one to memorise is 0.5 rotations = 90°. Everything else follows from doubling or halving it.
set movement speed to (20) % :: movement
move [right: 100] for (0.5) [rotations v] :: movement
Turn slowly. The wheels on a driving base are big and the robot carries a lot of weight, so at full speed it keeps going after the motors stop and lands past the angle you asked for. Somewhere between 15% and 30% speed is where turns become repeatable. A turn that overshoots is almost always a turn taken too fast, not a wrong number.
These figures belong to your robot. The distance depends on the wheels and the angle depends on how far apart they are, so a wider base needs a different number for 90°. Test it, measure what actually happened, and adjust — the same discipline as the Gyro Sensor tolerance.
Every wheeled vehicle steers this way — a tank, a digger, an office chair with two driven castors. Cars use a steering rack instead, but a robot that turns by driving its wheels at different speeds needs no steering mechanism at all.
Two motors told the same thing are not the same as one pair told once.
This is not the opposite of Lesson 28. The Tricycle wanted its two motors to disagree, because the difference was the steering and the floor let the wheels travel different distances. A climber has both sides gripping the same step, so a difference has nowhere to go except into twisting the frame. Same blocks, opposite advice, and the build is what decides which you want.
The Touch Sensor is the simplest input the EV3 has: a button that is either pressed or not. That sounds trivial, but it is how a robot knows it has hit a wall, reached the end of a track, or been told to start by a person.
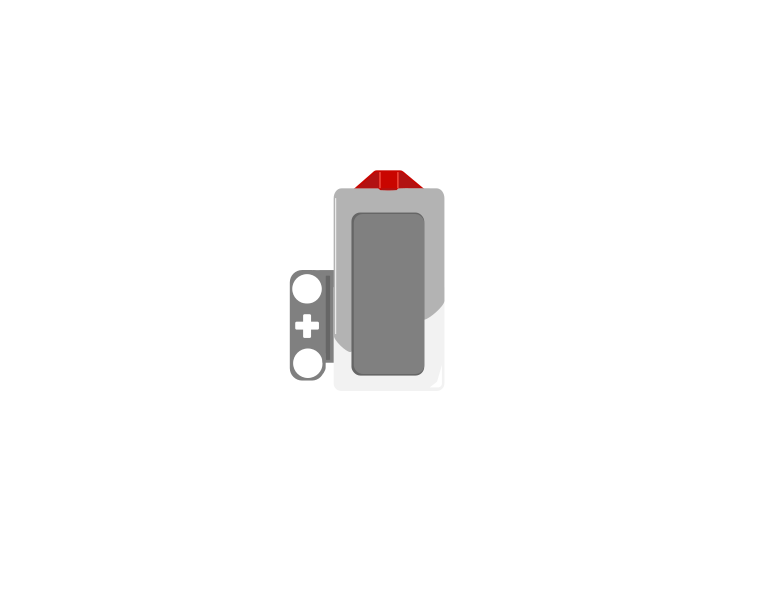 released
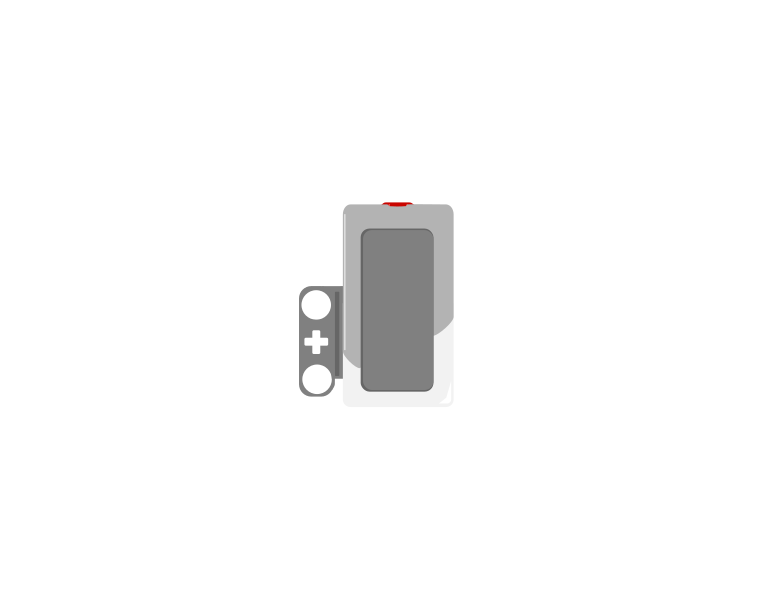 pressed
| Block | What it does |
|---|---|
wait until <[1 v] is pressed? :: sensors> | Holds the program here until somebody presses the sensor. |
<[1 v] is pressed? :: sensors> | Reports true or false. Drop it into a condition to make a decision rather than a wait. |
[1 v] when [bumped v] :: events hat | Starts a whole stack of its own. The dropdown chooses the moment: pressed, released or bumped. |
A button is not only “pressed”. One press is three things: the moment it goes down, the time it stays down, and the moment it comes back up. Watch what a single press does to three programs at once.
versus two hat blocks
The middle counter is the one that surprises people. Nothing is wrong with it — a loop really does check that fast, and every check really is a separate answer.
Nothing there is broken. A loop really does get round hundreds of times a second, and each time it asks is pressed? the honest answer is still yes — so if that loop plays a sound or counts something, it does it hundreds of times from one finger. The two hat blocks each fire once, and they fire at different moments: pressed the instant the button goes down, bumped only when it comes back up.
The three options, and what each is for:
when program starts :: events hat
set movement motors to [B v] and [C v] :: movement
start moving [straight: 0] :: movement
wait until <[1 v] is pressed? :: sensors>
stop moving :: movement
The robot drives until something presses the sensor. Note that the movement is started unmeasured on purpose — the sensor decides when to stop, not a distance.
Touch sensors are everywhere in machines you cannot see into: a lift knows the doors are shut, a printer knows the lid is closed, a washing machine will not spin until it is latched. They are safety devices as much as inputs.
Say this back before moving on: “Set movement motors does not move anything.”
| Part | What it is doing here |
|---|---|
| EV3 Intelligent Brick | Compares the two motors many times a second and trims whichever is ahead. That comparison is the whole point of this lesson. |
| Large Motor ×2 | One per side, ports B and C. Both are lifting the machine’s weight against gravity, so both need the torque. |
| Touch Sensor | Starts the climb, so you can line the machine up against the step properly before anything moves. |
| The climbing mechanism (not electronic) | Whatever lifts the machine — a cluster, a leg or a track. Its two sides must be built the same, and this is the one model where a single extra spacer on one side really shows. |
Sensors go in ports 1, 2, 3, 4. Motors go in ports A, B, C, D. They are not interchangeable, and nothing will tell you politely if you swap them.
| Part | Port | Why this one |
|---|---|---|
| Left motor | B | B is left, always — and the Movement blocks are built around that assumption. |
| Right motor | C | C is right. Together B and C are the pair the Movement blocks drive. |
| Touch Sensor | 1 | Touch is always port 1 in this course. |
Check your own build now:
Two routes, and either is fine. USB is the reliable one and the one to fall back on when a room’s Bluetooth is busy; Bluetooth leaves the robot free to move, which some models need.
Do these in order. Naming the Brick after you go looking for it in the list is how groups end up driving each other’s robots.
EV3 until somebody changes it.EV3.The two failures, every class, every time. The Brick has gone to sleep while you were building — press the centre button to wake it. Or you have paired with the group at the next table, which is why the name matters.
The long version, including Port View and how to read the port tiles, is in the Brick & Bluetooth guide.
Bluetooth for this one. A cable trailing off one side of a climbing machine pulls that side back — and a one-sided pull is the precise failure this lesson exists to prevent.
One change at a time, and always from the same square start against the same step.
wait (1) seconds between two separate 2-rotation climbs. A pause to settle between steps. Better or worse than one long climb?Step 2 is the evidence, and it is worth doing properly. The weighted side falls behind badly with two Motor blocks and barely at all with a Movement block — because only one of those two arrangements is checking.
Movement blocks do not make the motors equal. They notice when they stop being equal and do something about it.
Line it up, press the button, climb one step, stop. Short on purpose — one step done properly is worth more than three done at an angle.
when program starts :: events hat
set movement motors to [B v] and [C v] :: movement
set movement speed to (30) % :: movement
write [Ready] at line (1) :: display
[1 v] wait until [pressed v] :: sensors
clear display :: display
write [Naik] at line (1) :: display
move [forward v] for (2) [rotations v] :: movement
play beep (70) for (0.3) seconds :: sound
write [Selamat] at line (3) :: display
What success looks like: the machine goes up square. Watch the back edge rather than the front — if one back corner lifts before the other, the two sides are not in step, however level the front looks.
If it climbs crooked even with Movement blocks, the fault is mechanical, not electrical. The Brick can only match how far each motor turns; if one side’s mechanism is stiffer or geared differently, equal turning does not mean equal climbing. Go back to section 5.
Build the model before you read any further. Everything after this is about making it do something, and none of it will make much sense with nothing on the table in front of you.
Use the viewer's own controls to zoom and turn pages. Fullscreen makes it big enough to build from.
Check the finished build against the picture before you switch anything on. A motor mounted the wrong way round is far easier to spot now than it is to debug later, when it looks like a program fault.
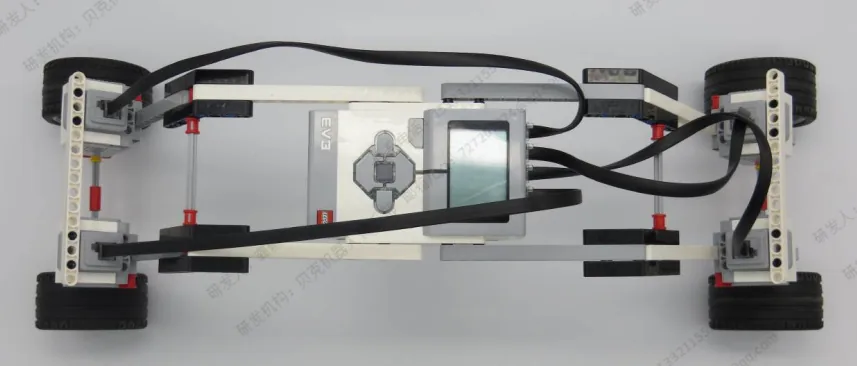
Work through them in order — each is harder than the last. The extra challenge comes after all three, and it is meant to make you plan before you build.
Climb one step square. Start the machine dead in front of the step, run it, and look at the BACK corners as it goes up — both should lift at the same moment. Do it three times from the same start.
Climb with a handicap. Tape a weight to one side only, then climb the same step with the Movement blocks. Then do it again with two separate Motor blocks in parallel stacks. Report what the back corners did in each case.
Climb two steps in a row without stopping crooked. The second step is the hard one, because any twist left over from the first is still there when it starts. Say whether a pause between steps helped, and why.
Make a climber that will not attempt a step it cannot manage. Right now your machine climbs whatever is in front of it and finds out afterwards. Your job is to give it a rule and make it obey the rule. Decide first, on paper, what "too big" means for your build. Measure the tallest step it climbs reliably three times out of three, then measure one it fails. The limit is somewhere between, and finding it is the experiment. Then make the machine check before it commits. You have the Ultrasonic Sensor and you have everything you learned about reading it as a number — mount it looking forward and low, and use what it reports to decide whether to start the climb at all. Two questions when you demonstrate it. What does your machine do when the step is too big, and is that behaviour safe to walk away from? And your limit was measured on one surface — say what would change if the floor were carpet instead of a table.