Challenge 1
Prove the interlock. Press and release ten times in a row, quickly, and the blade must behave identically every time — starting only on the press and stopping on the release, with no lag you can see.
Quick Learn — the model, the instructions, the program and the challenges. The theory is in Full Lesson.
EV3 Robotics›Level 2 · Intermediate›Lesson 28
Level 2 · Lesson 28 · EV3-L02-2860 minutes · Ages 9–16 · Model: Saw Machine
The Saw Machine: a Large Motor driving a blade, and a Touch Sensor that has to be held down for the blade to turn. Let go and it stops.
Every other machine you have built this level starts when you press Play and runs until it decides to finish. This one is different, and the difference is the whole lesson.
The operator has to keep agreeing. Not once at the start — continuously, for as long as the blade is moving. The moment they stop agreeing, so does the machine.
A sawmill blade is a metre across and turns fast enough that you cannot see the teeth. It will go through a tree trunk without slowing down, which tells you everything about what it would do to an arm.
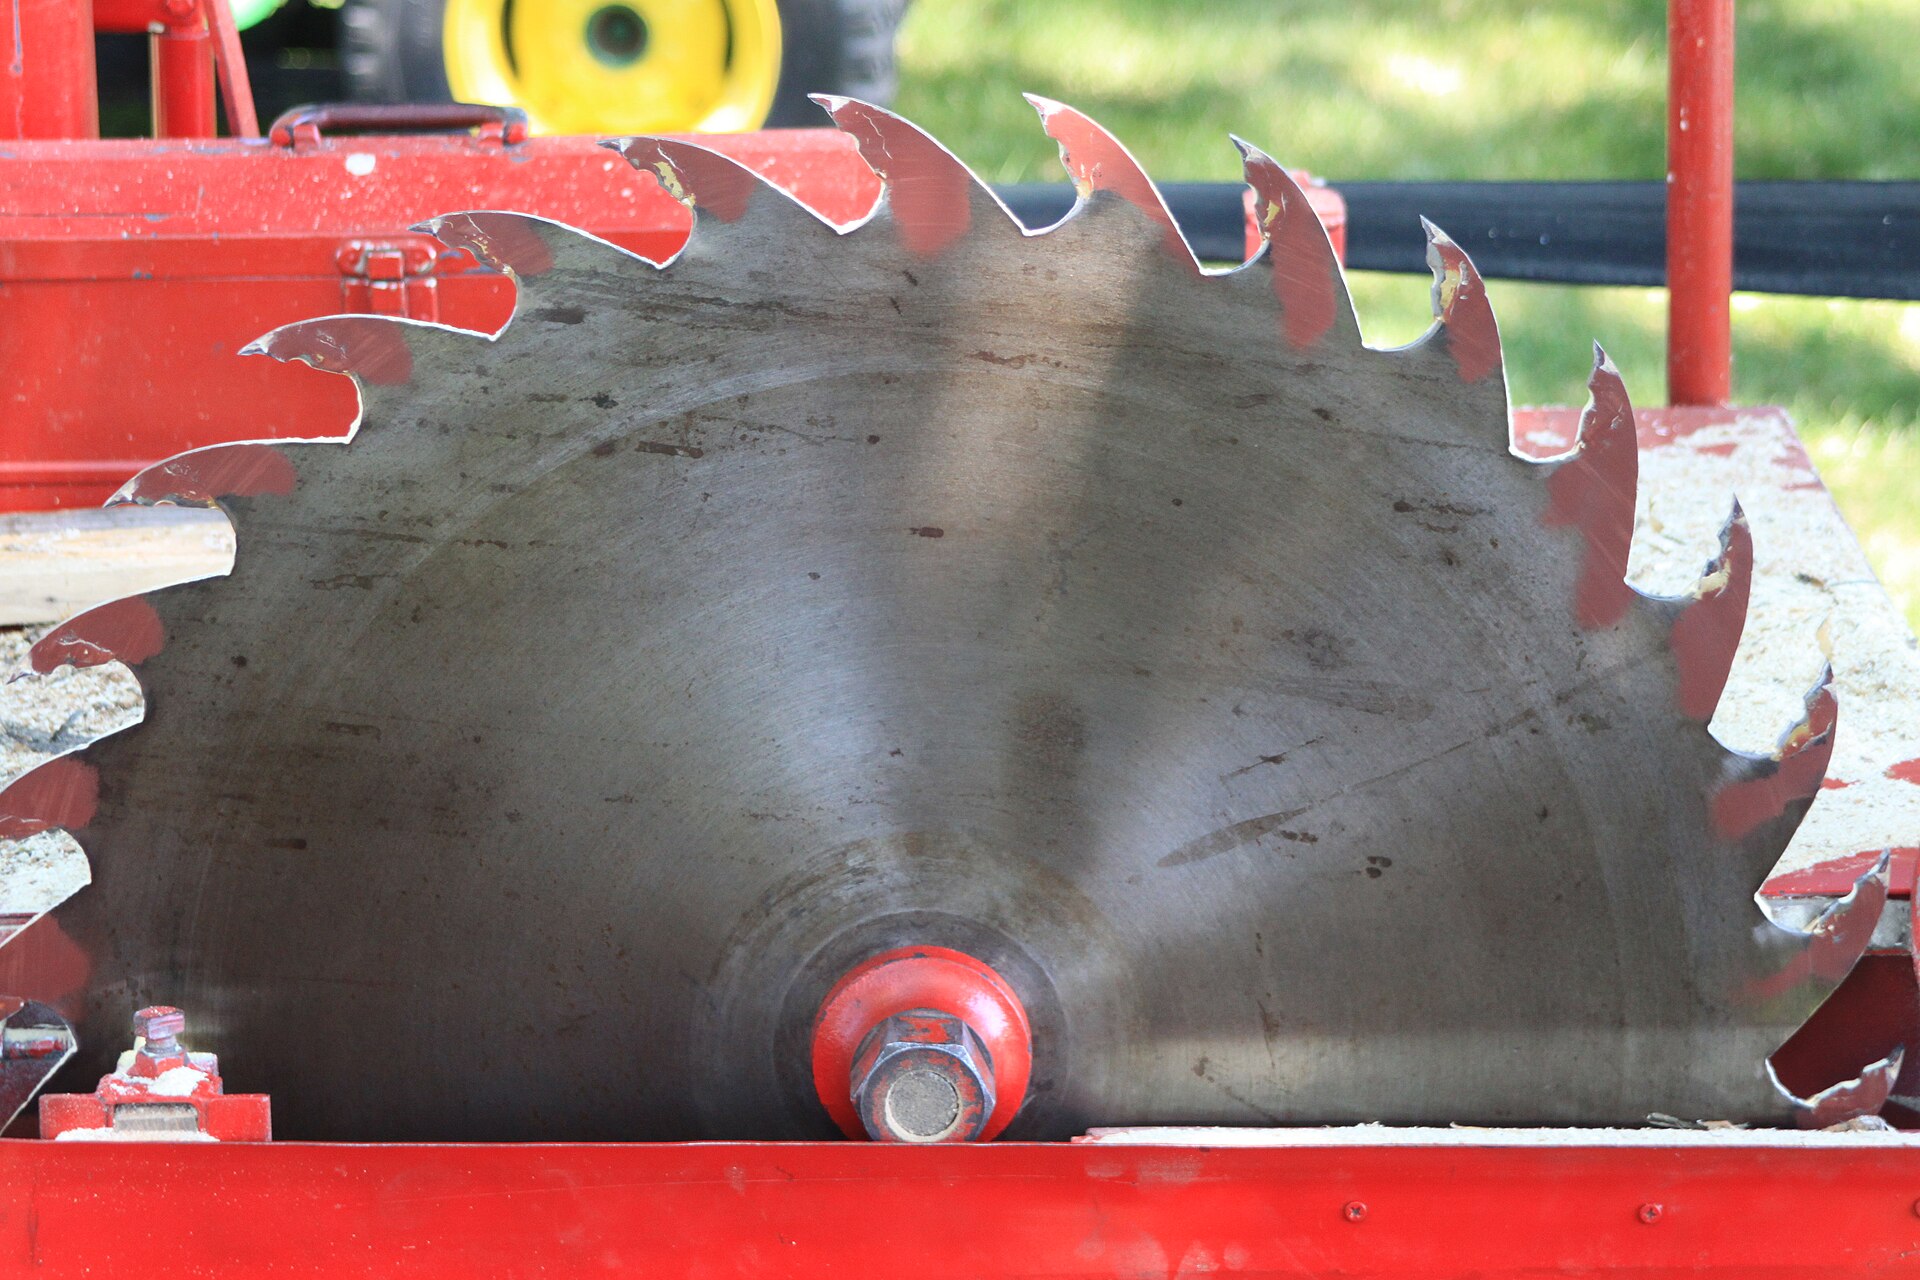
Look at any dangerous machine — a hedge trimmer, a chainsaw, a paper guillotine, a lawnmower, an angle grinder — and you find the same arrangement. A control the operator must hold, which the machine reads as “a person is still here and still wants this”.
It is called a dead-man’s switch, and the name is exact. The engineering assumption is that if the operator lets go — because they slipped, or fainted, or panicked, or were pulled away — the safest thing the machine can do is stop. Letting go is not treated as an accident. It is treated as a command.
Trains have them too. A driver who stops holding the pedal gets the brakes applied for them.
A blade with an on-switch and an off-switch keeps spinning through anything that happens to its operator. The whole point of a hold-to-run control is that doing nothing is the safe state — and doing nothing is exactly what an injured or frightened person does.
Design it so that the thing which happens when everything goes wrong is the safe thing.
Two waits, facing opposite ways, inside a forever loop. That is the entire pattern, and it is worth learning by heart.
forever
  [1 v] wait until [pressed v] :: sensors
  [A v] start motor at (75) % speed :: motors
  [1 v] wait until [released v] :: sensors
  [A v] stop motor :: motors
end
Walk one lap of it, slowly:
Step 3 is the one people get wrong. It looks like the program is doing nothing while the blade spins — and it is. That is correct. The blade does not need the program’s attention to keep turning; it needs it only to stop.
Try writing it with run for (5) rotations instead. The stack would sit on that block for five rotations and could not notice the release until they were finished. The operator lets go and the blade carries on. A hold-to-run control that ignores you for five rotations is not a safety feature.
stop motor honours the setting you met in Lesson 2. On coast, a blade released at 75% will freewheel for a while after the operator has let go. On brake, it stops in a fraction of the time.
| Setting | What happens when you let go |
|---|---|
| coast | The blade keeps spinning down on its own. Gentle on the gears, and wrong for a saw. |
| brake | The blade stops quickly. This is what a real saw’s blade brake does, and it is why they are fitted. |
The Touch Sensor is the simplest input the EV3 has: a button that is either pressed or not. That sounds trivial, but it is how a robot knows it has hit a wall, reached the end of a track, or been told to start by a person.
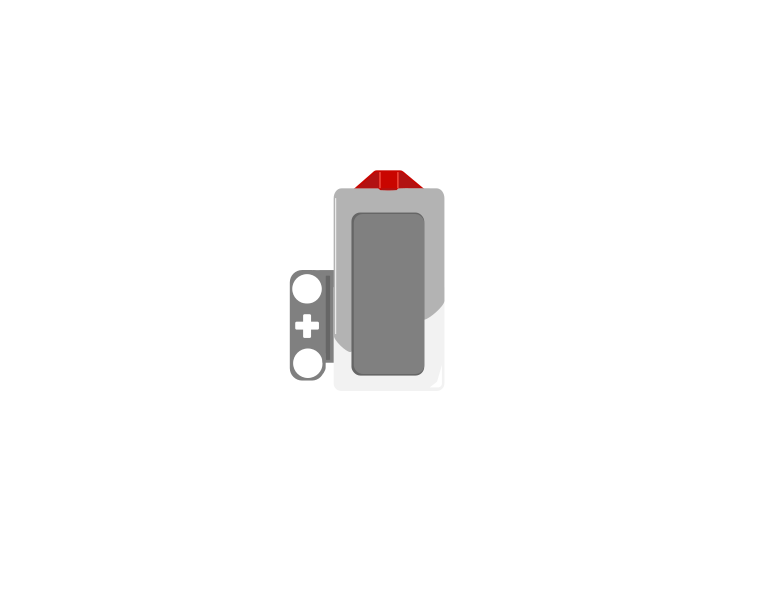 released
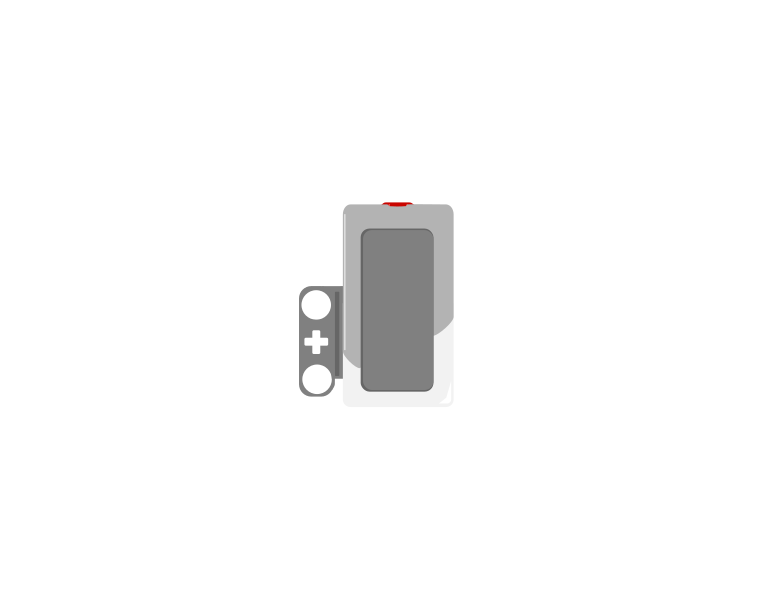 pressed
| Block | What it does |
|---|---|
wait until <[1 v] is pressed? :: sensors> | Holds the program here until somebody presses the sensor. |
<[1 v] is pressed? :: sensors> | Reports true or false. Drop it into a condition to make a decision rather than a wait. |
[1 v] when [bumped v] :: events hat | Starts a whole stack of its own. The dropdown chooses the moment: pressed, released or bumped. |
A button is not only “pressed”. One press is three things: the moment it goes down, the time it stays down, and the moment it comes back up. Watch what a single press does to three programs at once.
versus two hat blocks
The middle counter is the one that surprises people. Nothing is wrong with it — a loop really does check that fast, and every check really is a separate answer.
Nothing there is broken. A loop really does get round hundreds of times a second, and each time it asks is pressed? the honest answer is still yes — so if that loop plays a sound or counts something, it does it hundreds of times from one finger. The two hat blocks each fire once, and they fire at different moments: pressed the instant the button goes down, bumped only when it comes back up.
The three options, and what each is for:
when program starts :: events hat
set movement motors to [B v] and [C v] :: movement
start moving [straight: 0] :: movement
wait until <[1 v] is pressed? :: sensors>
stop moving :: movement
The robot drives until something presses the sensor. Note that the movement is started unmeasured on purpose — the sensor decides when to stop, not a distance.
Touch sensors are everywhere in machines you cannot see into: a lift knows the doors are shut, a printer knows the lid is closed, a washing machine will not spin until it is latched. They are safety devices as much as inputs.
Hold-to-run is not “on and off”. It is a machine that needs permission continuously.
Machines repeat. A wiper sweeps, a conveyor runs, a ride goes round — and none of that should mean copying the same blocks over and over. A loop says “do this again” once.
| Block | What it does |
|---|---|
repeat (10) end | Runs the blocks inside a set number of times, then carries on below. |
forever end | Runs the blocks inside over and over, and never carries on below. |
repeat until <> end | Repeats until a condition becomes true — a loop with a sensor as its exit. |
Anything placed after a forever loop will never run. Not “runs late” — never. Both programs below end with the same block: set the status light green.
repeat (3)
forever
↑ this block never runs
Both programs contain the same green-light block. Let it run as long as you like — the right-hand ring will never turn green.
The repeat loop counts its three passes, stops, and moves on to the block underneath, so its light turns green. The forever loop reaches the bottom of its own blocks and jumps straight back to the top, so the block underneath is never reached — however long you leave it. If a program seems to stop half way through, look for a forever loop above the blocks that are not happening.
A program is a list, and the Brick works down it once. Every block runs, in order, and when the last one is done the program is over. That is fine for a list of instructions — drive, turn, beep, stop — because each is a thing you do once.
A sensor is not a thing you do once. Asking is 1 pressed? gives you an answer about this instant, and an instant later it may be wrong. Checking a sensor once tells you what the world was like at the moment the program started — which is almost never what you wanted to know.
So a program that has to react must ask again, and again, for as long as it is running. That is the whole job of the loop: not to repeat an action, but to keep the question being asked.
Wrap a sensor check and the motor it controls in a forever loop and you have built a closed-loop control system — the pattern behind every line follower, thermostat and cruise control:
It is called closed because the output feeds back round to the input: the motors move the robot, moving the robot changes what the sensor sees, and what the sensor sees changes the motors. Break the circle at any point and the robot stops responding.
when program starts :: events hat
forever
  if <[1 v] is pressed? :: sensors> then
    [A v] start motor [clockwise v] :: motors
  else
    [A v] stop motor :: motors
  end
end
Read it as a sentence and it is almost too simple to need explaining: for ever, if the button is pressed run the motor, otherwise stop it. The motor now follows the button for as long as the program is running.
This is the mistake nearly everybody makes first, and it is a hard one to spot because nothing about it looks wrong:
when program starts :: events hat
if <[1 v] is pressed? :: sensors> then
  [A v] start motor [clockwise v] :: motors
else
  [A v] stop motor :: motors
end
The logic is perfect. The ports are right. Nothing is misspelled. And the robot will ignore the button completely — because the Brick reaches that if/else a few milliseconds after you press Run, finds the button not pressed, takes the else branch, stops the motor, runs out of blocks and ends. By the time a finger arrives, there is no program left to notice it.
with forever — a closed loop
without it — the common mistake
↑ running — for the only time
Both programs contain exactly the same if/else. The only difference is the forever block around one of them.
Both programs contain exactly the same if/else. The counter is what gives it away: one keeps checking for as long as it runs, the other is stuck on the single check it made before anybody touched anything. A student who has seen this once stops writing it.
The tell on a real robot is a program that ends the instant you start it — the Brick returns to its menu almost immediately. If a sensor program finishes rather than waits, the loop is what is missing.
Say this back before moving on: “Letting go is a command, not a mistake.”
| Part | What it is doing here |
|---|---|
| EV3 Intelligent Brick | Watches the button many times a second. Its speed of response is literally the safety of the machine. |
| Large Motor — the blade | Spins the saw. Large because cutting takes force, and because a blade that stalls in the cut is worse than a slow one. |
| Touch Sensor | The dead-man’s switch. Mount it where a hand naturally rests away from the blade — this is a design decision, not a wiring one. |
| The blade and guard (not electronic) | A guard is not decoration. If your model has one, it stays on. |
Sensors go in ports 1, 2, 3, 4. Motors go in ports A, B, C, D. They are not interchangeable, and nothing will tell you politely if you swap them.
| Part | Port | Why this one |
|---|---|---|
| Blade motor (Large) | A | One job motor, driving one blade. |
| Touch Sensor | 1 | Touch is always port 1. Today it is also the only thing standing between the blade and whatever is in front of it. |
Check your own build now:
Two routes, and either is fine. USB is the reliable one and the one to fall back on when a room’s Bluetooth is busy; Bluetooth leaves the robot free to move, which some models need.
Do these in order. Naming the Brick after you go looking for it in the list is how groups end up driving each other’s robots.
EV3 until somebody changes it.EV3.The two failures, every class, every time. The Brick has gone to sleep while you were building — press the centre button to wake it. Or you have paired with the group at the next table, which is why the name matters.
The long version, including Port View and how to read the port tiles, is in the Brick & Bluetooth guide.
Know where Stop is before you run this. Whichever way you connect, find the stop button in EV3 Classroom and the grey button on the Brick now. A forever loop does not end on its own, and this is the first model where you may genuinely want it to end early.
Blade clear of everything for all of these, and one hand on the Brick’s stop button for the ones that break the interlock on purpose.
start motor at (70) % speed with [A v] run for (3) [rotations v] at (70) % speed. Hold the button, then let go immediately. The blade finishes its three rotations anyway — the interlock is now decorative.play beep (50) for (0.1) seconds immediately after the press, before the motor starts. A warning tone before anything moves. Real machines do this, and now you know why.Step 2 is the important one and it is worth being uncomfortable about. Nothing broke. No error appeared. The program still looks like a hold-to-run control, and it is not one any more — and the only way to find that out is to test the release, not the press.
Test the safety feature by trying to defeat it. A guard nobody has attacked is a guard nobody has checked.
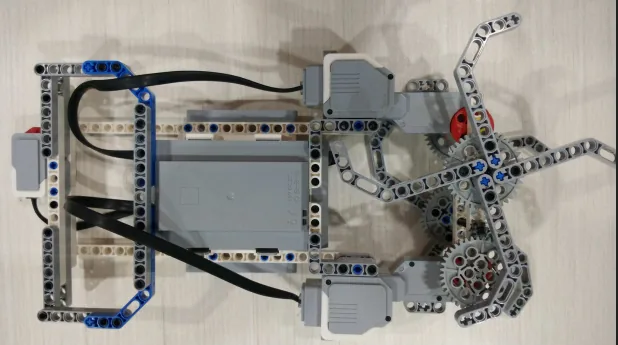
Build the model before you read any further. Everything after this is about making it do something, and none of it will make much sense with nothing on the table in front of you.
Use the viewer's own controls to zoom and turn pages. Fullscreen makes it big enough to build from.
Check the finished build against the picture before you switch anything on. A motor mounted the wrong way round is far easier to spot now than it is to debug later, when it looks like a program fault.
The interlock, with the screen saying which state the machine is in so a bystander can tell at a glance.
when program starts :: events hat
[A v] set motor to [brake v] at stop :: motors
clear display :: display
forever
  write [BERHENTI] at line (1) :: display
  [1 v] wait until [pressed v] :: sensors
  write [POTONG  ] at line (1) :: display
  [A v] start motor at (70) % speed :: motors
  [1 v] wait until [released v] :: sensors
  [A v] stop motor :: motors
end
What success looks like: the blade runs only while the button is held, every time, with no lag you can perceive. Press and release quickly ten times — it should behave identically on the tenth as on the first.
If the blade keeps running after you let go, the sensor is not being seen as released — most often because it is physically jammed down by the build. Fix the mounting, not the program.
Work through them in order — each is harder than the last. The extra challenge comes after all three, and it is meant to make you plan before you build.
Prove the interlock. Press and release ten times in a row, quickly, and the blade must behave identically every time — starting only on the press and stopping on the release, with no lag you can see.
Measure the run-down. Time how long the blade takes to stop after you let go, on coast and then on brake. Do each three times and take the middle number. Report both, and say which you would fit to a real saw and why.
Add a warning before anything moves. A press must produce a sound and a message on screen BEFORE the blade starts turning, with a short pause between the warning and the motion. Then argue whether the pause makes the machine safer or more annoying — both answers are defensible if you can support them.
Try to defeat your own safety feature, then fix what you find. A guard nobody has attacked is a guard nobody has checked. Your job is to break your own interlock on purpose, in as many ways as you can, and then close the holes. Work through it methodically and write down each attempt: what you did, whether the blade kept turning when it should not have, and what you changed. Try holding the button with something other than a hand. Try pulling the sensor cable out mid-cut. Try pressing Play with the button already held down. Try letting go during the very first moment of a cut. Some of those you can fix in the program. Some need the model changing, and some you cannot fix at all with the parts you have — say which is which. Two questions when you demonstrate it. Which attack was easiest to pull off, and is your fix a real fix or just harder to trigger? And a real saw stops its blade in well under a second — describe what you would have to add to this model to match that, given that brake alone does not.