Challenge 1
Measure a metre. Mark a start and a finish exactly one metre apart, and make the robot report a distance within two centimetres of that. You may change the rotations but not the formula.
Quick Learn — the model, the instructions, the program and the challenges. The theory is in Full Lesson.
EV3 Robotics›Level 2 · Intermediate›Lesson 22
Level 2 · Lesson 22 · EV3-L02-2260 minutes · Ages 9–16 · Model: EV3 Speed Bot
The Speed Bot: a driving base that measures its own journey and works out how fast it went.
Your robot already knows two things it has never put together. Since Lesson 8 it can say how far its shaft has turned. Since Lesson 15 it can say how long something took.
Distance and time is all speed has ever been. Today the robot stops reporting raw numbers and starts reporting centimetres and centimetres per second — numbers a person can actually use.
A bicycle computer costs very little and tells you your speed, your distance and your average — from a single magnet on a spoke and a sensor on the fork. It counts wheel revolutions. That is the whole input.
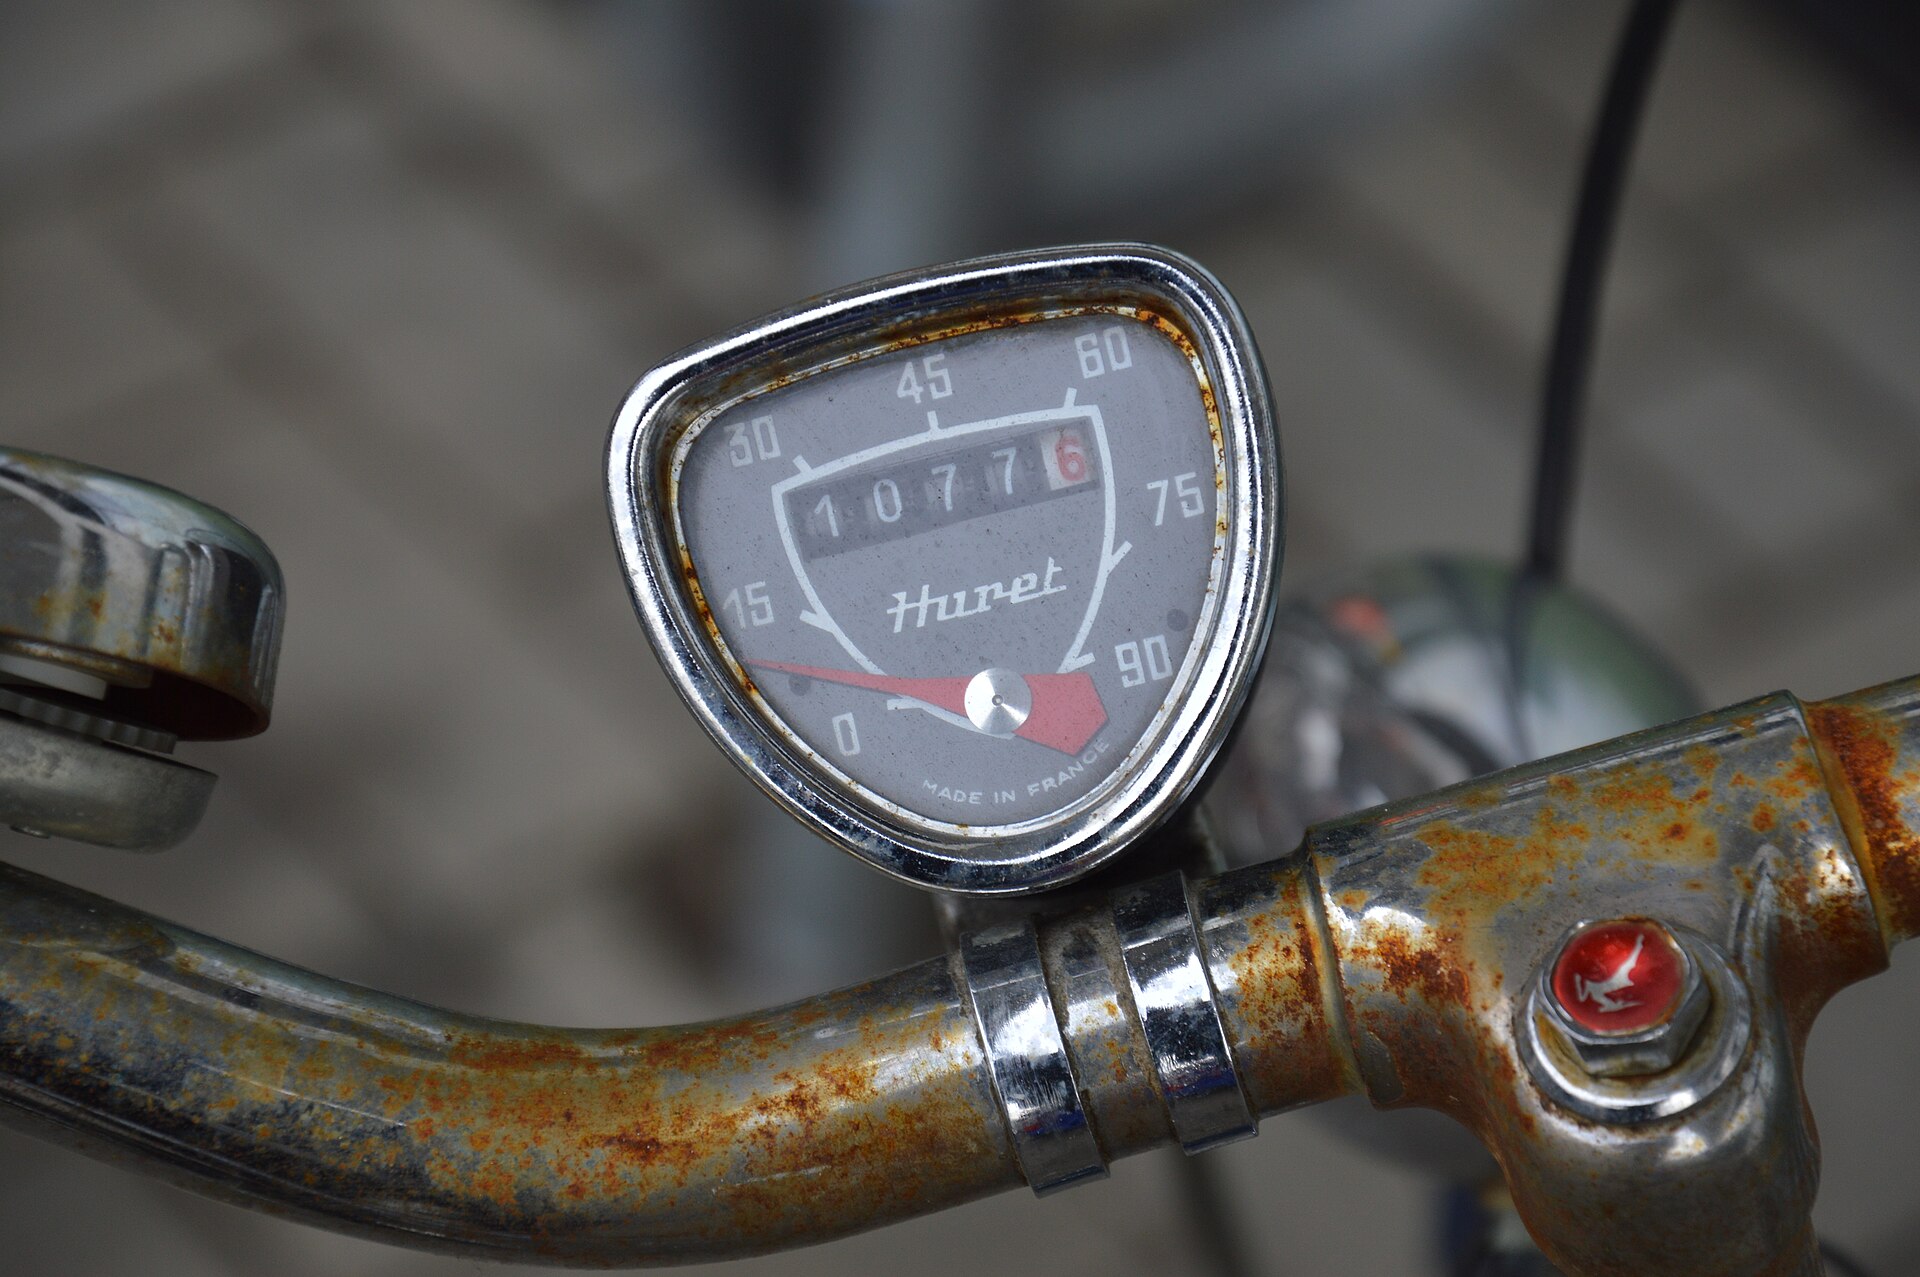
Nothing in a bicycle computer measures distance directly, and nothing measures speed. It counts turns of the wheel — and then it does exactly the arithmetic you are about to do.
One turn of the wheel moves the bike forward by the circumference of the tyre. So distance is turns × circumference. And speed is that distance divided by the time it took. The clever part is not the sensor. It is the sum.
Which is why the first thing a bicycle computer asks you to set up is your wheel size. Get that wrong and every number it ever shows you is wrong by the same proportion.
A robot that reports 1800 degrees has told you nothing you can act on. Is that far? Is it fast? You cannot compare it with anything, you cannot tell a person about it, and you cannot use it to make a decision. Raw measurements are not information until something turns them into units a human thinks in.
Sensors give you numbers. Arithmetic turns them into answers.
Everything today is one of three steps, and each one takes a number you already have and turns it into a more useful one.
| Step | The sum | Turns… |
|---|---|---|
| 1 · Rotations | degrees ÷ 360 | a number only a robot cares about into a number of wheel turns |
| 2 · Distance | rotations × circumference | wheel turns into centimetres travelled |
| 3 · Speed | distance ÷ time | centimetres into centimetres per second |
(([B v] degrees counted) / (360)) :: operators
That last sentence is the whole trick. An operator block is a number, so it fits anywhere a number fits — including inside another operator. Stack them and you build a formula:
(((([B v] degrees counted) / (360)) * (17.6)) / (timer)) :: operators
That is hard to read, and it is meant to look hard. Without somewhere to put the intermediate answers, the only way to write the formula is to nest it. Level 3 gives you variables, and the first thing you will do with them is take this expression apart. For now, build it from the inside out and test each layer before adding the next.
The 17.6 above is a standard EV3 wheel and it is probably not yours. Circumference is the distance around the tyre — roll it one full turn along a ruler and read off how far it went. That is the number, measured rather than assumed.
A sensor that reports a number cannot be used to make a decision on its own — 23 is neither true nor false. An operator turns that number into an answer by comparing it with something.
| Block | What it does |
|---|---|
<(x) > (50)> | True when the left value is bigger than the right. |
<(x) < (50)> | True when it is smaller. |
<<> and <>> | True only when both conditions are true. |
<<> or <>> | True when at least one of them is. |
Forget the symbols for a moment. A comparison is a question about position on a number line: is x to the left of the other number, or to the right? Left is smaller, right is bigger — and that is the whole of it.
Drag the orange x and the black marker, and change the comparison. The green stretch is every position of x that would make the answer true — so you can see where the answer flips before you get there. Turn not on and watch the green jump to the other side.
Drag either marker, or use the arrow keys.
is x to the LEFT of it?
The lab above asks one question at a time: is this x true? A robot never has just one x, though — a sensor reading slides up and down all the time, so what really matters is which stretch of the line makes the condition true. This one draws the whole answer at once.
Drag the circle to move the number you are comparing against, and change the comparison. Everything shaded green is a value of x that would make it true.
Drag the circle, or use the arrow keys. It moves in steps of 0.2.
Every number to the left of 0.2 — but not 0.2 itself, so the circle is hollow.
Watch the circle, because it carries the part everyone gets wrong:
Now turn not on with x > 2 selected and watch two things happen together. The shading jumps to the other side, and the circle fills in — because “not greater than 2” means 2 or less, and 2 has to be part of it. That pairing is the whole reason a hollow circle is worth drawing.
Why a robot cares. Two conditions that look almost identical — light < 30 and not (light > 30) — differ by exactly one value, the reading of precisely 30. A robot sitting right on its threshold behaves differently under the two, and that is the sort of bug that only shows up occasionally and looks like a broken sensor.
These three join answers together rather than numbers. The trap is that English is looser than a program: “stop if it is close and the bumper is pressed” sounds like it covers both situations, when it covers neither on its own.
Flip the two conditions and watch the table. There are only four possible situations in total, and and and or differ on exactly two of them.
| close | bumper | and | or |
|---|---|---|---|
| true | true | true | true |
| true | false | false | true |
| false | true | false | true |
| false | false | false | false |
and is fussy: it wants both. Three of the four rows are false.
Two sensors are running below: an Ultrasonic reporting a number, and a Touch Sensor reporting true or false. Watch the comparison turn the number into an answer, and watch and and or disagree.
and was true in one row out of four. or was true in three. That is the whole difference, and it is why one of them makes a robot look broken.
The comparison is doing one job: it takes a reading that is neither true nor false and, by holding it against a number you chose, produces something a decision can use. The moment the blue fill crosses the black marker is the moment the answer changes.
The number you compare against is a design decision, not a fact. “Close” for a parking sensor might be 15 cm; for a robot arm it might be 3. Pick it by measuring what the sensor actually reads in the situation you care about, then leave a margin.
and narrows: both must hold, so the robot acts less often but more certainly — stop only if something is close and the bumper is pressed. or widens: either will do, so the robot acts more readily — stop if something is close or the bumper is pressed.
In the four situations above, and was true in one of them and or in three. That is the practical difference: swapping one for the other does not adjust a robot slightly, it changes how often it reacts at all.
Work the sum out on paper first. The screen can only tell you what it calculated, never whether you asked for the right thing.
Every EV3 motor contains a sensor that counts how far it has actually turned. That means a motor is not only an output — you can ask it where it is, and the answer describes what really happened rather than what you asked for.
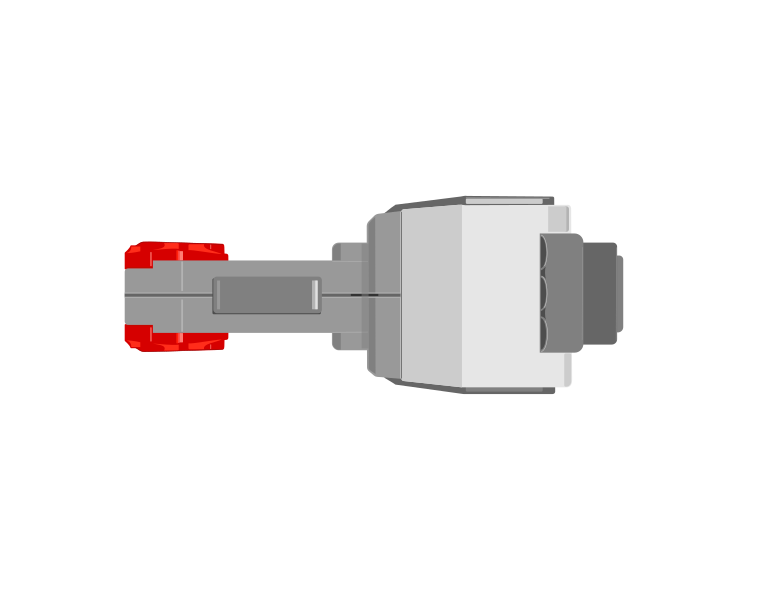
| Block | What it does |
|---|---|
([A v] degrees counted :: sensors) | Reports how far this motor has actually turned since the count was last reset, in degrees. |
[A v] reset degrees counted :: motors | Sets the count back to zero, making right here the new reference point. |
([A v] speed :: sensors) | Reports how fast the motor is turning right now, as a percentage. A motor that is being driven but reads zero is a motor that is stuck. |
Those two are not always the same. Here are two identical motors, running the same program, with only their mechanisms different.
the same program, on two identical motors
Nothing on the Brick announces a stall. The only evidence is that the counter stopped changing while the motor was still being told to turn.
Nothing on the Brick announces the jam. The motor is still being driven, the program is still sitting on the same block, and the only trace of the problem anywhere is a counter that has stopped climbing. Comparing what you asked for with what was counted is how a robot notices — which is the whole of stall detection.
When the Brick powers on, the count is simply whatever it happens to be. It is not a position on the machine — it becomes one only when you tie it to something physical.
That is what reset degrees counted is for, and it is not just a tidy-up block for the top of a program. Where you put it decides what zero means, so putting it part-way through — after the mechanism has been driven somewhere known — is the normal way to use it, not an abuse of it.
A conveyor has no idea where it is. Give it a touch sensor at one end and it can find out: drive it until the sensor is pressed, and it is now at a place you can name. Only then reset the count, and that end becomes 0.
when program starts :: events hat
[A v] start motor [counterclockwise v] :: motors
[1 v] wait until [pressed v] :: sensors
[A v] stop motor :: motors
[A v] reset degrees counted :: motors
The order is the whole point. Reset before the sensor is pressed and you have zeroed a random spot; reset after it, and every later reading means “how far from home”. This is called homing, and it is why a printer rattles its head to one side when you switch it on.
Drive towards home gently. The mechanism is deliberately being run into its own end stop, so a slow speed saves the gears — and the touch sensor is what stops it, which means it stops in the same place every time regardless of where it started.
Home is often a corner, and a corner is an awkward place to measure from. Say the conveyor carries a chute that dispenses bricks, and you would rather describe its position as left and right of the middle. Then home once, drive the known distance to the middle, and reset again there:
when program starts :: events hat
[A v] start motor [counterclockwise v] :: motors
[1 v] wait until [pressed v] :: sensors
[A v] stop motor :: motors
[A v] reset degrees counted :: motors
[A v] run [clockwise v] for (900) [degrees v] :: motors
[A v] reset degrees counted :: motors
Now the middle is 0. Moving right counts up, moving left counts down past zero into negative numbers — the count is perfectly happy to go negative — and “go back to the middle” becomes the simplest instruction in the program: drive until the count reaches 0.
Both resets earn their place. The first one turns a meaningless number into a distance from a real, repeatable place. The second one moves zero to where the maths is easiest. A reset in the middle of a program is only a mistake when the mechanism is somewhere you cannot name.
Because the count is in degrees, and a wheel of known size travels a known distance per turn, the reading can be converted into how far the robot has actually driven. That is how a robot reports a distance in centimetres rather than in rotations — and it is why changing the wheels changes the answer.
This is how a printer knows the paper jammed, how a car window stops when it meets your hand, and how a robot arm knows it has reached its limit. A machine that can only give orders is fragile; one that can check what happened can recover.
A wait pauses for a length of time. The timer is different: it runs in the background and can be read at any moment, so the robot can know how long something has taken while it is still happening.
| Block | What it does |
|---|---|
(timer) | Reports the seconds since the timer was last reset. |
reset timer | Sets it back to zero, so the next reading counts from here. |
The most valuable use of a timer is escaping a wait that might never end. A robot told to drive until it sees a wall will drive for ever if the wall is not there. Combined with a timer, it can give up:
Repeat until the wall is close or five seconds have passed. That one change turns a program that can hang into one that always finishes. Both robots below are looking for a wall that is not there.
no way out
with a timeout
The sensor is not faulty and the program is not wrong. There is simply no wall, and only one of these two programs has a way of noticing that.
The left-hand robot is not broken, and neither is its sensor. Its condition is simply one that will never come true, so the program sits on that block for ever — with nothing on the Brick to say so. The right-hand program asks the same question with an escape route bolted on, and finishes every time.
Real systems time themselves out constantly — a lift that cannot close its doors eventually gives up and beeps rather than trying for ever. A robot with no timeout simply stops responding, and there is nothing on screen to say why.
Say this back before moving on: “Speed is distance divided by time.”
| Part | What it is doing here |
|---|---|
| EV3 Intelligent Brick | Holds the timer and does the arithmetic. Today it is a calculator that happens to be able to drive. |
| Large Motor ×2 — the drive | Ports B and C. Only one of them is read for the maths — they are matched by the Movement blocks, so either will do, but you must pick one and stay with it. |
| The wheels (not electronic) | The most important measurement in the lesson lives here. A different wheel is a different robot as far as the maths is concerned. |
| The Brick screen | Reports rotations, distance and speed — three lines that mean something, rather than one that does not. |
Check it against the maths. Circumference is π × diameter. Measure the wheel across the middle, multiply by 3.14, and see whether it matches what you rolled. Two ways to the same number is how you know a number is right.
Sensors go in ports 1, 2, 3, 4. Motors go in ports A, B, C, D. They are not interchangeable, and nothing will tell you politely if you swap them.
| Part | Port | Why this one |
|---|---|---|
| Left drive (Large) | B | B is left — and B is the one this lesson reads for its maths. |
| Right drive (Large) | C | C is right. Kept in step with B by the Movement blocks, which is what makes reading only one of them honest. |
| Sensors | none | Everything measured today comes from inside the Brick and inside the motors. |
Check your own build now:
Two routes, and either is fine. USB is the reliable one and the one to fall back on when a room’s Bluetooth is busy; Bluetooth leaves the robot free to move, which some models need.
Do these in order. Naming the Brick after you go looking for it in the list is how groups end up driving each other’s robots.
EV3 until somebody changes it.EV3.The two failures, every class, every time. The Brick has gone to sleep while you were building — press the centre button to wake it. Or you have paired with the group at the next table, which is why the name matters.
The long version, including Port View and how to read the port tiles, is in the Brick & Bluetooth guide.
Bluetooth, and it matters today. A dragging cable slows the robot down, and slowing the robot down changes the very number you are trying to measure.
Predict every number before you run, and write the prediction down. A measurement you did not predict cannot surprise you, and being surprised is how you find mistakes.
/ block with (timer) on the right. Write it to line 7.(round ()). Easier to read, and you lose the decimals. Decide whether that is a gain here.Step 3 is the strongest evidence in the lesson. Speed should not depend on how far you went — that is what makes it speed rather than distance. If doubling the journey doubles your “speed”, you have divided by the wrong thing.
A formula that gives the right answer once might be luck. One that holds when you change the journey is a formula.
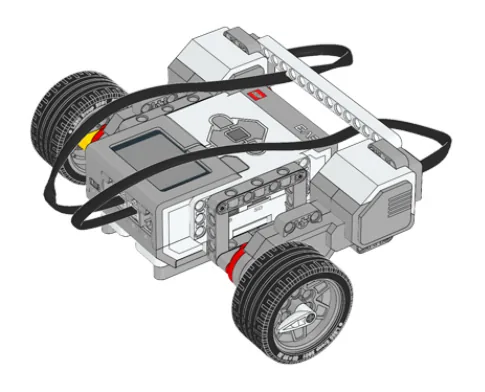
Build the model before you read any further. Everything after this is about making it do something, and none of it will make much sense with nothing on the table in front of you.
Use the viewer's own controls to zoom and turn pages. Fullscreen makes it big enough to build from.
The same build on Google Drive — sometimes a video, sometimes a scan:
Use the viewer's own controls to zoom and turn pages. Fullscreen makes it big enough to build from.
Check the finished build against the picture before you switch anything on. A motor mounted the wrong way round is far easier to spot now than it is to debug later, when it looks like a program fault.
Drive a fixed journey, then report it in rotations and centimetres. Speed comes in step 10, once these two are proven.
when program starts :: events hat
set movement motors to [B v] and [C v] :: movement
clear display :: display
[B v] reset degrees counted :: motors
reset timer :: sensors
move [forward v] for (5) [rotations v] at (40) % speed :: movement
write [Pusingan:] at line (1) :: display
write (([B v] degrees counted) / (360)) at line (2) :: display
write [Jarak cm:] at line (3) :: display
write ((([B v] degrees counted) / (360)) * (17.6)) at line (4) :: display
write [Masa s:] at line (5) :: display
write (timer) at line (6) :: display
What success looks like: line 2 reads about 5, and line 4 matches what you measure on the floor with a tape to within a centimetre or two. If those two agree, every number you build on top of them is trustworthy.
If the distance on screen is bigger than the real one, the wheels slipped — the motor turned further than the robot travelled. If it is consistently smaller or larger by the same proportion, your circumference is wrong. A fixed proportion is a maths error; a random difference is a grip problem.
Work through them in order — each is harder than the last. The extra challenge comes after all three, and it is meant to make you plan before you build.
Measure a metre. Mark a start and a finish exactly one metre apart, and make the robot report a distance within two centimetres of that. You may change the rotations but not the formula.
Prove speed is speed. Run the same program over a short journey and a long one at the same motor speed. The distances must differ and the reported speed must not — if it does, find out why before you go on.
Build a speed table. Measure the robot's speed at 20, 40, 60, 80 and 100 percent, three runs each, and write them down. Then say whether doubling the percentage doubles the speed, and explain what you found.
Turn the Speed Bot into an instrument somebody else can use. A measuring instrument is not just a robot that calculates. It is one a stranger can pick up, use correctly, and trust. Start from the maths. Write your formula on paper with your own measured circumference in it, and show the working for one journey by hand before the robot does it. You are proving the instrument is right, and you cannot do that with the instrument. Then make it usable. Decide what the screen should show and where, so somebody can read distance and speed at a glance without knowing what degrees are. Decide how it starts and how they know it has finished. Then hand it to another group with no explanation and ask them to measure something with it. Two questions when you present it. What did your tester misread, and was that a labelling problem or a layout problem? And your robot reports the distance its wheels turned, not the distance it travelled — describe a situation where those two are very different, and what you would add to detect it.