Challenge 1
Walk towards a wall and stop with a gap of roughly 20 cm, three runs in a row, without touching it once.
Quick Learn — the model, the instructions, the program and the challenges. The theory is in Full Lesson.
EV3 Robotics›Level 2 · Intermediate›Lesson 45
Level 2 · Lesson 45 · EV3-L02-4560 minutes · Ages 9–16 · Model: Mechanical King Kong
The Mechanical King Kong: a heavy body with two long motorised arms and an Ultrasonic Sensor for a head. It has no wheels and no legs.
It moves by swinging its arms over. Each swing throws the body forward, and the next swing catches it. Done at the right rhythm it walks across a table; done at the wrong rhythm it rocks on the spot.
By the end of the lesson it will walk forward and stop itself before it hits the wall — which is harder than it sounds, because a machine that is busy walking is not looking.
A gorilla walks on its knuckles. The front limbs take the weight, the body swings through beneath the shoulders, and the whole animal moves forward in a rolling gait that costs very little effort.

Knuckle-walking works because of momentum. Once the body is swinging forward, it keeps going by itself — the arms do not have to push all the way. The animal is spending energy to start a movement and then letting physics finish it.
Your model does the same. Watch it closely and you will see the body travel after the arms have stopped pushing. That coast is where most of the distance comes from.
The head is an Ultrasonic Sensor: it chirps, listens for the echo, and times how long it took. It is bat sonar, done with a chip. Sound covers a metre in about three thousandths of a second, so the timing has to be fine — and the sensor is doing it many times a second.
A heavy machine that moves by throwing itself forward does not stop on request. If it notices the wall too late, momentum — the very thing making it work — carries it into the wall anyway.
The thing that makes it move is also the thing that makes it hard to stop.
Here is a program that looks completely reasonable and does not work.
move [forward v] for (10) [rotations v] :: movement
[4 v] wait until distance [< v] (25) [cm v] :: sensors
stop moving :: movement
While a move for block is running, the program is stuck inside it. It is not checking sensors, not reading variables, not doing anything else. It is waiting for the movement to finish, and only then does it look at the next block.
repeat until <([4 v] distance in [cm v] :: sensors) < (25)>
  move [forward v] for (1) [rotations v] :: movement
end
stop moving :: movement
The distance is not shorter — ten strides of one rotation is still ten rotations. What changed is that there are now ten moments when the program can see.
In Lesson 29 the Apple Picker closed its gripper fifteen degrees at a time, and a bigger bite meant a harder squeeze before the switch was noticed. This is the same trade wearing a different hat:
| Stride length | Looks at the wall | Stops |
|---|---|---|
| ¼ rotation | very often | promptly, but the walk is jerky and slow |
| 1 rotation | often enough | within one swing — a good compromise |
| 5 rotations | rarely | into the wall. It may not look again until it is too late |
The size of the piece you move in is the size of your blind spot. That sentence is true of the gripper, of this walker, and of every self-driving car on the road.
Lesson 7 gave you a second answer. start moving [straight: 0] does not wait — it sets the motors going and hands control back immediately, so the very next block can watch the sensor while the machine is still moving:
start moving [straight: 0] :: movement
[4 v] wait until distance [< v] (25) [cm v] :: sensors
stop moving :: movement
Both are correct. The stride version suits a machine that moves in beats; the start-and-watch version suits a machine that rolls. Try both today and decide which your King Kong prefers.
The Ultrasonic Sensor measures distance. It sends out a burst of sound too high for people to hear, listens for the echo, and works out how far away the surface is from how long the echo took — exactly how a bat finds a moth, and how a submarine uses sonar.
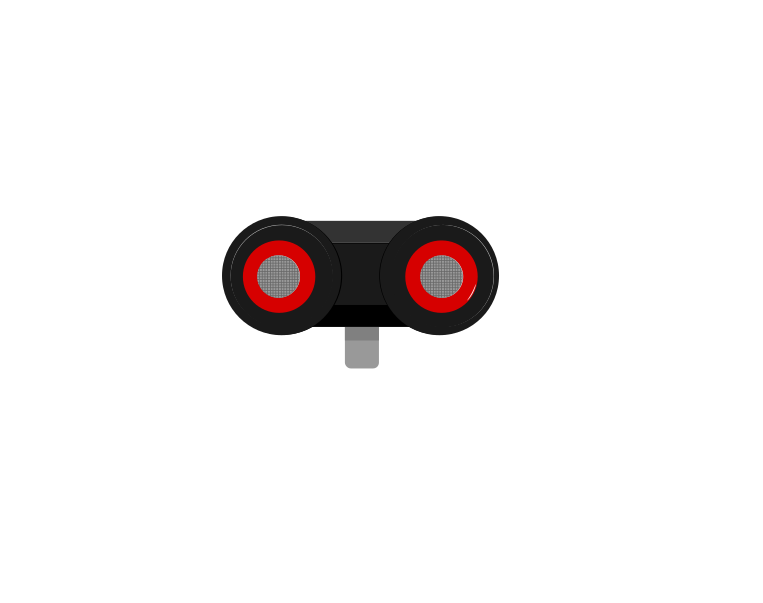 front
front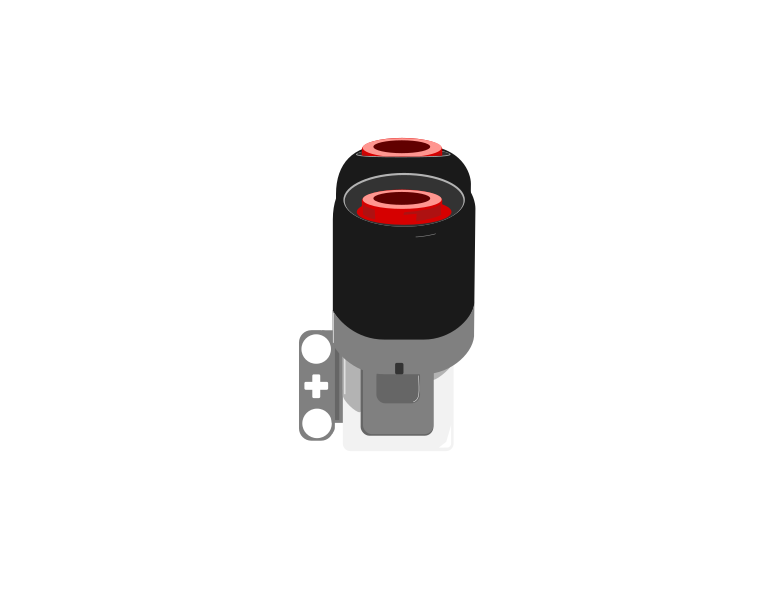 side
side| Block | What it does |
|---|---|
([4 v] distance in [cm v] :: sensors) | Reports how far away the nearest thing in front of the sensor is, as a number in centimetres. |
wait until <([4 v] distance in [cm v] :: sensors) < (15)> | Holds the program until something comes closer than 15 cm. |
This is the important step up from the Touch Sensor. Touch gives you true or false; the Ultrasonic gives you a number, and the deciding is left to you. Pick a threshold below and watch where the robot ends up.
The black line on the bar is the threshold; the blue fill is the reading. The robot stops the instant the fill crosses the line.
Three different robots, and only one number is different between them. That is what having a number rather than a yes-or-no buys you: the behaviour is tuned by editing one slot, not by rebuilding the program. It also means the sensor can never tell you it is “close” — close is a decision you make about a reading.
Car parking sensors, automatic doors at a shopping centre, and the sensor that stops a lift door closing on somebody all work this way. Reacting before contact is what makes a machine feel safe.
The Home/Retail EV3 set (31313) ships an Infrared Sensor and a Beacon in place of the Ultrasonic and Gyro sensors. The Infrared Sensor also measures distance, so the programs in this module work with it — but it reports a rough 0–100 proximity rather than real centimetres, and it is affected by sunlight and by dark surfaces in ways the Ultrasonic is not.
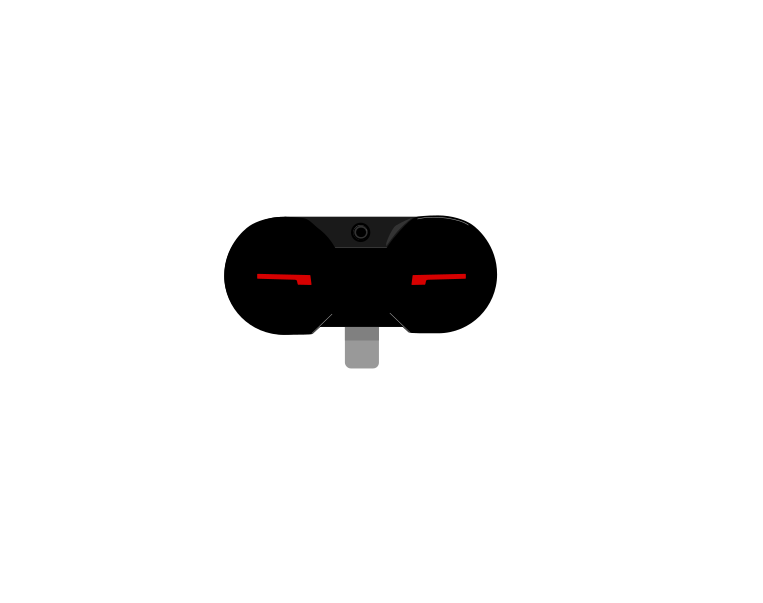 IR Sensor
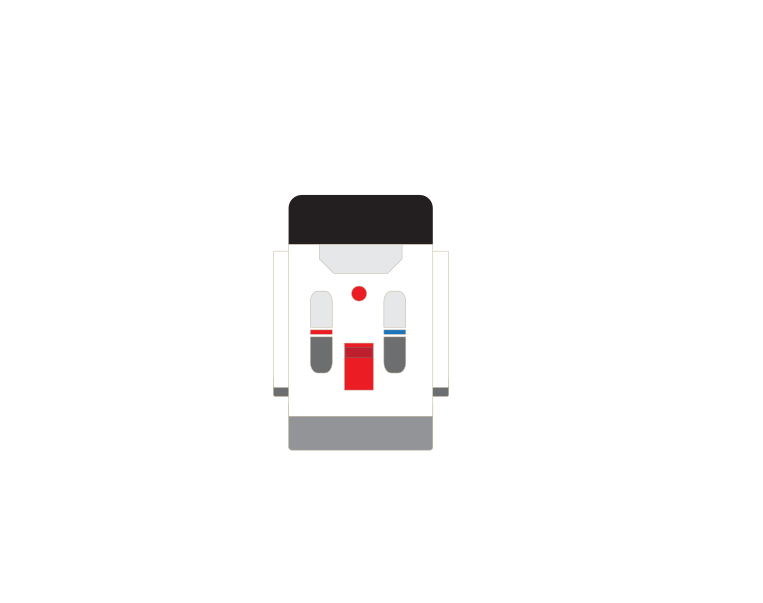 Beacon
Machines repeat. A wiper sweeps, a conveyor runs, a ride goes round — and none of that should mean copying the same blocks over and over. A loop says “do this again” once.
| Block | What it does |
|---|---|
repeat (10) end | Runs the blocks inside a set number of times, then carries on below. |
forever end | Runs the blocks inside over and over, and never carries on below. |
repeat until <> end | Repeats until a condition becomes true — a loop with a sensor as its exit. |
Anything placed after a forever loop will never run. Not “runs late” — never. Both programs below end with the same block: set the status light green.
repeat (3)
forever
↑ this block never runs
Both programs contain the same green-light block. Let it run as long as you like — the right-hand ring will never turn green.
The repeat loop counts its three passes, stops, and moves on to the block underneath, so its light turns green. The forever loop reaches the bottom of its own blocks and jumps straight back to the top, so the block underneath is never reached — however long you leave it. If a program seems to stop half way through, look for a forever loop above the blocks that are not happening.
A program is a list, and the Brick works down it once. Every block runs, in order, and when the last one is done the program is over. That is fine for a list of instructions — drive, turn, beep, stop — because each is a thing you do once.
A sensor is not a thing you do once. Asking is 1 pressed? gives you an answer about this instant, and an instant later it may be wrong. Checking a sensor once tells you what the world was like at the moment the program started — which is almost never what you wanted to know.
So a program that has to react must ask again, and again, for as long as it is running. That is the whole job of the loop: not to repeat an action, but to keep the question being asked.
Wrap a sensor check and the motor it controls in a forever loop and you have built a closed-loop control system — the pattern behind every line follower, thermostat and cruise control:
It is called closed because the output feeds back round to the input: the motors move the robot, moving the robot changes what the sensor sees, and what the sensor sees changes the motors. Break the circle at any point and the robot stops responding.
when program starts :: events hat
forever
  if <[1 v] is pressed? :: sensors> then
    [A v] start motor [clockwise v] :: motors
  else
    [A v] stop motor :: motors
  end
end
Read it as a sentence and it is almost too simple to need explaining: for ever, if the button is pressed run the motor, otherwise stop it. The motor now follows the button for as long as the program is running.
This is the mistake nearly everybody makes first, and it is a hard one to spot because nothing about it looks wrong:
when program starts :: events hat
if <[1 v] is pressed? :: sensors> then
  [A v] start motor [clockwise v] :: motors
else
  [A v] stop motor :: motors
end
The logic is perfect. The ports are right. Nothing is misspelled. And the robot will ignore the button completely — because the Brick reaches that if/else a few milliseconds after you press Run, finds the button not pressed, takes the else branch, stops the motor, runs out of blocks and ends. By the time a finger arrives, there is no program left to notice it.
with forever — a closed loop
without it — the common mistake
↑ running — for the only time
Both programs contain exactly the same if/else. The only difference is the forever block around one of them.
Both programs contain exactly the same if/else. The counter is what gives it away: one keeps checking for as long as it runs, the other is stuck on the single check it made before anybody touched anything. A student who has seen this once stops writing it.
The tell on a real robot is a program that ends the instant you start it — the Brick returns to its menu almost immediately. If a sensor program finishes rather than waits, the loop is what is missing.
A machine sees between its movements. Make the movements small enough that it sees in time.
Everything an EV3 does begins with a motor turning. Before worrying about how far or how fast, there are only two things to say to a motor: start and stop. The blocks are the same whichever motor you use — only the port letter changes.
| Block | What it does |
|---|---|
[A v] start motor [clockwise v] :: motors | Starts the motor and immediately carries on to the next block. The motor keeps turning on its own. |
[A v] stop motor :: motors | Stops the motor. |
wait (2) seconds | Holds the program here, which is how you control how long a motor runs. |
Because start motor does not wait, a motor started on its own would run until the program ended. The pattern that gives a motor a length is three blocks:
when program starts :: events hat
[A v] start motor [clockwise v] :: motors
wait (2) seconds
[A v] stop motor :: motors
Read it aloud: start it, leave it two seconds, stop it. Change the wait and you change how far the motor gets.
The highlight below follows the block the Brick is running, and the shaft turns only while the program is between start motor and stop motor. Notice that the count keeps climbing all the way through the wait — the wait does not pause the motor, it pauses the program.
0.00rotations so farnoshaft turning
The count does not pause when the program does. A wait holds up the blocks, and the motor carries on turning underneath it.
This is the whole idea behind start motor: it hands the motor its instruction and moves on, leaving the motor running behind it. Nothing stops the shaft until a block tells it to.
The direction dropdown says clockwise or counterclockwise — but clockwise seen from where? Always from the axle end: look straight at the shaft coming towards you, and clockwise is the way a clock’s hands go.
Here the Medium Motor faces you, so its output axle points straight out of the page. This is the view to picture when you are choosing a direction.
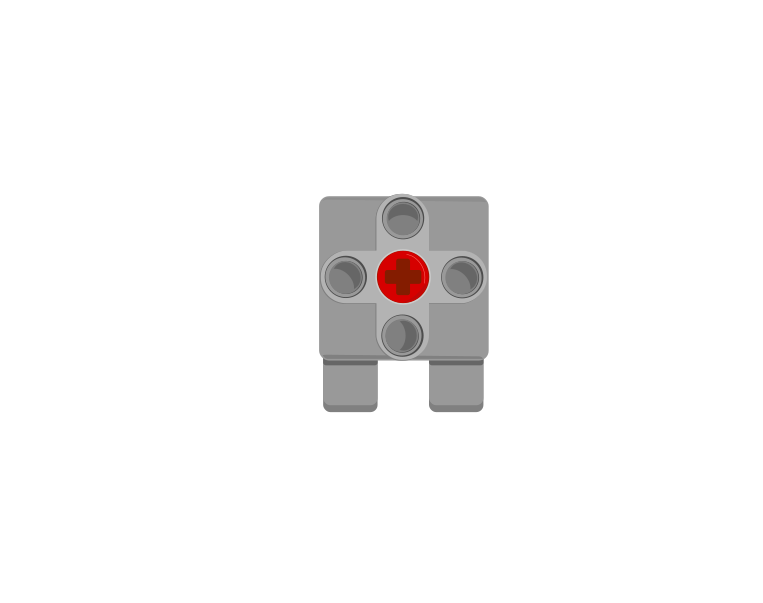
when program starts :: events hat
[A v] start motor [clockwise v] :: motors
wait (2) seconds
[A v] stop motor :: motors
A Medium Motor normally lives in port A or D.
The Large Motor is shown from the side, which is the face its axle comes out of — so once again you are looking straight down the shaft.
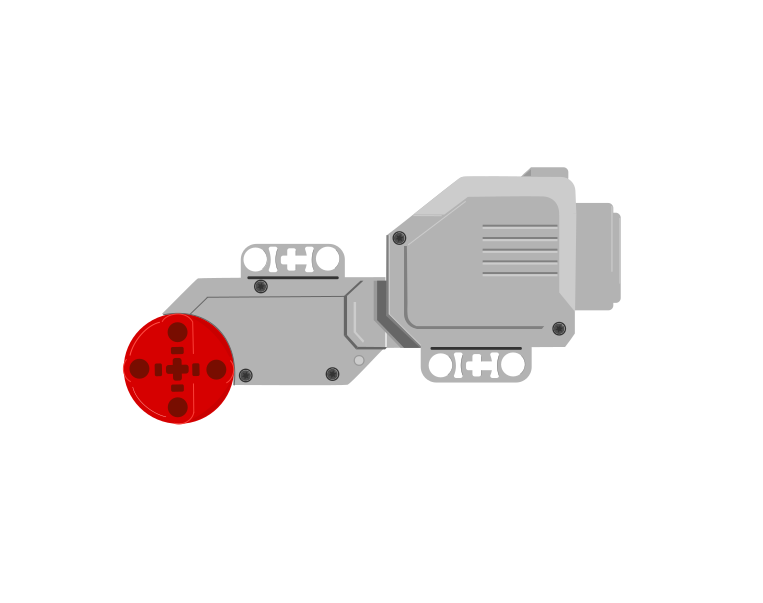
when program starts :: events hat
[B v] start motor [clockwise v] :: motors
wait (2) seconds
[B v] stop motor :: motors
A Large Motor normally lives in port B or C. Compare the two programs: they are the same three blocks, and only A has become B.
Medium · port ALarge · port BA fan, a conveyor belt or a spinning ride does not need to stop at an exact position — it just needs to run while something is happening. For those, timing the motor is simpler and perfectly good enough.
Say this back before moving on: “A long block is a long blind spot.”
Look at your model. Where is the sensor pointing? On this machine that is not a rhetorical question — the head moves with every stride.
| Part | What it is doing here |
|---|---|
| EV3 Intelligent Brick | The body — and most of the weight, which is what the arms are throwing forward. |
| Large Motor ×2 — the arms | Driven as a matched pair, like Lesson 5’s Stair Climber. If they fall out of step the machine turns instead of walking. Large, because each swing has to throw the Brick’s whole weight forward. |
| Ultrasonic Sensor — the head | Two openings: one sends a chirp, one listens for the echo. Point it at the wall and keep the openings clear. |
| The arms themselves (not electronic) | Long, so a small motor rotation moves the body a long way. Length buys distance and costs force — Lesson 24’s trade again. |
The Ultrasonic Sensor is mounted on a body that pitches back and forth every stride. Aimed slightly down it will read the table; aimed slightly up it will read the ceiling, or nothing at all.
Sensors go in ports 1, 2, 3, 4. Motors go in ports A, B, C, D. They are not interchangeable, and nothing will tell you politely if you swap them.
| Part | Port | Why this one |
|---|---|---|
| Left arm | B | B and C are the pair. These two do one job together, so they belong on the Movement blocks’ ports. |
| Right arm | C | The other half of the pair. |
| Head (Ultrasonic Sensor) | 4 | The Ultrasonic’s standing home, and the port in every condition below. |
The manual wires the two arms to A and D, not B and C. This lesson uses B and C because they are a pair — two motors doing one job — and that is what B and C mean everywhere in this course. Move the two cables, or change set movement motors to [B v] and [C v] to say A and D. Both work; pick one and be consistent.
The manual also says the Ultrasonic Sensor “can be connected or not”. On this model it is an addition rather than part of the build — so it is not in the instructions, and you mount it yourself. This lesson needs it, so fit it before you start.
Check your own wiring now:
Two routes, and either is fine. USB is the reliable one and the one to fall back on when a room’s Bluetooth is busy; Bluetooth leaves the robot free to move, which some models need.
Do these in order. Naming the Brick after you go looking for it in the list is how groups end up driving each other’s robots.
EV3 until somebody changes it.EV3.The two failures, every class, every time. The Brick has gone to sleep while you were building — press the centre button to wake it. Or you have paired with the group at the next table, which is why the name matters.
The long version, including Port View and how to read the port tiles, is in the Brick & Bluetooth guide.
Bluetooth, and this time it is not optional. This machine travels, and it travels by throwing its weight about. A USB cable will either stop it walking or come off the desk with it.
Stuck? The long version, with a photograph of every screen, is in the Brick & Bluetooth guide.
One change at a time. Mark the wall’s position with tape and measure where the machine actually ends up each run.
Steps 1 and 3 are two different causes of the same symptom, and telling them apart is the skill. A long stride means it noticed late. A high speed means it could not stop once it had noticed. One is a program problem and the other is physics.
Noticing in time and stopping in time are two different problems.
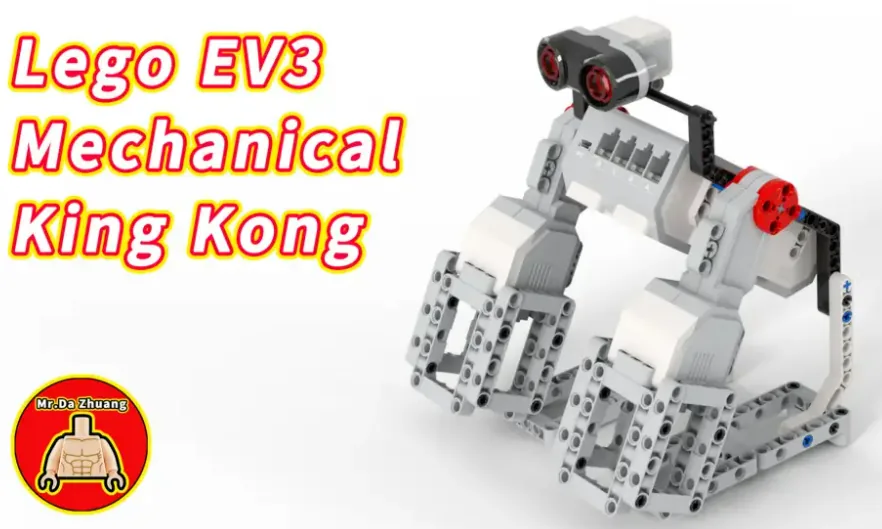
Build the model before you read any further. Everything after this is about making it do something, and none of it will make much sense with nothing on the table in front of you.
Use the viewer's own controls to zoom and turn pages. Fullscreen makes it big enough to build from.
The same build on Google Drive — sometimes a video, sometimes a scan:
Use the viewer's own controls to zoom and turn pages. Fullscreen makes it big enough to build from.
Check the finished build against the picture before you switch anything on. A motor mounted the wrong way round is far easier to spot now than it is to debug later, when it looks like a program fault.
Walk forward, one stride at a time, until the wall is close.
when program starts :: events hat
set movement motors to [B v] and [C v] :: movement
clear display :: display
write [BERJALAN] at line (1) :: display
repeat until <([4 v] distance in [cm v] :: sensors) < (25)>
  move [forward v] for (1) [rotations v] at (40) % speed :: movement
end
stop moving :: movement
clear display :: display
write [HALANGAN] at line (1) :: display
play sound [Animals / Dog bark v] until done :: sound
set movement motors first ** — the arms are a pair, and this says which pair.stop moving after the loop ** — the last stride has already finished, but say it anyway, because the coast is the part you cannot see in the program.What success looks like: the machine lumbers forward in visible steps, and somewhere around 25 cm from the book it stops, says HALANGAN and barks. It should not touch the book — though it may coast closer than you expect.
If it stops immediately, the head is reading something close — usually the table, or its own arm. Watch tile 4 while you rock the model by hand. If it never stops, the wall is scattering the echo; try a flat book, square on.
Work through them in order — each is harder than the last. The extra challenge comes after all three, and it is meant to make you plan before you build.
Walk towards a wall and stop with a gap of roughly 20 cm, three runs in a row, without touching it once.
After stopping, back away from the wall by the same number of strides it took to get there. You will have to count them.
Make it stop for anything that appears, not just the wall. Put your hand in front of it mid-walk and it must stop within one stride.
Cross a table that has a wall somewhere on it you have NOT told the robot about. It must stop short of that wall wherever it happens to be, then work its way along the wall to one end. Decide how it will tell "wall ahead" from "nothing ahead" before you write a single block.