The Football Robot: a driving base with a kicker — a sprung arm on its own motor that snaps forward to strike the ball rather than just shoving it.
It drives, it turns, and it kicks. Three jobs, three separate controls, and — for the first time in this course — an opponent on the other side of the pitch doing the same thing.
By the end of the lesson your robot will be playable, and it will have a full-time whistle that stops everything at once — which turns out to be the hard part.
In the real world 5 min
Where you have seen it
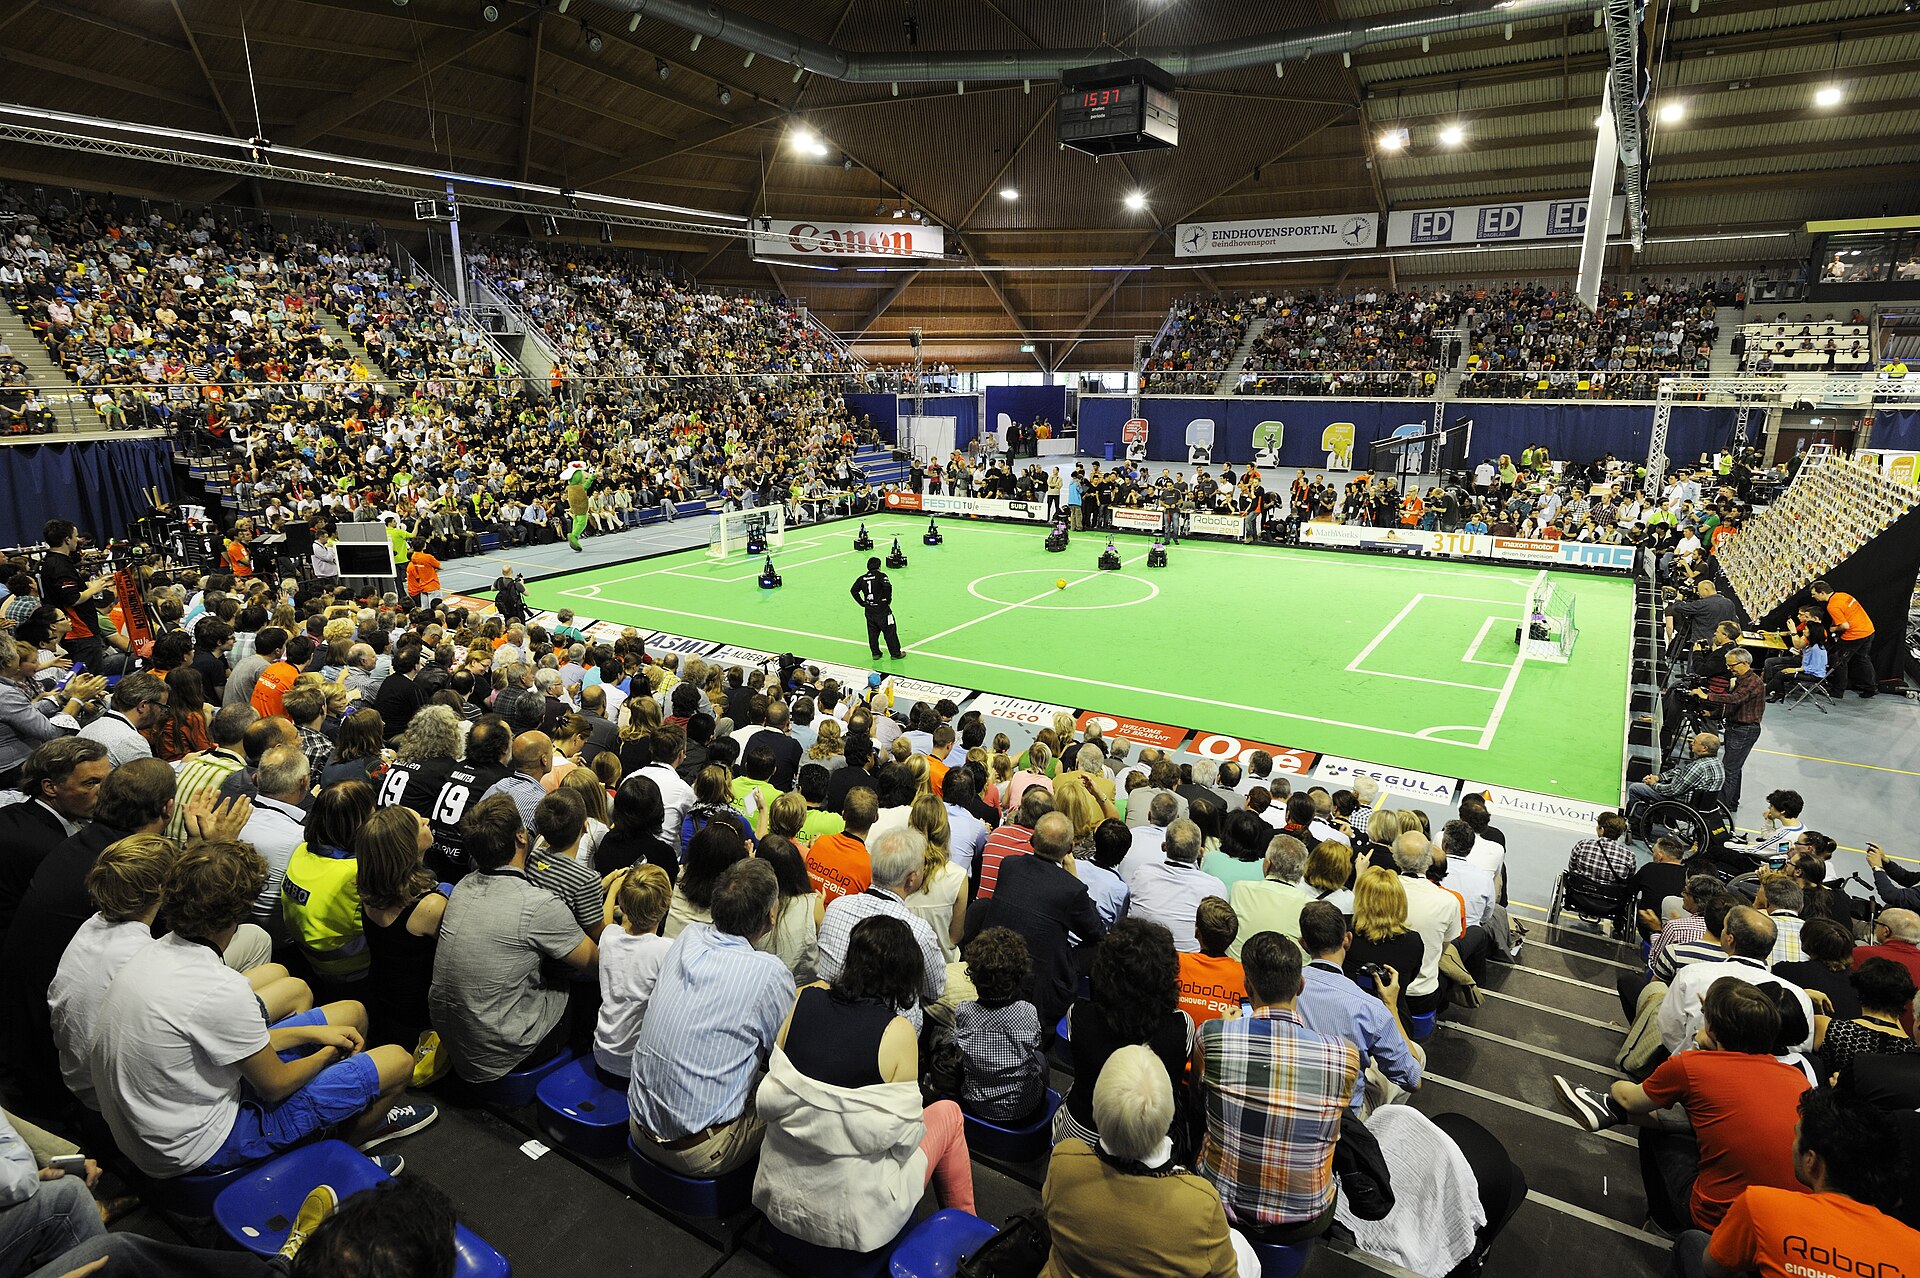
RoboCup is a world championship of robot football, held every year since 1997. Its stated goal is to beat the human World Cup winners by 2050 — which sounds silly until you watch a match.
The Middle Size League final at RoboCup 2013 in Eindhoven. Photo: Bart van Overbeeke Fotografie / Wikimedia Commons (CC BY-SA 2.0).
Why it is built that way
Football was chosen deliberately as a research problem. It forces everything hard at once: seeing, deciding and moving in real time, with an opponent who is actively trying to make your plan fail. You cannot solve it by being careful and slow.
Look at the kickers. Nearly every competition robot has a spring or a solenoid rather than a motor pushing the ball, because a motor can only push as fast as it turns. A spring stores energy slowly and gives it all back in a hundredth of a second — the same trick as Level 1’s Elastic Car, aimed at a ball.
What would go wrong without it
Now the part that matters today. Every RoboCup match is stopped by a referee, not by a robot. When the whistle goes, every robot on the pitch must stop — immediately, wherever it is, whatever it was in the middle of. A robot that keeps playing after full time is not enthusiastic; it is dangerous, and it is disqualified.
Anything that can be started by several things at once needs one thing that can stop it all.
The main concept — how a program made of stacks ends 6 min
Lesson 1 showed you that several stacks run at the same time, and Lesson 28 turned that into a control panel. Neither lesson answered an obvious question: how does a program with five stacks in it ever stop?
Pressing the stop button on the Brick works, and it is not an answer — because it stops everything outside the program too, so nothing can happen afterwards. A referee’s whistle is followed by handshakes.
when [down v] button [pressed v] :: events hat
stop other stacks
stop moving :: movement
[A v] stop motor :: motors
play sound [Communication / Goodbye v] until done :: sound
The whistle stack. It kills every other stack, then tidies up — and it is still running, so it can announce the result.
Read the block’s name carefully
stop other stacks stops the others. It does not stop the stack it is in. That is the whole reason it is useful — the referee is not sent off by their own whistle. The blocks after it still run, so this is where you put the tidying up.
Block
What it stops
Use it when
stop other stacks
every stack except this one
one stack has to take charge and then do something about it
stop [and exit program v]
everything, including this stack. Nothing after it ever runs
the program is genuinely finished
stop moving :: movement
the motors, and nothing else. The program carries on
you want the wheels still and the thinking running
Stopping a stack does not stop a motor. This is the trap. A stack killed halfway through a start moving [straight: 0] leaves the wheels turning for ever — the block that would have stopped them was in the stack you just killed. That is why the whistle stack stops the motors itself, on the next two lines.
Why not just use a variable?
You could set bermain to 0 and wrap every stack in if <(bermain) = (1)>. It works — and every stack has to remember to check, on every pass, for ever. Miss one and that stack plays on after full time.
stop other stacks does not ask the stacks to cooperate. They are stopped whether they were paying attention or not — which is precisely what you want from a whistle.
ComponentControl5 min
Two things at once
A program does not have to be one long column of blocks. Several stacks can run at the same time, each doing its own job — one driving, one watching a sensor, one keeping the display up to date.
How it is done
Give each stack its own hat block. Every stack beginning with when program starts starts at the same instant — not one after another — and from then on they run alongside each other.
Nor is it limited to two. Below, three stacks run together: a Medium Motor turning an attachment, the status light flashing, and the drive base rolling. Watch the arrows at the top — they all begin at once, and no stack waits for any other.
when program starts :: events hat
[A v] start motor [clockwise v] :: motors

when program starts :: events hat
forever
  set status light to [green v] :: display
  wait (0.5) seconds
  set status light to [red v] :: display
  wait (0.5) seconds
end

when program starts :: events hat
start moving [straight: 0] :: movement
Written down they have to go one under another, because a page is a column — but that is an accident of paper. On the Brick they sit side by side, and nothing in the first stack happens before anything in the third.
The rule: one owner per thing
Parallel stacks go wrong when two of them try to control the same thing. Use the switch below to take the wheels away from the third stack and point it at motor A, which the first stack is already driving.
the program starts — all of these begin here
stack 1 · Medium Motor
when program starts
A start motor clockwise
stack 2 · status light
when program starts
forever
set status light to green
wait 0.5 seconds
set status light to red
wait 0.5 seconds
stack 3 · drive base
when program starts
start moving straight: 0
One stack, one jobAll three at once
Three stacks, each with its own hat block. All three start the moment the program starts — none of them waits for the others.All three are running in the same instant: the Medium Motor is turning, the light is flashing, and the drive base is rolling.Each stack owns one thing and never touches another stack's job. That is the rule that makes this work.Finished. All three jobs ran the whole time, and none got in another's way.
three stacks, three jobs
Every stack is highlighted at the same moment on purpose — that is what running in parallel looks like. The switch above changes only what the third stack controls.
With one owner each, all three stacks are highlighted at the same instant and all three jobs get done. With two owners, motor A is handed contradictory orders hundreds of times a second and shivers instead of turning — and notice the second cost, which is easy to miss: the wheels now have nobody driving them. A stack that goes to fight over someone else’s motor has abandoned its own job. Nothing reports an error either way; as far as the Brick is concerned every stack is working perfectly. The same happens to a display line or a variable that two stacks both write to.
The discipline is simple: give each stack sole ownership of what it controls. One stack owns the motors, another owns the screen, another watches the sensors and tells the others what it found — which is what broadcasting is for.
ComponentSensing4 min
The Brick buttons
The Brick has five buttons of its own — up, down, left, right and centre. They need no sensor, no cable and no port, which makes them the easiest way to let a person tell the robot to do something.
Five buttons — up, down, left, right and centre — built into the Brick. No cable, no port, no sensor to plug in.
Blocks reference
Block
What it does
when [center v] button [pressed v] :: events hat
Starts a whole stack when that button is pressed.
wait until <is [center v] button pressed? :: sensors>
Holds an existing program until the button is pressed.
Press to begin
A program sitting on a wait block looks exactly like a program that has crashed. Watch one wait — including through two presses of the wrong button.
when program starts
wait until is center button pressed?
A run clockwise for 1rotations
the other way to do it
when center button pressed
A run clockwise for 1rotations
The program has reached the wait block. It is not stuck — it is waiting, and nothing below it will run until the centre button goes down.Up is pressed. The button reporter changes to 4, but this wait is watching the centre button, so the program stays where it is.Right: 3. Still not the one.Centre: 2. The condition is true and the wait lets go.The motor runs. One press, at the moment a person chose.Finished. The robot did nothing at all until a person said so.
waiting for centre
A program parked on a wait block looks identical to a crashed one. This is why the status light or a line on the screen is worth setting before you wait.
The wait is watching one button. Up and right change the (button) reading, and the program does not care. That reading is a number rather than a name: 0 for nothing, then 1 left, 2 centre, 3 right, 4 up, 5 down.
A hat, or a wait?
A hat gives the button its own separate stack, which can run at any time. Good for a control the user may press whenever they like.
A wait puts the button in the middle of a sequence. Good for “press to begin”, where nothing should happen before it.
Why it matters
Nearly every machine has a start button that is deliberately separate from switching the power on. A robot that begins moving the instant it is powered up is hard to set down and hard to test — one that waits for a press can be positioned first.
One stack can stop the rest. It must then stop the motors itself, because the blocks that would have done it are gone.
▶Several stacks at onceFrom Lesson 1 — why stacks run in parallel, and the one-motor-one-stack rule.Show meHide
ComponentControl5 min
Two things at once
A program does not have to be one long column of blocks. Several stacks can run at the same time, each doing its own job — one driving, one watching a sensor, one keeping the display up to date.
How it is done
Give each stack its own hat block. Every stack beginning with when program starts starts at the same instant — not one after another — and from then on they run alongside each other.
Nor is it limited to two. Below, three stacks run together: a Medium Motor turning an attachment, the status light flashing, and the drive base rolling. Watch the arrows at the top — they all begin at once, and no stack waits for any other.
when program starts :: events hat
[A v] start motor [clockwise v] :: motors

when program starts :: events hat
forever
  set status light to [green v] :: display
  wait (0.5) seconds
  set status light to [red v] :: display
  wait (0.5) seconds
end

when program starts :: events hat
start moving [straight: 0] :: movement
Written down they have to go one under another, because a page is a column — but that is an accident of paper. On the Brick they sit side by side, and nothing in the first stack happens before anything in the third.
The rule: one owner per thing
Parallel stacks go wrong when two of them try to control the same thing. Use the switch below to take the wheels away from the third stack and point it at motor A, which the first stack is already driving.
the program starts — all of these begin here
stack 1 · Medium Motor
when program starts
A start motor clockwise
stack 2 · status light
when program starts
forever
set status light to green
wait 0.5 seconds
set status light to red
wait 0.5 seconds
stack 3 · drive base
when program starts
start moving straight: 0
One stack, one jobAll three at once
Three stacks, each with its own hat block. All three start the moment the program starts — none of them waits for the others.All three are running in the same instant: the Medium Motor is turning, the light is flashing, and the drive base is rolling.Each stack owns one thing and never touches another stack's job. That is the rule that makes this work.Finished. All three jobs ran the whole time, and none got in another's way.
three stacks, three jobs
Every stack is highlighted at the same moment on purpose — that is what running in parallel looks like. The switch above changes only what the third stack controls.
With one owner each, all three stacks are highlighted at the same instant and all three jobs get done. With two owners, motor A is handed contradictory orders hundreds of times a second and shivers instead of turning — and notice the second cost, which is easy to miss: the wheels now have nobody driving them. A stack that goes to fight over someone else’s motor has abandoned its own job. Nothing reports an error either way; as far as the Brick is concerned every stack is working perfectly. The same happens to a display line or a variable that two stacks both write to.
The discipline is simple: give each stack sole ownership of what it controls. One stack owns the motors, another owns the screen, another watches the sensors and tells the others what it found — which is what broadcasting is for.
Say this back before moving on: “The whistle stops the players, then clears the pitch.”
What’s in this build 4 min
Look at your robot. Three motors, doing two completely different kinds of job — which is which?
Part
What it is doing here
EV3 Intelligent Brick
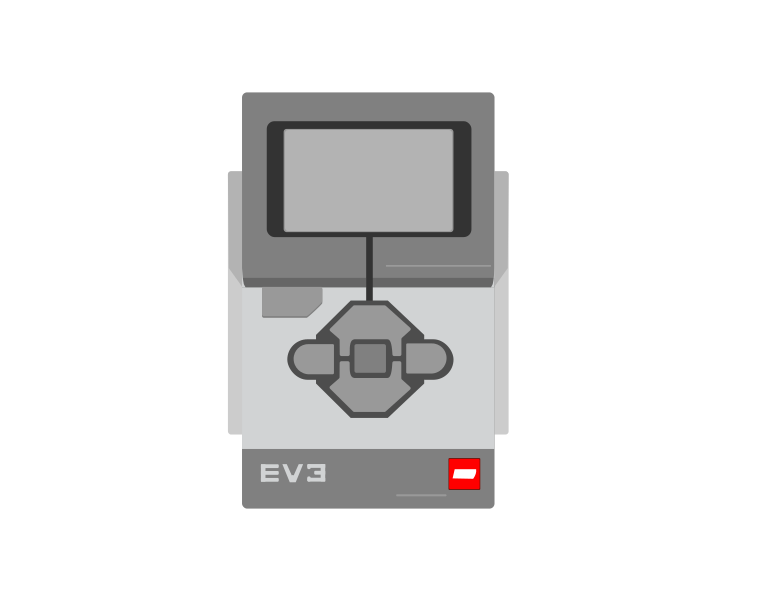
The robot, and the game controller. Its five buttons are the whole handset — four to play with and one to end the match.
Large Motor ×2 — the drive
A matched pair, one per wheel. They do one job together, so they live on the Movement blocks’ ports.
Medium Motor — the kicker
Its own job, its own port. It must be fast rather than strong: a kick that arrives slowly is a push.
The kicker arm and its spring (not electronic)
Stores the motor’s effort and releases it all at once. Take the band off and try a kick — the difference is the whole point of a sprung kicker.
Set the pitch before you set the program
Mark two goals at the ends of a table or the branch mat. Agree the boundary before anybody plays.
Kick the ball by hand with the arm. It must return to its rest position on its own, or the next kick starts from the wrong place.
Check the arm cannot reach the wheels at either end of its travel.
Ports — and the rule 4 min
Sensors go in ports 1, 2, 3, 4. Motors go in ports A, B, C, D. They are not interchangeable, and nothing will tell you politely if you swap them.
Part
Port
Why this one
Left wheel
B
The pair. Two motors, one job — driving.
Right wheel
C
The other half of the pair.
Kicker
A
A separate job gets a separate port, well away from B and C so it can never be driven as part of the pair.
Sensors
none
A person is the sensor today. Adding one is what the challenges are for.
The manual never says which port anything goes in — it ends at the last building step with no cables drawn. So the ports above are this course’s conventions, not the manual’s instructions, and nothing in your build contradicts them.
Check your own wiring now:
Wheels in B and C, kicker in A.
Push the robot forward by hand and check it runs straight. A robot that curves cannot be aimed, and no program will fix a dragging wheel.
Cables inside the robot’s outline. A trailing cable is a ball trap and a trip hazard for the other team.
Both robots in the match on the same port layout. It makes a swapped controller obvious and a shared program possible.
Connect the Brick 4 min
Two routes, and either is fine. USB is the reliable one and the one to fall back on when a room’s Bluetooth is busy; Bluetooth leaves the robot free to move, which some models need.
▶How to connect the BrickUSB and Bluetooth, step by step, with a photograph of every screen. Open it if you have not done this before — or if pairing is not working.Show meHide
USB — the reliable one
Switch the Brick on with the dark grey centre button.
Cable into the Brick’s PC port — the small square socket beside the numbered ports, not one of the numbered ones.
Other end into the computer.
Bluetooth — name it first
Do these in order. Naming the Brick after you go looking for it in the list is how groups end up driving each other’s robots.
Name your Brick. On the Brick: Settings (the spanner) → Brick Name. Type something nobody else will pick, then press the tick. Every Brick is called EV3 until somebody changes it.
Turn Bluetooth on. Settings → Bluetooth. Tick Bluetooth and Visibility. Leave iPhone/iPad/iPod unticked.
Connect from EV3 Classroom. Click the Brick icon at the top of the programming area, find your Brick by name, and click Connect.
Say yes on the Brick. It asks “Connect?” with the computer’s name — choose the tick, then accept the passkey, which is already 1234.
Where to read it. The name sits in the bar across the very top of the screen, on every screen — so you can check which Brick you are holding at any moment without going into a menu. This one is EV3VE. A Brick nobody has renamed says EV3.Step 3, and the reason step 1 exists. Three Bricks in range — read the name before you click Connect. Pairing with the wrong one is not an error: it works perfectly, on somebody else’s robot.
Step 2.Bluetooth switches the radio on; Visibility is what lets the computer find you. With Visibility off your Brick works perfectly and simply never appears in the list.Step 4. Look at the Brick. It asks whether to accept and names the computer. Choose the tick.Then the passkey, already 1234. Press the tick again and you are connected.
The two failures, every class, every time. The Brick has gone to sleep while you were building — press the centre button to wake it. Or you have paired with the group at the next table, which is why the name matters.
The long version, including Port View and how to read the port tiles, is in the Brick & Bluetooth guide.
Bluetooth, and this time it is not optional. The Brick is the handset and you will be holding it, moving round the pitch, playing against somebody else. A cable makes the game unplayable and the laptop unsafe.
Confirm the connection 2 min
Check the Brick icon: connected, or not.
Three motor tiles — A, B and C. Three is the number.
Turn each wheel by hand and confirm the left is B and the right is C. Then move the kicker arm and confirm A. A swapped pair means every turn is mirrored, mid-match.
Before the first game, test the down button stack on its own. Know that your whistle works before you need it.
Stuck? The long version, with a photograph of every screen, is in the Brick & Bluetooth guide.
Change it and test 8 min
One change at a time, and actually play a match after each. This is a game: the test is whether it is playable and whether it is fair.
Delete stop moving from the whistle stack. Drive forward and blow the whistle mid-move. The robot never stops. Now you have met the trap rather than read about it.
Swap stop other stacks for stop [and exit program v]. The robot stops — and the MASA TAMAT message never appears, because that stack died too.
Change set movement speed from 50 to 80, then to 25. One number, whole different game. Which is more fun, and which is easier to score with?
Give the two robots different speeds — 60 against 40 — and play a match. A handicap in one block.
Add a scoreboard: a variable gol, and a stack on the up button of a second Brick, or on a Touch Sensor a referee holds. Show it with write (gol) at line (3).
Make full time automatic. In the setup stack add reset timer, then wait until <(timer) > (120)>, then the same three whistle lines. The referee is now the clock.
Step 6 is the one to notice. The whistle stack did not need a button — it needed a reason. A timer, a sensor, a score reaching ten: anything that can decide the game is over can hold the whistle, and the four playing stacks do not change by a single block.
Stopping a stack is not stopping a motor. Say both, every time.
This is what you are building: the Football Robot.
Make it move 10 min
Six stacks: one to set up, four to play with, one to end the match. Each control owns one thing.
when program starts :: events hat
set movement motors to [B v] and [C v] :: movement
set movement speed to (50) % :: movement
clear display :: display
write [PERLAWANAN] at line (1) :: display

when [up v] button [pressed v] :: events hat
move [forward v] for (0.5) [rotations v] :: movement

when [left v] button [pressed v] :: events hat
move [straight: -60] for (0.3) [rotations v] :: movement

when [right v] button [pressed v] :: events hat
move [straight: 60] for (0.3) [rotations v] :: movement

when [center v] button [pressed v] :: events hat
[A v] run [clockwise v] for (0.4) [rotations v] at (100) % speed :: motors
[A v] run [counterclockwise v] for (0.4) [rotations v] at (40) % speed :: motors

when [down v] button [pressed v] :: events hat
stop other stacks
stop moving :: movement
[A v] stop motor :: motors
clear display :: display
write [MASA TAMAT] at line (1) :: display
play sound [Communication / Goodbye v] until done :: sound
Up drives, left and right steer, centre kicks, down blows the whistle. Only the last stack survives it.
The setup stack runs once and finishes. Note set movement speed — one number governs every movement afterwards, so the whole robot is tuned in one place.
Small bites everywhere. Half a rotation to drive, a third to turn. Small movements make a robot feel responsive; a full rotation per press feels like driving a bus.
The kick is two blocks, at two speeds. Out at 100% — that is the kick — then back at 40%, which resets the arm gently instead of hurling it into its stop.
The whistle stack tidies up after itself. Kill the other stacks, then stop the motors, then announce. Those last three lines only run because the block stops the others.
What success looks like: two people can play a real game. Press down and both robots stop mid-move, the screens say MASA TAMAT, and nothing twitches afterwards — including a robot that was halfway through a turn.
If a wheel keeps turning after the whistle, you have found the trap: the stack was stopped and the motor was not. Add the stop to the whistle stack.
Build it 15 min
Build the model before you read any further. Everything after this is about making it do something, and none of it will make much sense with nothing on the table in front of you.
Use the viewer's own controls to zoom and turn pages. Fullscreen makes it big enough to build from.
Check the finished build against the picture before you switch anything on. A motor mounted the wrong way round is far easier to spot now than it is to debug later, when it looks like a program fault.
Challenges 27 min
Work through them in order — each is harder than the last. The extra challenge comes after all three, and it is meant to make you plan before you build.
Challenge 1
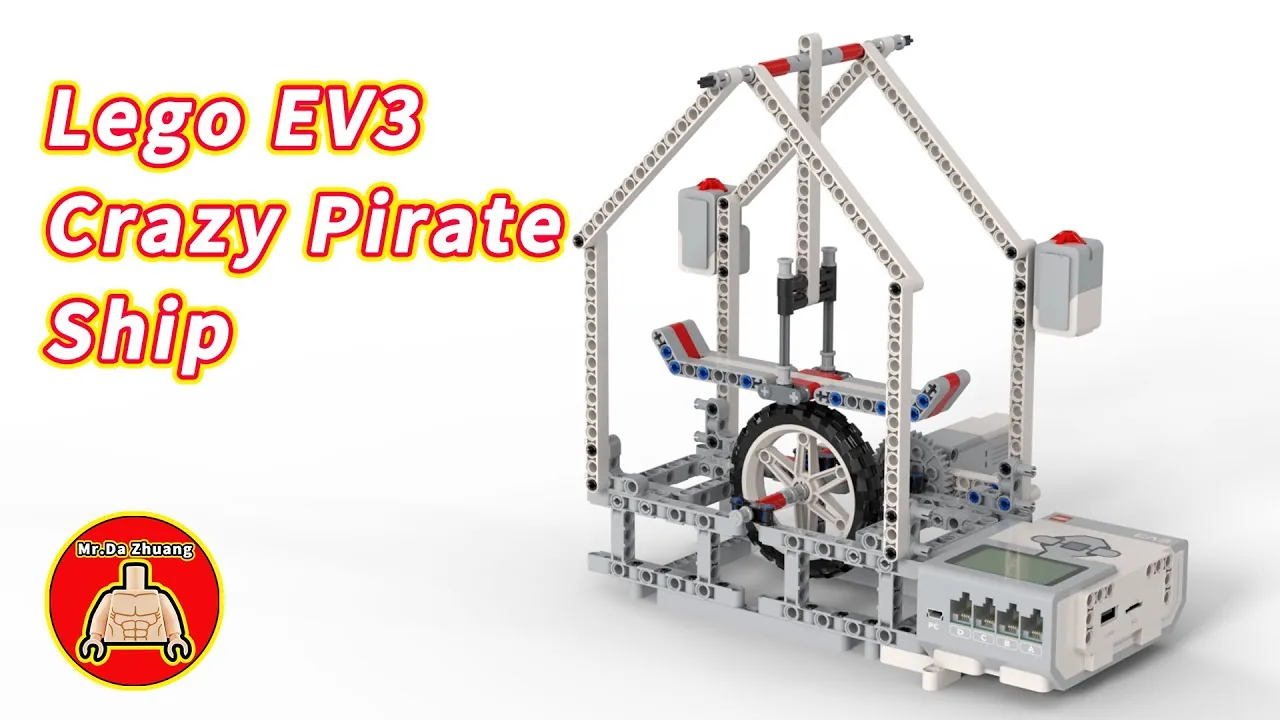
Get it over the top, and count the cost. Using well-timed taps, bring the ship all the way round at least once. Then do it again and count how many pushes it took. Report your best count — and if you cannot get it round at all, report the biggest swing angle you reached and what is stopping you.
Challenge 2
Add an emergency stop on its own stack, using a Brick button, that halts the drive whatever else is happening. Then prove it works by triggering it in the middle of a push rather than between pushes. Explain in one sentence why this belongs in its own stack.
Challenge 3
Prove that timing beats force. Push at the wrong moment deliberately and bring a big swing down to almost nothing, then time how long that takes. Then do the opposite from rest. Report both, and state the rule you have demonstrated in one sentence.
Extra challenge
Build the ride an operator could be handed, controls and all.
Your Crazy Pirate Ship must be drivable by somebody who has not practised: two clearly labelled controls, an emergency stop that always works, and something on the Brick that tells the operator what the machine is doing. They should be able to build a swing and bring it safely back down to rest.
Plan on paper before you build. Sketch every stack you are going to write and what starts it. Then check the one rule that will break you: does any motor have more than one stack trying to drive it?
Two questions when you demonstrate it. Why does your emergency stop work no matter where the rest of the program has got to? And what would happen if two of your stacks fired at the same instant — have you made that impossible, or just unlikely?