Challenge 1
Count ten swings and stop, with the machine's count matching the one you counted yourself.
Quick Learn — the model, the instructions, the program and the challenges. The theory is in Full Lesson.
EV3 Robotics›Level 2 · Intermediate›Lesson 32
Level 2 · Lesson 32 · EV3-L02-3260 minutes · Ages 9–16 · Model: Gymnastic
The Gymnastic: a brick-built figure hanging by both hands from a high bar, with a Medium Motor driving the bar through gears and a rubber band.
Drive the bar and the figure swings — up, over the top, and round again, exactly like a gymnast’s giant swing. An Ultrasonic Sensor sits beside the frame and sees the figure go past on every rotation.
By the end of the lesson the Brick will count the swings and stop after ten — and getting that count right is much harder than it sounds.
A gymnast on the high bar does giants — full circles round the bar with the body straight. They look effortless and they are not.

A hanging body is a pendulum, and a pendulum has a rhythm of its own that it will not be argued out of. How fast it swings depends on how long it is — not on how heavy it is, and barely on how far it swings.
So a gymnast cannot swing higher by pulling harder. They get round by pushing at exactly the right moment: shortening the body on the way up, opening out on the way down, once per swing, in time with the rhythm. Small pushes at the right instant add up; the same pushes at the wrong instant cancel out. That is resonance, and it is the same thing you do on a playground swing.
Your model has to obey the same rule. The motor is not strong enough to throw the figure round — it feeds energy in through the rubber band, and it only works if the speed suits the mechanism’s natural rhythm. Level 1’s Clock Ticking made this point first: the machine sets the rhythm and the program has to match it.
Drive too fast and the figure judders instead of swinging. Drive too slow and it never gets over the top. There is a right speed and you cannot calculate it — you find it by trying, which is what step 10 is for.
Some machines have an opinion about how fast they want to go. Listen to it.
Here is the obvious way to count swings. It is wrong, and it is wrong in a way that will teach you more than the right answer would.
forever
  if <([4 v] distance in [cm v] :: sensors) < (15)> then
    change [ayun v] by (1)
  end
endThe Brick runs that loop hundreds of times a second. The figure takes perhaps a fifth of a second to sweep past the sensor. So one swing past the sensor is not one “close” — it is a hundred of them in a row.
wait until <([4 v] distance in [cm v] :: sensors) < (15)>
change [ayun v] by (1)
wait until <([4 v] distance in [cm v] :: sensors) > (25)>
That third line is the whole lesson. It is called re-arming: the counter is loaded, it fires once, and it cannot fire again until the condition has gone false in between.
| What you are asking | What you get |
|---|---|
| Is it close? | A reading — true for as long as it stays close. Counting it counts time, not events. |
| Has it just become close? | An event — true once per arrival. This is what a swing is. |
You have seen this before, smaller. Lesson 33’s trigger fired the whole magazine on one long press until you added [1 v] wait until [released v]. A held button and a passing gymnast are the same problem: a condition that stays true, being counted as though it kept happening.
Use 15 for both and something horrible happens at the edge. A reading wobbling between 14 and 16 — which every real sensor does — crosses the line several times as the figure passes, and each crossing is a fresh count.
Two separate thresholds with a gap between them make that impossible: to count again the reading must go all the way out past 25 first. This is Lesson 23’s window doing a different job — and it has a name engineers use, hysteresis. Thermostats, lifts and street lights all have it, for exactly this reason.
The Ultrasonic Sensor measures distance. It sends out a burst of sound too high for people to hear, listens for the echo, and works out how far away the surface is from how long the echo took — exactly how a bat finds a moth, and how a submarine uses sonar.
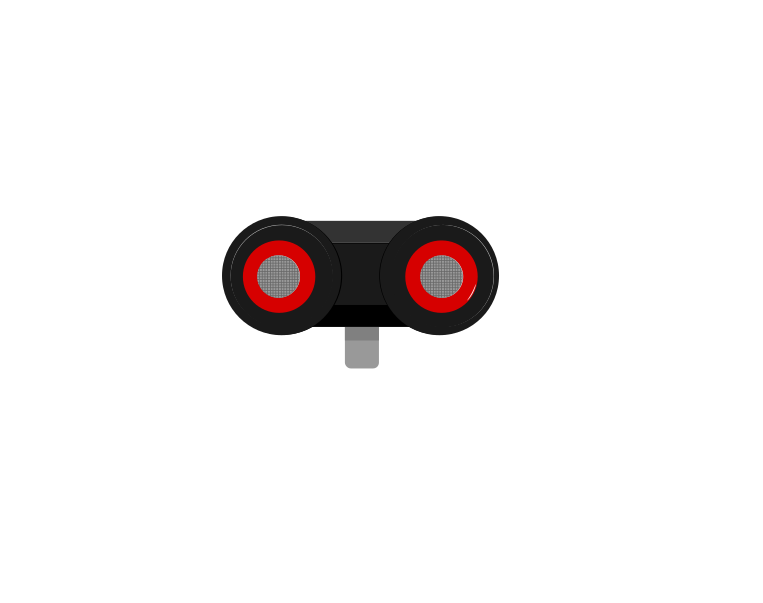 front
front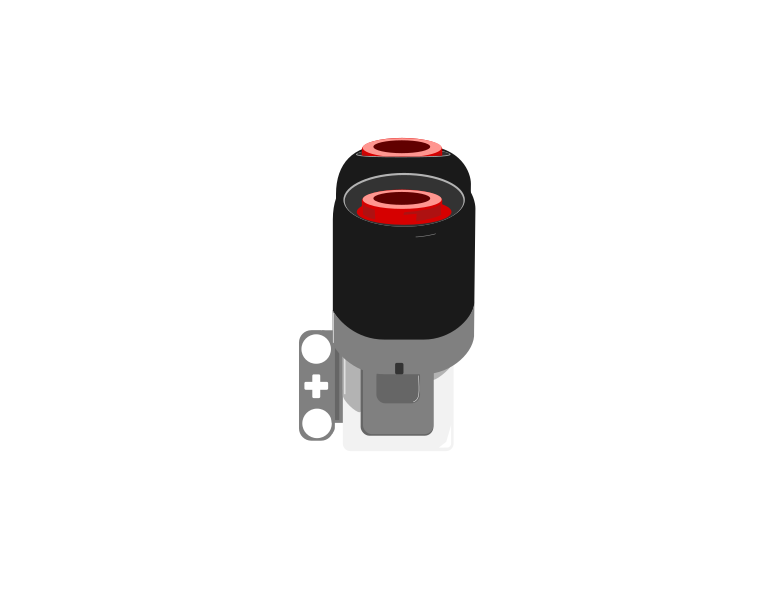 side
side| Block | What it does |
|---|---|
([4 v] distance in [cm v] :: sensors) | Reports how far away the nearest thing in front of the sensor is, as a number in centimetres. |
wait until <([4 v] distance in [cm v] :: sensors) < (15)> | Holds the program until something comes closer than 15 cm. |
This is the important step up from the Touch Sensor. Touch gives you true or false; the Ultrasonic gives you a number, and the deciding is left to you. Pick a threshold below and watch where the robot ends up.
The black line on the bar is the threshold; the blue fill is the reading. The robot stops the instant the fill crosses the line.
Three different robots, and only one number is different between them. That is what having a number rather than a yes-or-no buys you: the behaviour is tuned by editing one slot, not by rebuilding the program. It also means the sensor can never tell you it is “close” — close is a decision you make about a reading.
Car parking sensors, automatic doors at a shopping centre, and the sensor that stops a lift door closing on somebody all work this way. Reacting before contact is what makes a machine feel safe.
The Home/Retail EV3 set (31313) ships an Infrared Sensor and a Beacon in place of the Ultrasonic and Gyro sensors. The Infrared Sensor also measures distance, so the programs in this module work with it — but it reports a rough 0–100 proximity rather than real centimetres, and it is affected by sunlight and by dark surfaces in ways the Ultrasonic is not.
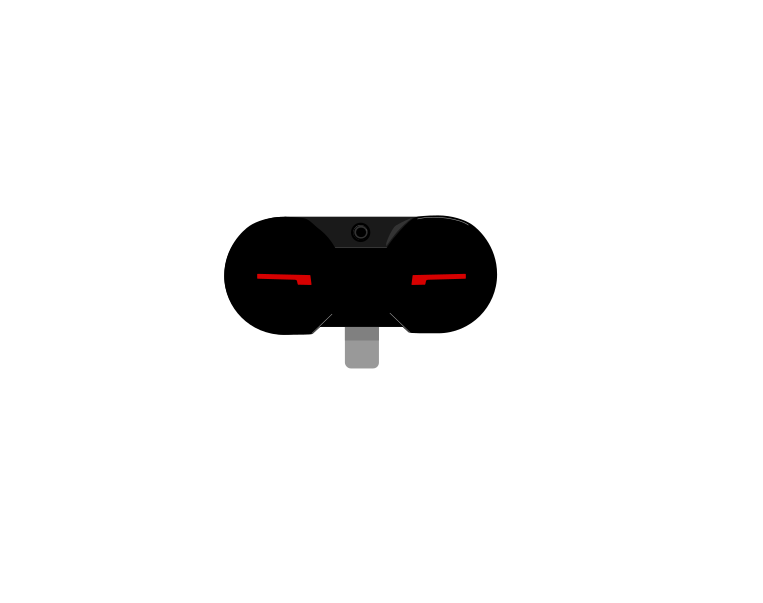 IR Sensor
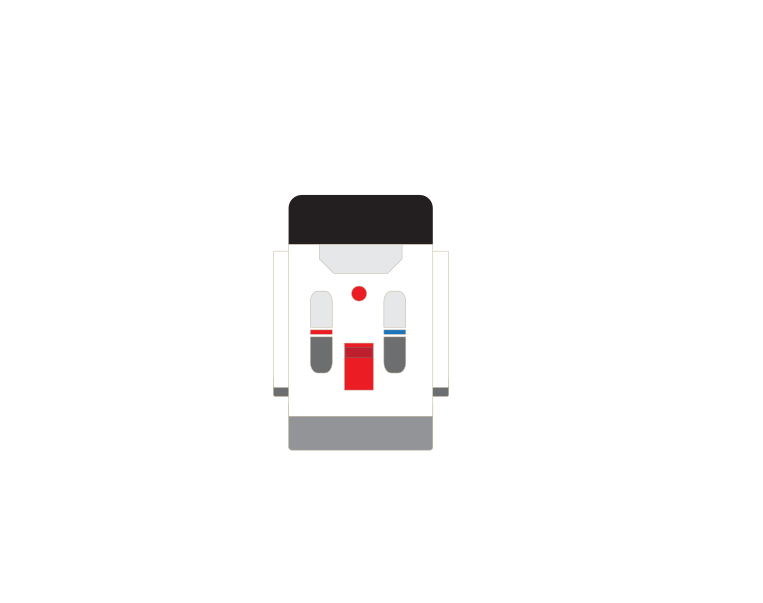 Beacon
Long before there were computers, people had exactly this problem. A shepherd counting sheep through a gate, a trader counting sacks of grain, a builder counting days — none of them can hold the number in their head while they get on with the work. So they scratched a mark on a wall, cut a notch in a stick, or wrote a number on a piece of paper. The number lived outside the person, in a place they had agreed on, and they could go back to it, read it, and change it.
Better still, once the number is written down somebody else can use it. Watch these two: one of them counts and writes, the other never sees a single animal and simply reads the wall.
Notice what never happens: Ben never asks Abby. He does not need to — the number is not in her head, it is on the wall, and the wall is there for anyone who needs it.
Neither Abby nor Ben is holding the number — the wall is. And notice what never happens: Ben does not ask Abby. He does not need to, because the count is not in her head. It is in a place they both agreed on, which is what makes it useful to more than one of them.
That is all a variable is. The robot cannot hold a number in its head either, so you give it a wall of its own, write a name at the top so everyone knows which wall is which — score, count, degree_turn — and the program can read what is on it and write something new. One part of the program writes; another part reads. Exactly Abby and Ben.
Say we are counting rotations of a motor. Before we start we write 0 on the paper. Every time the motor completes a turn we cross out what is there and write one more: 0 becomes 1, then 2, then 3. That is change — it has to read the old number to work out the new one.
set is the other thing you can do, and it is completely different: rub the whole paper out and write the number you want. It does not care what was there. Press the buttons and watch what happens to the crossings-out.
The paper starts blank, so we write 0 on it. That is what a variable is: a place to keep a number while the robot works.
| Block | What it does |
|---|---|
set [count v] to (0) | Puts a value in, replacing whatever was there. |
change [count v] by (1) | Adds to what is already there. |
(count) | Reports the current value, for use in a comparison or on the display. |
set replaces; change adds. Counting things needs change. Starting a count needs set. Both programs below have both blocks — the only difference is whether the set block is inside the loop or above it.
set before the loop
set inside it
Both programs contain both blocks. Only the position of set [count] to 0 is different.
The count on the right is not broken; it is being told to start again on every pass. Each time round the loop it is wiped back to zero and then changed by one, so the honest answer is always 1 — while the motor cheerfully turns four times. A counter stuck at 1 almost always means a set block that has slipped inside the loop.
EV3 Classroom tells you what a block does by its shape, and once you have noticed that, a whole set of questions answers itself:
So when a slot is oval, any oval fits it — and it does not matter in the least where that number came from. You can take the motor’s own A degrees counted and keep it in a variable you named degree_turn, then compare that with a number later. Pick an oval below and watch the same one drop into all three kinds of slot.
pick an oval
the same oval fits all three
Every one of those slots is oval-shaped, and A degrees counted is an oval — so it drops in. Nothing about where the number came from matters.
This is what makes a variable more than a counter. A sensor reading is true only at the instant you read it; copying it into a variable freezes it, so the robot can compare where it is now against where it was when something happened:
when program starts :: events hat
[A v] reset degrees counted :: motors
set [degree_turn v] to ([A v] degrees counted :: sensors)
start moving [right: 30] :: movement
wait until <(([A v] degrees counted :: sensors) - (degree_turn)) > (400)>
stop moving :: movement
Read the condition aloud: how far the motor has gone now, minus where it was when we started, is more than 400. Both are ovals, so both can go into a subtraction, and the subtraction is an oval too — which is why it can go into a comparison. Ovals nest inside ovals as deep as you need.
A variable keeps its value after the program ends. Run the program again without setting it back and the second run begins where the first left off — the count starts at 14, the robot thinks it has already done the job. Every variable a program changes must be set to its starting value at the top.
A variable is the difference between a machine that repeats a fixed routine and one that responds to how things have gone — counting parts, tracking a score, remembering where it started.
To count arrivals, wait for the departure too. A counter you cannot re-arm is a stopwatch.
A sensor that reports a number cannot be used to make a decision on its own — 23 is neither true nor false. An operator turns that number into an answer by comparing it with something.
| Block | What it does |
|---|---|
<(x) > (50)> | True when the left value is bigger than the right. |
<(x) < (50)> | True when it is smaller. |
<<> and <>> | True only when both conditions are true. |
<<> or <>> | True when at least one of them is. |
Forget the symbols for a moment. A comparison is a question about position on a number line: is x to the left of the other number, or to the right? Left is smaller, right is bigger — and that is the whole of it.
Drag the orange x and the black marker, and change the comparison. The green stretch is every position of x that would make the answer true — so you can see where the answer flips before you get there. Turn not on and watch the green jump to the other side.
Drag either marker, or use the arrow keys.
is x to the LEFT of it?
The lab above asks one question at a time: is this x true? A robot never has just one x, though — a sensor reading slides up and down all the time, so what really matters is which stretch of the line makes the condition true. This one draws the whole answer at once.
Drag the circle to move the number you are comparing against, and change the comparison. Everything shaded green is a value of x that would make it true.
Drag the circle, or use the arrow keys. It moves in steps of 0.2.
Every number to the left of 0.2 — but not 0.2 itself, so the circle is hollow.
Watch the circle, because it carries the part everyone gets wrong:
Now turn not on with x > 2 selected and watch two things happen together. The shading jumps to the other side, and the circle fills in — because “not greater than 2” means 2 or less, and 2 has to be part of it. That pairing is the whole reason a hollow circle is worth drawing.
Why a robot cares. Two conditions that look almost identical — light < 30 and not (light > 30) — differ by exactly one value, the reading of precisely 30. A robot sitting right on its threshold behaves differently under the two, and that is the sort of bug that only shows up occasionally and looks like a broken sensor.
These three join answers together rather than numbers. The trap is that English is looser than a program: “stop if it is close and the bumper is pressed” sounds like it covers both situations, when it covers neither on its own.
Flip the two conditions and watch the table. There are only four possible situations in total, and and and or differ on exactly two of them.
| close | bumper | and | or |
|---|---|---|---|
| true | true | true | true |
| true | false | false | true |
| false | true | false | true |
| false | false | false | false |
and is fussy: it wants both. Three of the four rows are false.
Two sensors are running below: an Ultrasonic reporting a number, and a Touch Sensor reporting true or false. Watch the comparison turn the number into an answer, and watch and and or disagree.
and was true in one row out of four. or was true in three. That is the whole difference, and it is why one of them makes a robot look broken.
The comparison is doing one job: it takes a reading that is neither true nor false and, by holding it against a number you chose, produces something a decision can use. The moment the blue fill crosses the black marker is the moment the answer changes.
The number you compare against is a design decision, not a fact. “Close” for a parking sensor might be 15 cm; for a robot arm it might be 3. Pick it by measuring what the sensor actually reads in the situation you care about, then leave a margin.
and narrows: both must hold, so the robot acts less often but more certainly — stop only if something is close and the bumper is pressed. or widens: either will do, so the robot acts more readily — stop if something is close or the bumper is pressed.
In the four situations above, and was true in one of them and or in three. That is the practical difference: swapping one for the other does not adjust a robot slightly, it changes how often it reacts at all.
Say this back before moving on: “Arrived, count, left. Then look again.”
Look at your model. Only two parts are electronic — but a third one, made of rubber, is doing just as much work.
| Part | What it is doing here |
|---|---|
| EV3 Intelligent Brick | The frame’s base and the scoreboard. Its screen shows the swing count as it climbs. |
| Medium Motor | Drives the bar through gears. Medium, not Large — this is a fast, light job, and the energy goes in a little at a time. |
| Ultrasonic Sensor | Watches the space the figure sweeps through. It is a counter here, not a range-finder — it only has to notice near and far. |
| The rubber band (not electronic) | Couples the motor to the bar and lets it slip. That slip is a feature: it stops the motor forcing the mechanism through a rhythm it does not want. |
| The figure and its arms (not electronic) | Must hang freely and be free to go right over the top. A stiff shoulder joint stops the whole trick. |
Sensors go in ports 1, 2, 3, 4. Motors go in ports A, B, C, D. They are not interchangeable, and nothing will tell you politely if you swap them.
| Part | Port | Why this one |
|---|---|---|
| Bar drive (Medium Motor) | A | One motor doing its own job. |
| Ultrasonic Sensor | 4 | The Ultrasonic’s standing home, and the port in both thresholds. |
The catalogue row says a Touch Sensor may be added, and the manual does not build one. That is a suggestion for the lesson, not a description of the build. If you want a start button, mount one yourself on port 1 — the challenges will ask for it.
Check your own wiring now:
Two routes, and either is fine. USB is the reliable one and the one to fall back on when a room’s Bluetooth is busy; Bluetooth leaves the robot free to move, which some models need.
Do these in order. Naming the Brick after you go looking for it in the list is how groups end up driving each other’s robots.
EV3 until somebody changes it.EV3.The two failures, every class, every time. The Brick has gone to sleep while you were building — press the centre button to wake it. Or you have paired with the group at the next table, which is why the name matters.
The long version, including Port View and how to read the port tiles, is in the Brick & Bluetooth guide.
Keep the cable out of the swing circle. The figure travels right round the bar, and a cable hanging anywhere in that circle will be counted as a swing — or will stop the swing altogether.
Step 3 is not a formality. The 15 and 25 in the program below are guesses about your model, and the tile has the real answer. Stuck? The long version is in the Brick & Bluetooth guide.
One change at a time, and predict first. The first two are about the counter; the rest are about the machine’s rhythm.
wait until … > (25). Predict what the count will do, then run it for two seconds. This is the bug the whole lesson exists to prevent, and it is worth seeing once.Step 6 is Lesson 18’s arithmetic used for something new. The machine counted the swings and the machine timed them, so the machine can work out its own period. You did not add a sensor to measure that — you divided two things it already knew.
A counter counts crossings, not truth. Make sure a crossing means what you think it means.
Build the model before you read any further. Everything after this is about making it do something, and none of it will make much sense with nothing on the table in front of you.
Use the viewer's own controls to zoom and turn pages. Fullscreen makes it big enough to build from.
Check the finished build against the picture before you switch anything on. A motor mounted the wrong way round is far easier to spot now than it is to debug later, when it looks like a program fault.
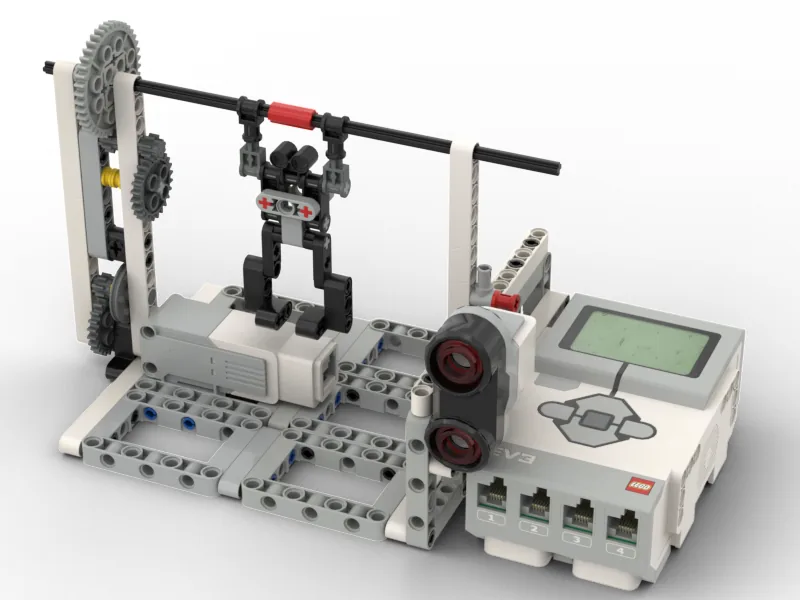
Drive the bar, count ten real swings, then stop and applaud.
when program starts :: events hat
set [ayun v] to (0)
clear display :: display
write (ayun) at line (1) :: display
[A v] start motor at (55) % speed :: motors
repeat until <(ayun) = (10)>
  wait until <([4 v] distance in [cm v] :: sensors) < (15)>
  change [ayun v] by (1)
  write (ayun) at line (1) :: display
  wait until <([4 v] distance in [cm v] :: sensors) > (25)>
end
[A v] stop motor :: motors
play sound [Communication / Hello v] until done :: sound
start motor, not run for. ** The bar must keep turning while the loop counts. Lesson 7’s distinction, and Lesson 35’s reason.What success looks like: the figure swings up and over, round and round. The number on the screen goes up by exactly one per swing — you can watch and count along — and after the tenth the bar stops and the Brick says hello.
If the count leaps to 10 immediately, the sensor can see something permanently close, or your re-arm threshold is too high to reach. If it never counts, the figure is not getting near enough — check tile 4 by hand again. If the figure judders instead of swinging, that is not the program: change the speed.
Work through them in order — each is harder than the last. The extra challenge comes after all three, and it is meant to make you plan before you build.
Count ten swings and stop, with the machine's count matching the one you counted yourself.
Find the motor speed that swings the figure right over the top most reliably. Three runs at every speed you try, and write the results down.
Make the machine measure and display its own swing period in seconds, using the timer and the swing count together.
Make the machine find its own best speed with nobody touching it. It must try three speeds in turn, count how many full swings each produces in fifteen seconds, remember which was best, and then settle down and run at that speed.