Challenge 1
Ski towards a wall and stop with a gap of about 12 cm, arriving slowly rather than stopping suddenly.
Quick Learn — the model, the instructions, the program and the challenges. The theory is in Full Lesson.
EV3 Robotics›Level 1 · Beginner›Lesson 47
Level 1 · Lesson 47 · EV3-L01-4760 minutes · Ages 9–16 · Model: Skiing Robot
The Skiing Robot: a figure on skis with two motorised poles. The poles reach forward, plant, and push back — and the whole robot slides forward.
An Ultrasonic Sensor is its head, looking down the track. It has no brakes: on skis, stopping means stopping poling and then waiting for the glide to run out.
By the end of the lesson the robot will slow down smoothly as it nears an obstacle, instead of charging up to it and stopping dead — and it will do that with one block you have never used this way before.
A cross-country skier moves by planting poles and pushing. Between pushes they glide — no effort at all, just the ski sliding on a thin film of melted snow under its own base.
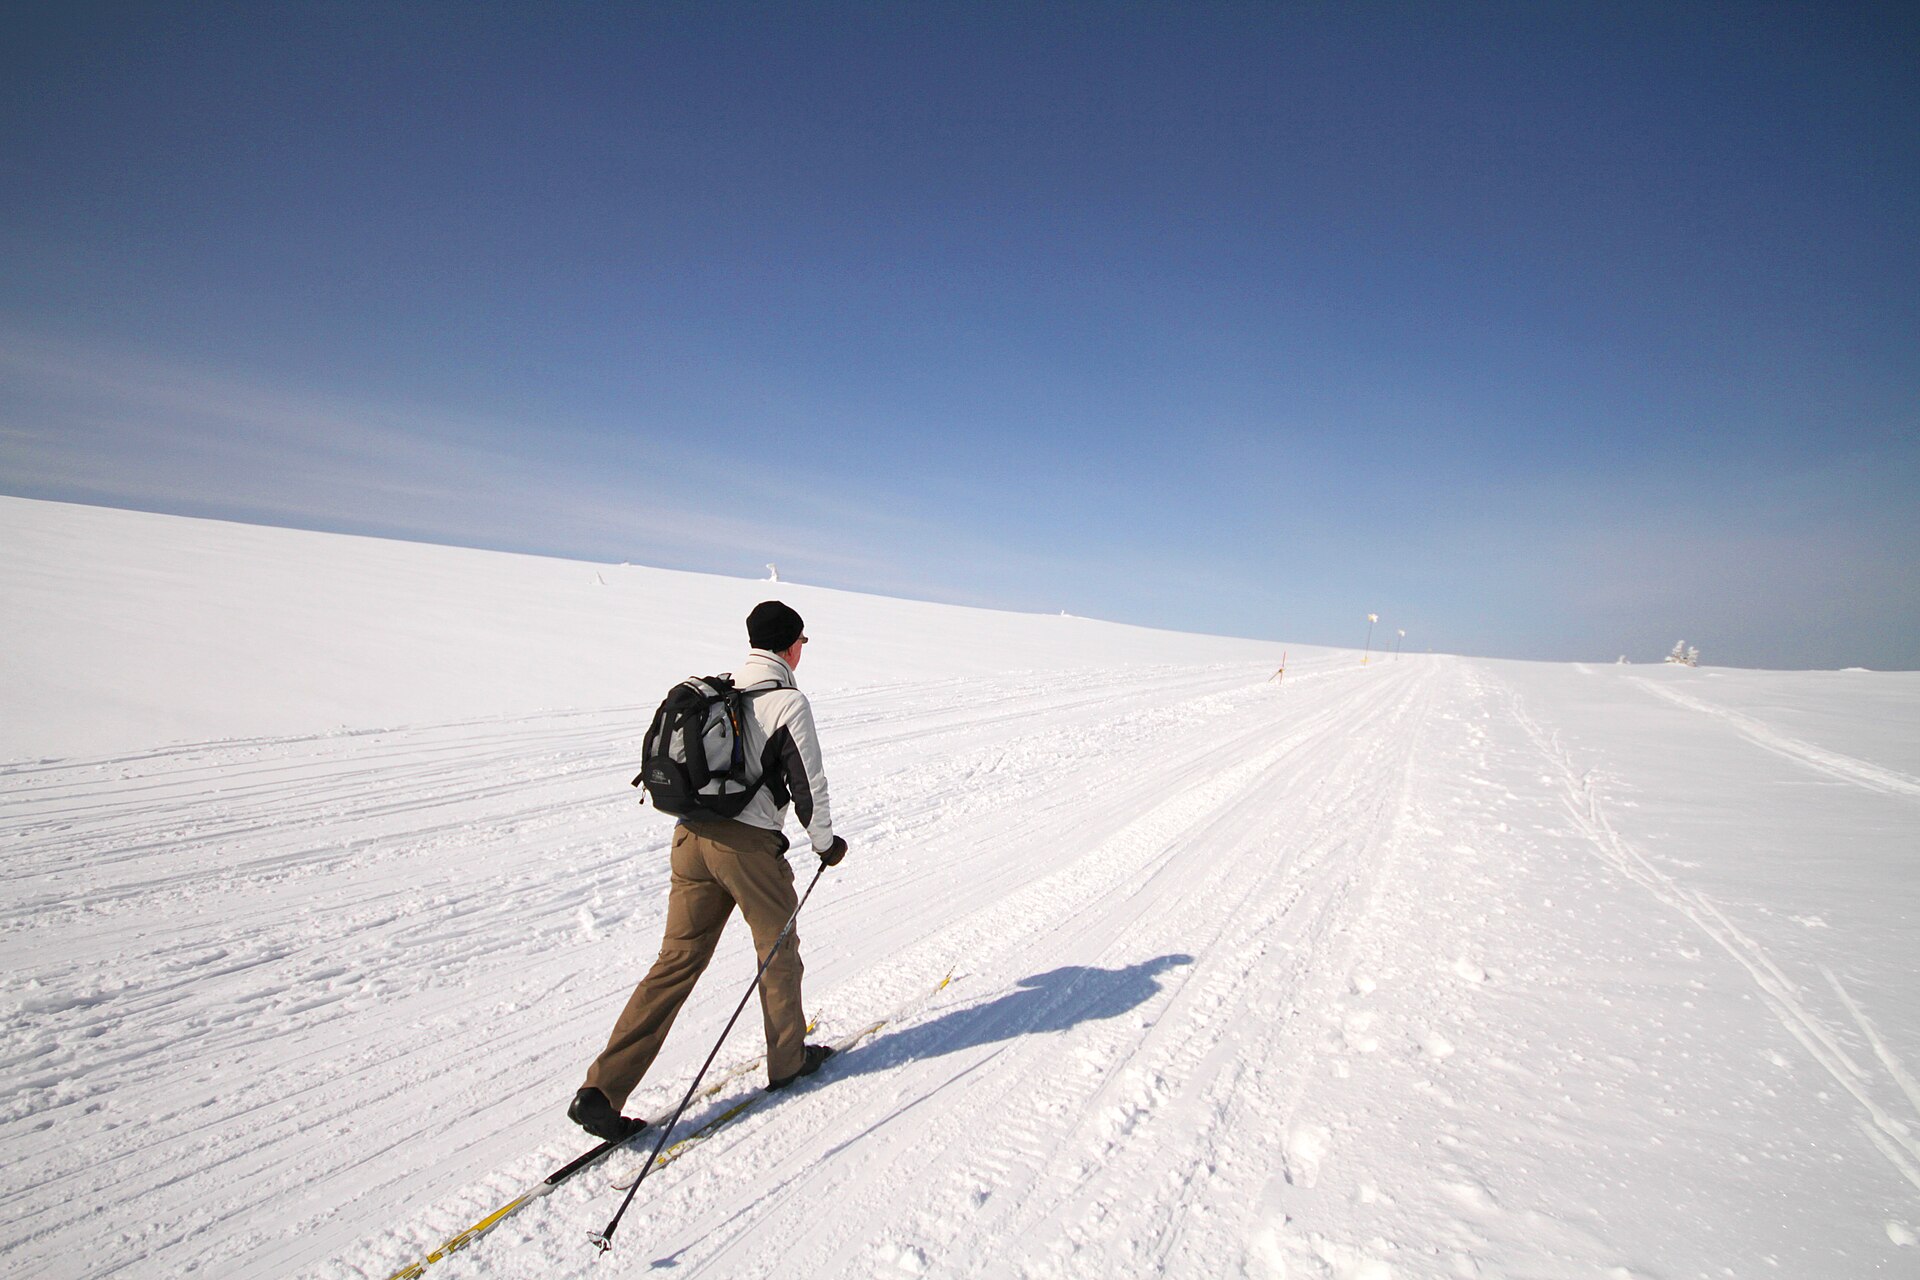
Skis are built to have almost no friction forwards and quite a lot sideways. That is wonderful for going and terrible for stopping. A skier has no brakes. They slow by snowploughing, by turning across the hill, or simply by stopping poling and letting the glide die.
So a skier approaching another skier does not decide at the last second. They ease off gradually, and the closer they get the more they ease off. Watch a queue at the top of a slope and you will see everybody doing continuous, smooth, tiny adjustments — nobody is switching between “full speed” and “stopped”.
You do the same in a car without being told. You do not hold full speed to the junction and then stamp on the brake. You press harder the closer you get. The response scales with the situation.
Lesson 35’s King Kong ran flat out and stopped when the wall got close, and it overshot every time — because a machine at full speed cannot stop instantly. Arriving slowly is much easier than stopping quickly.
Do not go full speed until you must stop. Go slower as the reason to stop gets nearer.
This model has no step-by-step manual, and the video above is not one. It films a finished robot skiing. Watch it for how the poles plant and how far they swing, then build from the model your teacher has. You are not missing a page; the page does not exist.
The programs below name ports rather than motor types.
Every sensor program you have written so far has asked a yes-or-no question. Is it closer than 25? Is the switch pressed? Two answers, two behaviours.
set movement speed to ([4 v] distance in [cm v] :: sensors) % :: movement
No question is asked. Nothing is compared. The number simply goes straight in — and because it does, the robot has not two speeds but a hundred.
| Wall is | Sensor reports | Robot travels at |
|---|---|---|
| far off | 90 cm | 90% — full pelt |
| getting closer | 50 cm | 50% — easing off already |
| close | 20 cm | 20% — creeping |
| nearly there | 8 cm | 8% — barely moving, easy to stop |
By the time it needs to stop, it has almost stopped anyway. That is why this beats the King Kong’s approach. The overshoot problem has not been solved by better stopping — it has been removed by never being fast when it mattered.
Speed clamps at 100. The Ultrasonic reads up to 255 cm, and a speed of 255% is not a thing. Anything above 100 is simply 100, which happens to be the behaviour you wanted — but know that it is a clamp and not your program being clever.
Below about 10%, motors stop turning at all. There is not enough torque to overcome the machine’s own friction, so a proportional robot creeps to a halt slightly further out than you expected and sits there humming. Adding a small fixed amount to the speed — a minimum — is the standard fix, and step 10 has you find yours.
The Ultrasonic Sensor measures distance. It sends out a burst of sound too high for people to hear, listens for the echo, and works out how far away the surface is from how long the echo took — exactly how a bat finds a moth, and how a submarine uses sonar.
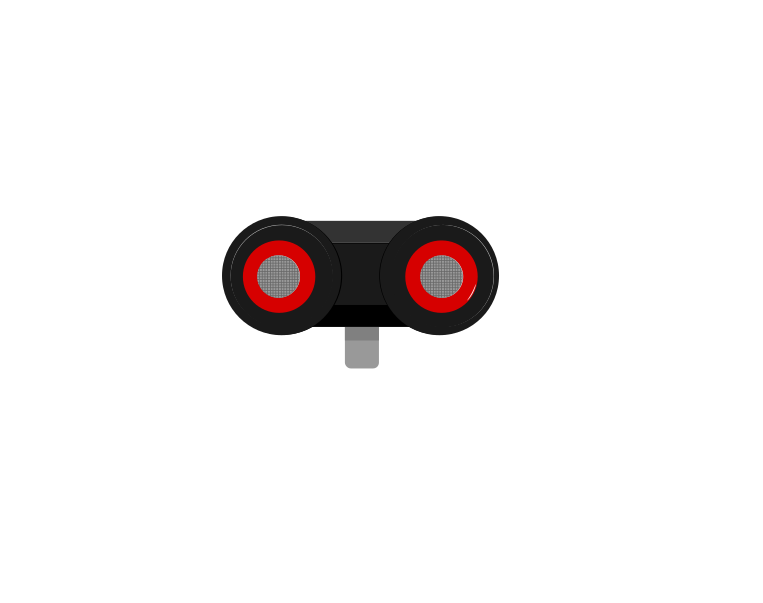 front
front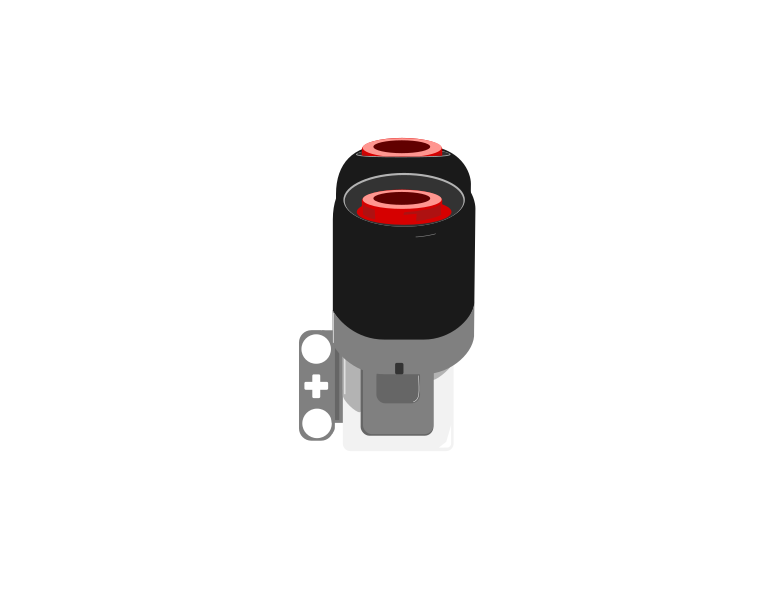 side
side| Block | What it does |
|---|---|
([4 v] distance in [cm v] :: sensors) | Reports how far away the nearest thing in front of the sensor is, as a number in centimetres. |
wait until <([4 v] distance in [cm v] :: sensors) < (15)> | Holds the program until something comes closer than 15 cm. |
This is the important step up from the Touch Sensor. Touch gives you true or false; the Ultrasonic gives you a number, and the deciding is left to you. Pick a threshold below and watch where the robot ends up.
The black line on the bar is the threshold; the blue fill is the reading. The robot stops the instant the fill crosses the line.
Three different robots, and only one number is different between them. That is what having a number rather than a yes-or-no buys you: the behaviour is tuned by editing one slot, not by rebuilding the program. It also means the sensor can never tell you it is “close” — close is a decision you make about a reading.
Car parking sensors, automatic doors at a shopping centre, and the sensor that stops a lift door closing on somebody all work this way. Reacting before contact is what makes a machine feel safe.
The Home/Retail EV3 set (31313) ships an Infrared Sensor and a Beacon in place of the Ultrasonic and Gyro sensors. The Infrared Sensor also measures distance, so the programs in this module work with it — but it reports a rough 0–100 proximity rather than real centimetres, and it is affected by sunlight and by dark surfaces in ways the Ultrasonic is not.
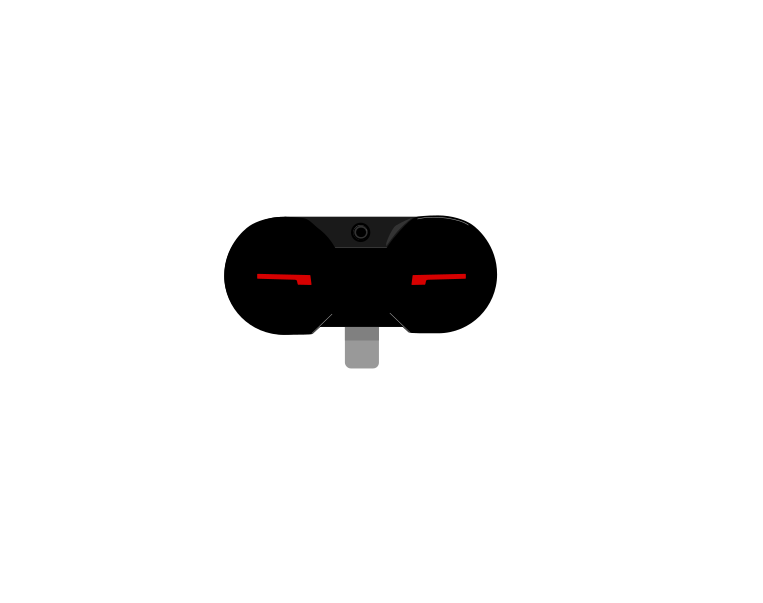 IR Sensor
 Beacon
Speed is set separately from movement. You tell the motor how fast it should go, and then you tell it to go — two blocks, in that order.
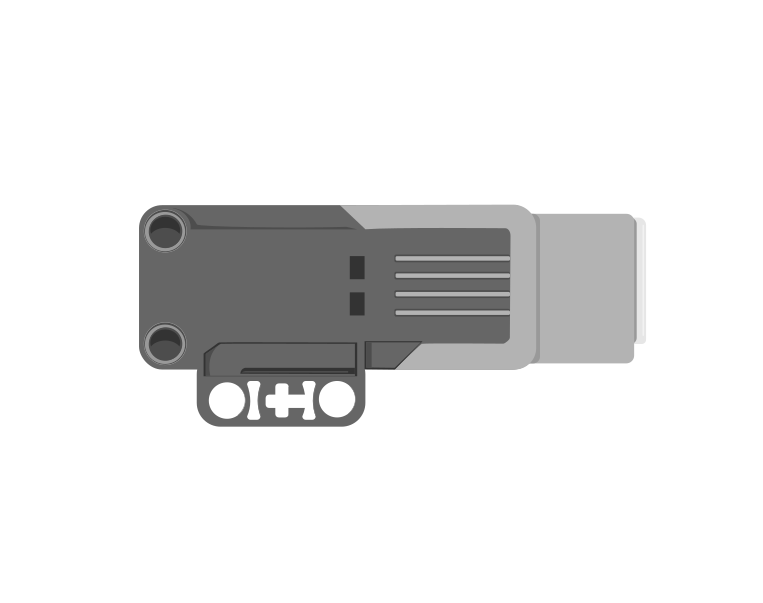
| Block | What it does |
|---|---|
[A v] set speed to (25) % :: motors | Sets the speed for this motor from now on. Nothing moves — it only changes what the next movement will do. |
[A v] run [clockwise v] for (2) [rotations v] :: motors | Now moves, at whatever speed was last set. |
when program starts :: events hat
[A v] set speed to (25) % :: motors
[A v] run [clockwise v] for (2) [rotations v] :: motors
Swap those two blocks round and the program still contains a speed of 25 % — it just never gets used. Both shafts below are asked for exactly 2 rotations; watch how long each one takes.
speed first — works
speed last — does nothing
Both shafts turn exactly 2 rotations. Only the time they take is different — and the right-hand program never gets the slow movement it was written to have.
The right-hand movement is over before the left is a third of the way round, because it ran at the default speed. Its set speed to () block does run — you can see it light up — but by then the movement it was meant to slow down has already happened. A speed block only ever affects the movements after it. This catches people out constantly.
A high speed is not a better program. Slow movements are gentler on the gears, easier to watch and debug, and look more like the real machine — a barrier that snaps up in a fraction of a second reads as broken rather than fast.
A sensor reading can be an answer to a question, or it can be a number you use directly. The second one is smoother.
A sensor that reports a number cannot be used to make a decision on its own — 23 is neither true nor false. An operator turns that number into an answer by comparing it with something.
| Block | What it does |
|---|---|
<(x) > (50)> | True when the left value is bigger than the right. |
<(x) < (50)> | True when it is smaller. |
<<> and <>> | True only when both conditions are true. |
<<> or <>> | True when at least one of them is. |
Forget the symbols for a moment. A comparison is a question about position on a number line: is x to the left of the other number, or to the right? Left is smaller, right is bigger — and that is the whole of it.
Drag the orange x and the black marker, and change the comparison. The green stretch is every position of x that would make the answer true — so you can see where the answer flips before you get there. Turn not on and watch the green jump to the other side.
Drag either marker, or use the arrow keys.
is x to the LEFT of it?
The lab above asks one question at a time: is this x true? A robot never has just one x, though — a sensor reading slides up and down all the time, so what really matters is which stretch of the line makes the condition true. This one draws the whole answer at once.
Drag the circle to move the number you are comparing against, and change the comparison. Everything shaded green is a value of x that would make it true.
Drag the circle, or use the arrow keys. It moves in steps of 0.2.
Every number to the left of 0.2 — but not 0.2 itself, so the circle is hollow.
Watch the circle, because it carries the part everyone gets wrong:
Now turn not on with x > 2 selected and watch two things happen together. The shading jumps to the other side, and the circle fills in — because “not greater than 2” means 2 or less, and 2 has to be part of it. That pairing is the whole reason a hollow circle is worth drawing.
Why a robot cares. Two conditions that look almost identical — light < 30 and not (light > 30) — differ by exactly one value, the reading of precisely 30. A robot sitting right on its threshold behaves differently under the two, and that is the sort of bug that only shows up occasionally and looks like a broken sensor.
These three join answers together rather than numbers. The trap is that English is looser than a program: “stop if it is close and the bumper is pressed” sounds like it covers both situations, when it covers neither on its own.
Flip the two conditions and watch the table. There are only four possible situations in total, and and and or differ on exactly two of them.
| close | bumper | and | or |
|---|---|---|---|
| true | true | true | true |
| true | false | false | true |
| false | true | false | true |
| false | false | false | false |
and is fussy: it wants both. Three of the four rows are false.
Two sensors are running below: an Ultrasonic reporting a number, and a Touch Sensor reporting true or false. Watch the comparison turn the number into an answer, and watch and and or disagree.
and was true in one row out of four. or was true in three. That is the whole difference, and it is why one of them makes a robot look broken.
The comparison is doing one job: it takes a reading that is neither true nor false and, by holding it against a number you chose, produces something a decision can use. The moment the blue fill crosses the black marker is the moment the answer changes.
The number you compare against is a design decision, not a fact. “Close” for a parking sensor might be 15 cm; for a robot arm it might be 3. Pick it by measuring what the sensor actually reads in the situation you care about, then leave a margin.
and narrows: both must hold, so the robot acts less often but more certainly — stop only if something is close and the bumper is pressed. or widens: either will do, so the robot acts more readily — stop if something is close or the bumper is pressed.
In the four situations above, and was true in one of them and or in three. That is the practical difference: swapping one for the other does not adjust a robot slightly, it changes how often it reacts at all.
Say this back before moving on: “The closer it gets, the slower it goes — no question asked.”
Look at your robot. Nothing here is a wheel. How does a machine with no wheels know how fast it is going? (It does not — and that matters today.)
| Part | What it is doing here |
|---|---|
| EV3 Intelligent Brick | The skier’s body. Its weight presses the skis down, which is what gives the poles something to push against. |
| Pole motor ×2 | A matched pair, driven together. If they fall out of step the robot skis in a circle. |
| Ultrasonic Sensor — the head | Looks down the track. Today it does not answer a question; it supplies a number, continuously. |
| The skis (not electronic) | Low friction forwards, high friction sideways. That is what makes the pole push turn into travel instead of a slide. |
| The pole tips (not electronic) | Need grip. On a smooth table they slip and the robot goes nowhere — try a sheet of paper or a cloth under it. |
The encoder is lying to you on this model, and it is fine. The motors turn the poles, not wheels, so degrees counted says how much the robot poled, not how far it went. Lesson 42’s circumference maths does not apply here at all — which is a good reason to be measuring the world with the sensor instead.
Sensors go in ports 1, 2, 3, 4. Motors go in ports A, B, C, D. They are not interchangeable, and nothing will tell you politely if you swap them.
| Part | Port | Why this one |
|---|---|---|
| Left pole | B | The pair. Two motors, one job. |
| Right pole | C | The other half — and the pair the set movement speed to block governs. |
| Head (Ultrasonic) | 4 | The Ultrasonic’s standing home. |
Check your own wiring now:
Two routes, and either is fine. USB is the reliable one and the one to fall back on when a room’s Bluetooth is busy; Bluetooth leaves the robot free to move, which some models need.
Do these in order. Naming the Brick after you go looking for it in the list is how groups end up driving each other’s robots.
EV3 until somebody changes it.EV3.The two failures, every class, every time. The Brick has gone to sleep while you were building — press the centre button to wake it. Or you have paired with the group at the next table, which is why the name matters.
The long version, including Port View and how to read the port tiles, is in the Brick & Bluetooth guide.
Bluetooth, and this time it is not optional. This machine travels on almost no friction, so a USB cable is not a minor drag — it is a bigger force than the poles produce. The robot will simply not move.
Stuck? The long version, with a photograph of every screen, is in the Brick & Bluetooth guide.
One change at a time, and measure the final gap with a ruler every run. Predict the gap before each one.
set movement speed to (20) % and run. Then 15, then 10. The lowest number that still moves the robot is your minimum — write it down.repeat until. Run both five times and measure the final gap each time. Which is more accurate, and which is more repeatable?Step 4 is the comparison to write down. Bang-bang is faster on a good day and never the same twice. Proportional is a little slower and lands in almost the same place every run. For a competition robot that has to score points reliably, the second one wins, and that is why Level 4 spends twelve lessons on it.
Two states give you two behaviours. A number gives you all of them.
Ski towards the wall, easing off the whole way, and arrive gently.
when program starts :: events hat
set movement motors to [B v] and [C v] :: movement
clear display :: display
repeat until <([4 v] distance in [cm v] :: sensors) < (12)>
  set movement speed to ([4 v] distance in [cm v] :: sensors) % :: movement
  write ([4 v] distance in [cm v]) at line (1) :: display
  move [forward v] for (0.5) [rotations v] :: movement
end
stop moving :: movement
write [SAMPAI] at line (3) :: display
play sound [Communication / Hello v] until done :: sound
move block carries no speed of its own. It uses whatever set movement speed last said — which is the whole mechanism. A speed typed into the move block would override it and silently break the lesson.What success looks like: the robot sets off briskly, and audibly eases. By the time it is a hand’s width from the book it is barely moving, and it stops with a gap rather than a bump.
If it stalls a long way out, you have found the low-speed limit — the motors cannot turn at 15%. Step 10 fixes it. If it is still fast at the wall, the head is reading something further away than the wall; check tile 4 by hand.
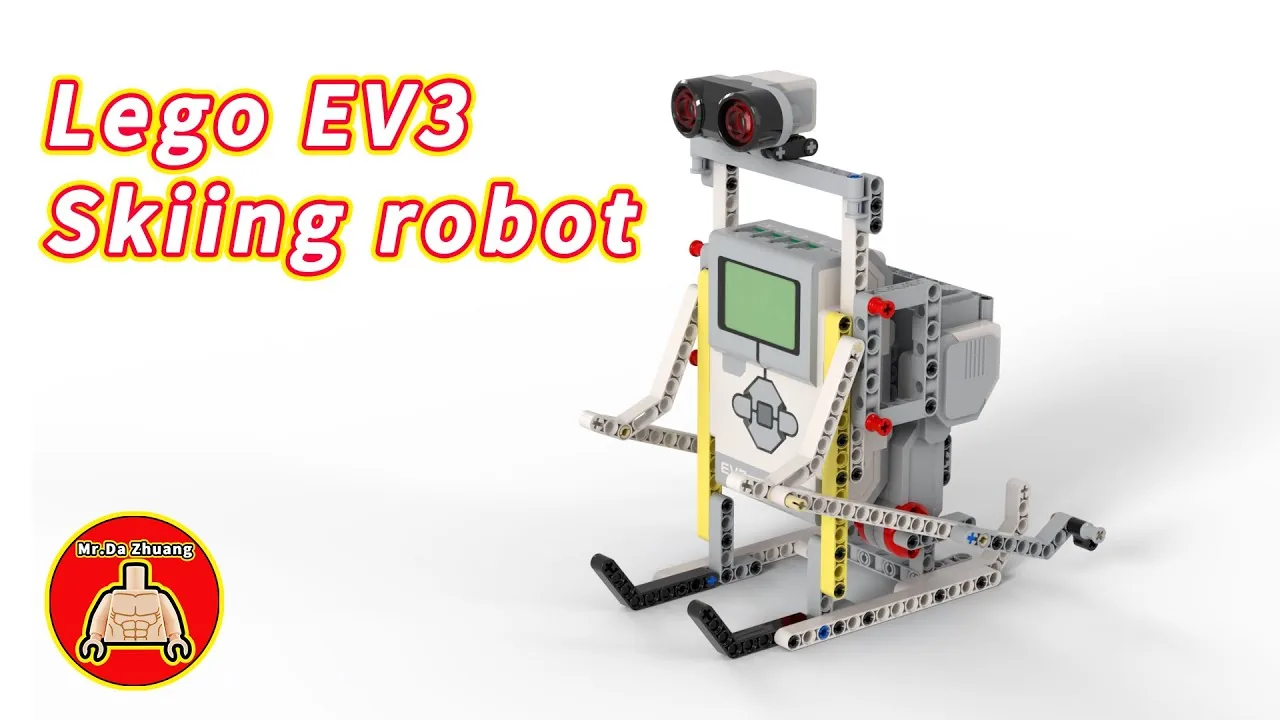
Build the model before you read any further. Everything after this is about making it do something, and none of it will make much sense with nothing on the table in front of you.
Use the viewer's own controls to zoom and turn pages. Fullscreen makes it big enough to build from.
The same build on Google Drive — sometimes a video, sometimes a scan:
Use the viewer's own controls to zoom and turn pages. Fullscreen makes it big enough to build from.
Check the finished build against the picture before you switch anything on. A motor mounted the wrong way round is far easier to spot now than it is to debug later, when it looks like a program fault.
Work through them in order — each is harder than the last. The extra challenge comes after all three, and it is meant to make you plan before you build.
Ski towards a wall and stop with a gap of about 12 cm, arriving slowly rather than stopping suddenly.
Find your robot's stall speed and add it as an offset, so it never freezes to a halt short of the wall.
Compare proportional against bang-bang over five runs each, measuring the final gap every time, and say which is more repeatable.
Make the robot ski up to a wall, stop, turn around and ski back to a second wall, easing off at both ends. It must not touch either wall in ten crossings — and you must report the closest it ever came.