Challenge 1
Run three pallet cycles and finish on your tape mark, with the fork's count back at zero.
Quick Learn — the model, the instructions, the program and the challenges. The theory is in Full Lesson.
EV3 Robotics›Level 2 · Intermediate›Lesson 21
Level 2 · Lesson 21 · EV3-L02-2160 minutes · Ages 9–16 · Model: Forklift with Pulley · Last lesson of Level 2
The Forklift with Pulley: a driving base with a mast, and a fork raised by a string wound onto a drum by a Medium Motor underneath the Brick.
Level 2’s Forklift back in Lesson 14 lifted with gears. This one lifts with rope — which is lighter, smoother, much better at height, and much worse at knowing where it is.
By the end of the lesson your forklift will run a complete pallet cycle three times over — and you will have measured how much it drifts, which is the question this whole level has been asking.
A warehouse is built around repeatability. Pallets are one size. Racking beams sit at fixed heights. The gap a fork has to enter is a few centimetres, and a driver hits it hundreds of times a shift.
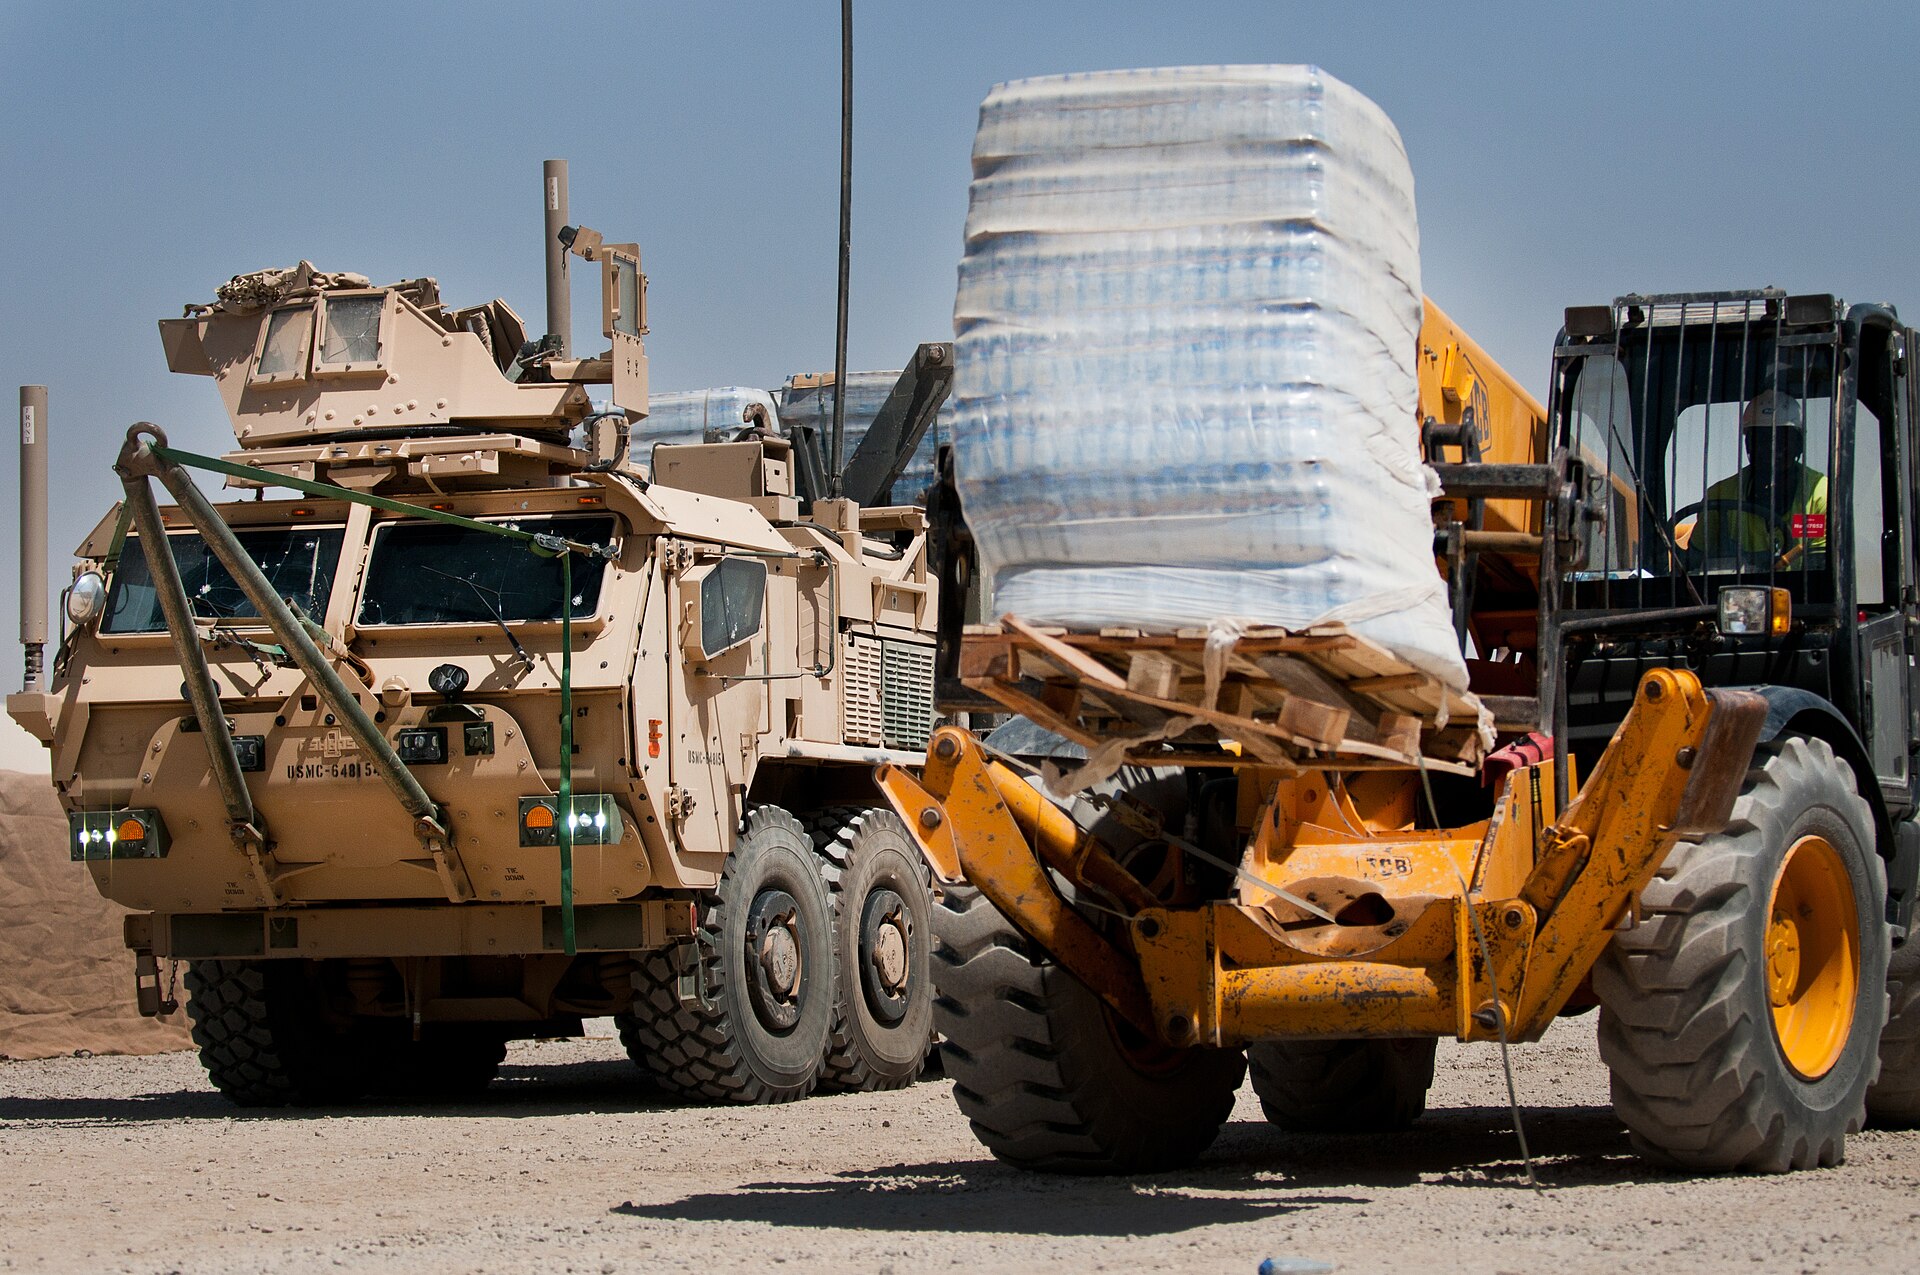
None of that standardisation is for the forklift’s benefit. It is so that the same movement works every time. A pallet is 1,200 mm across everywhere in the world, so the fork spacing never changes, so the approach never changes.
Automated warehouses take it further. A robot shuttle does not look at the racking; it goes to a height it was told, because the racking is guaranteed to be there. That only works if the machine is repeatable — the same command producing the same result on the thousandth run as on the first.
And they all home before a shift. Drive to a known stop, zero everything, and count from there — exactly what Lesson 32’s balancing act taught you.
A machine that is accurate gets it right once. A machine that is repeatable gets it the same every time, and a repeatable machine that is slightly wrong can be corrected once and stays corrected. A machine that drifts cannot be corrected at all — by the time you have adjusted it, it has moved on.
Repeatable and wrong is a machine you can fix. Right on average is a machine you cannot.
Level 1 asked whether you could make it move. Level 2 has been asking something harder the whole way through: does it do the same thing every time? This is where you find out.
| To make it repeatable | You use |
|---|---|
| Start from the same place every run | homing — Lesson 32 |
| Stop where you meant to, not where you drifted to | hold position at stop — Lesson 2 |
| Travel a distance rather than run a motor | circumference maths — Lesson 42 |
| Approach gently instead of arriving fast | lower speeds — Lessons 37 and 43 |
| Know how bad it is | measure it, several times — every lesson since 30 |
A string winding onto a drum does not have a fixed ratio, and this is a real difference from Lesson 39. The first turn winds string onto the bare drum. The next winds it on top of the first — so the drum is now thicker, and the same rotation pulls in more string. The fork rises further per degree the higher it goes.
The scissor door had a ratio you could measure once. The wheel had a circumference you could calculate. The pulley has neither: it has a ratio that changes as it works.
Run the same program five times from the same start and mark where it finishes each time. Two different things can go wrong:
Measure the spread before you adjust anything. Adjusting a machine that is not repeatable just moves the middle of the mess.
A pulley is a wheel with a rope over it. On its own that sounds like it could not possibly matter, and yet the right arrangement lets a small motor lift something it has no business lifting. The whole of it comes down to one question: how many pieces of rope are holding the load up?
Look at the load and count the rope segments running down to it. If the load hangs from two segments, each of them carries half the weight, so you only have to pull half as hard. Four segments, a quarter each.
effort = load ÷ number of supporting ropes
And the price, which is exactly as large as the saving:
rope you must pull = distance lifted × number of supporting ropes
Count the blue rope segments running down to the load. That number divides the force and multiplies the rope you have to pull.
| Type | Supporting ropes | What it gives you |
|---|---|---|
| Fixed — the wheel is bolted to something solid | 1 | No force saved at all. What it changes is the direction you pull in — down instead of up, or round a corner — which is very often the whole reason it is there. |
| Movable — the wheel travels with the load | 2 | Half the force, twice the rope. The pull direction is unchanged. |
| Combined — fixed and movable together (a block and tackle) | 2, 4, 6… | Both at once: the force divided by the count and a convenient direction to pull in. |
A fixed pulley being “no help” is worth dwelling on, because it is where the counting rule proves itself. One rope, one whole load — and it is still the pulley you reach for most often, because pulling downwards with your weight behind it beats pulling upwards every time.
Multiply the two formulas together and the gain cancels the cost exactly: half the force over twice the distance is the same amount of work. A pulley system does not create effort out of nothing — it lets you spend the same effort in a form you can actually manage, a little at a time instead of all at once.
That is the same bargain gears and levers make, in three different shapes. Once you have seen it in one of them, the other two stop being new.
Cranes, lifts, sailing boats, gym machines and window blinds all count ropes for a living. The counterweight on a lift is a pulley system; so is the tackle a single person uses to raise an engine out of a car.
Telling a motor to stop does not say how it should stop. There are two very different behaviours, and which one you want depends entirely on what the mechanism is holding up.
Both arms below are lifted by the same program and stopped at the top. The only difference is one word in the stop block. Everything worth seeing here happens after the movement has finished.
the only change on the other arm
If a mechanism you just lifted sags the moment it stops, the stop action is the first thing to check — not the lifting movement.
The coasting arm does not slide down steadily — it starts slowly and picks up speed, because it is gravity pulling it and not a motor lowering it. That is also why a coasting robot rolls a little past where its measured movement ended.
If gravity is pulling on the mechanism, you almost always want brake — otherwise the thing you just lifted comes back down on its own. If you want a smooth, natural halt, or you want to be able to push the robot by hand afterwards, coast is friendlier.
Coasting also makes a robot travel slightly further than its measured movement, because it keeps rolling after the motor has finished. On a precise task that error matters.
A crane must brake — a coasting crane drops its load. A train coasts into a station rather than stopping dead, because passengers would be thrown forward. The same choice, made differently, for good reasons.
First find out whether it does the same thing twice. Only then find out whether that thing is right.
Telling a motor to stop does not say how it should stop. There are two very different behaviours, and which one you want depends entirely on what the mechanism is holding up.
Both arms below are lifted by the same program and stopped at the top. The only difference is one word in the stop block. Everything worth seeing here happens after the movement has finished.
the only change on the other arm
If a mechanism you just lifted sags the moment it stops, the stop action is the first thing to check — not the lifting movement.
The coasting arm does not slide down steadily — it starts slowly and picks up speed, because it is gravity pulling it and not a motor lowering it. That is also why a coasting robot rolls a little past where its measured movement ended.
If gravity is pulling on the mechanism, you almost always want brake — otherwise the thing you just lifted comes back down on its own. If you want a smooth, natural halt, or you want to be able to push the robot by hand afterwards, coast is friendlier.
Coasting also makes a robot travel slightly further than its measured movement, because it keeps rolling after the motor has finished. On a precise task that error matters.
A crane must brake — a coasting crane drops its load. A train coasts into a station rather than stopping dead, because passengers would be thrown forward. The same choice, made differently, for good reasons.
Say this back before moving on: “Spread first, then aim.”
Look at your forklift. Compare it with the Forklift you built in Lesson 14. What is doing the lifting now, and what has that changed?
| Part | What it is doing here |
|---|---|
| EV3 Intelligent Brick | The body and the counterweight. A real forklift’s heaviest part is behind the rear axle for exactly this reason. |
| Large Motor ×2 — the drive | A matched pair. Their wheel diameter is the number your distances come from. |
| Medium Motor — the hoist | Winds the string. It must hold position at stop, or a loaded fork descends every time the program pauses. |
| The string and drum (not electronic) | Where the repeatability goes. It stretches, it slips, and it winds on top of itself. |
| The mast and fork (not electronic) | Must slide freely. A sticky mast turns a smooth lift into a series of jerks, and jerks are not repeatable. |
Sensors go in ports 1, 2, 3, 4. Motors go in ports A, B, C, D. They are not interchangeable, and nothing will tell you politely if you swap them.
| Part | Port | Why this one |
|---|---|---|
| Left drive wheel (Large) | B | The pair. Two motors, one job. |
| Right drive wheel (Large) | C | The other half of the pair. |
| Hoist (Medium) | A | Its own job, and the only motor with a load hanging off it. |
| Sensors | none | Nothing on this machine can see the fork’s height. That is the honest limit of Level 2, and the reason Level 3 opens where it does. |
Check your own build now:
Two routes, and either is fine. USB is the reliable one and the one to fall back on when a room’s Bluetooth is busy; Bluetooth leaves the robot free to move, which some models need.
Do these in order. Naming the Brick after you go looking for it in the list is how groups end up driving each other’s robots.
EV3 until somebody changes it.EV3.The two failures, every class, every time. The Brick has gone to sleep while you were building — press the centre button to wake it. Or you have paired with the group at the next table, which is why the name matters.
The long version, including Port View and how to read the port tiles, is in the Brick & Bluetooth guide.
Bluetooth, and this time it is not optional. Today’s whole measurement is how much the robot drifts between runs. A trailing cable adds a different pull on every run, which is a source of drift you invented yourself.
Stuck? The long version, with a photograph of every screen, is in the Brick & Bluetooth guide.
This is the measurement Level 2 has been building towards. Rule up a table. Tape on the floor. Run, mark, measure, repeat.
hold position at stop and run all five again. The spread gets worse. One block, and it is measurable.A machine you can measure is a machine you can improve. Measure the spread before you touch a number.
Look at your program again — not at what it does, at what it looks like.
The four blocks inside repeat (3) are one idea: fetch a pallet. You wrote it once and asked for it three times, and that worked because all three cycles were identical.
Now try to make the second cycle go somewhere else. A different shelf, a different height. The repeat is useless immediately, and you have to write those four blocks out again, in full, with different numbers. Three shelves, twelve blocks. Six shelves, twenty-four — and if you ever change how a pallet is fetched, you change it in six places and miss one.
What you want is to give that sequence a name — fetch pallet — and then say it three times with different numbers. That is a My Block, and it does not exist in Level 2. It is the first thing Level 3 gives you, and this is the moment you can feel why you need it.
There is a second thing missing, and you met it in step 10. Nothing on this forklift can see the fork. The string’s ratio changes as it winds and the program cannot know, because it has no way to check the height against the world. The answer is calibration — measuring the machine against something real and correcting for it as you go — and that is Level 3 too.
Level 1 ended stuck for a missing Switch and a missing variable. Level 2 ends stuck for a missing name and a missing measurement. Both times, feeling the gap is the lesson.
You can now build a machine that does the same thing every time. Level 3 is about machines that do the right thing when every time is different.
Build the model before you read any further. Everything after this is about making it do something, and none of it will make much sense with nothing on the table in front of you.
Use the viewer's own controls to zoom and turn pages. Fullscreen makes it big enough to build from.
Check the finished build against the picture before you switch anything on. A motor mounted the wrong way round is far easier to spot now than it is to debug later, when it looks like a program fault.
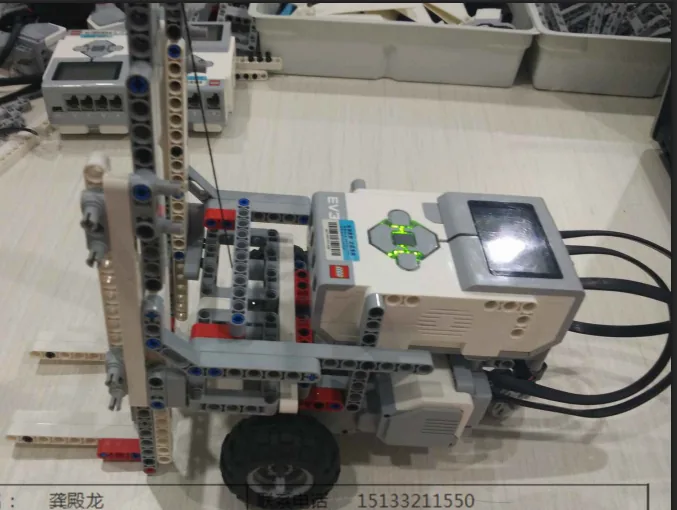
A pallet cycle, three times: home the fork, drive out, lift, drive back, lower.
when program starts :: events hat
set movement motors to [B v] and [C v] :: movement
[A v] set motor to [hold position v] at stop :: motors
[A v] run [counterclockwise v] for (2) [rotations v] at (20) % speed :: motors
[A v] reset degrees counted :: motors
clear display :: display
write [KITARAN] at line (1) :: display
repeat (3)
  move [forward v] for (2.8) [rotations v] at (30) % speed :: movement
  [A v] run [clockwise v] for (400) [degrees v] at (30) % speed :: motors
  move [backward v] for (2.8) [rotations v] at (30) % speed :: movement
  [A v] run [counterclockwise v] for (400) [degrees v] at (30) % speed :: motors
  write ([A v] degrees counted) at line (3) :: display
end
play sound [Communication / Goodbye v] until done :: sound
hold position at stop before anything moves. ** Lesson 2. Without it the fork sags a little at every pause, and three cycles of sag is a visible error.What success looks like: the fork winds to the bottom, then the robot drives out, lifts, drives back and lowers — three times — and finishes on your tape mark facing the way it started, with line 3 reading 0.
If the fork ends up higher every cycle, the lower is hitting its stop and losing movement the encoder counted. Reduce the 400. If the robot walks forward across the three cycles, the forward and backward moves are not equal on the floor — which is exactly what you are about to measure.
This model drives, so its challenges are run on a mat. Mats differ between branches — check you are looking at the one in your room.
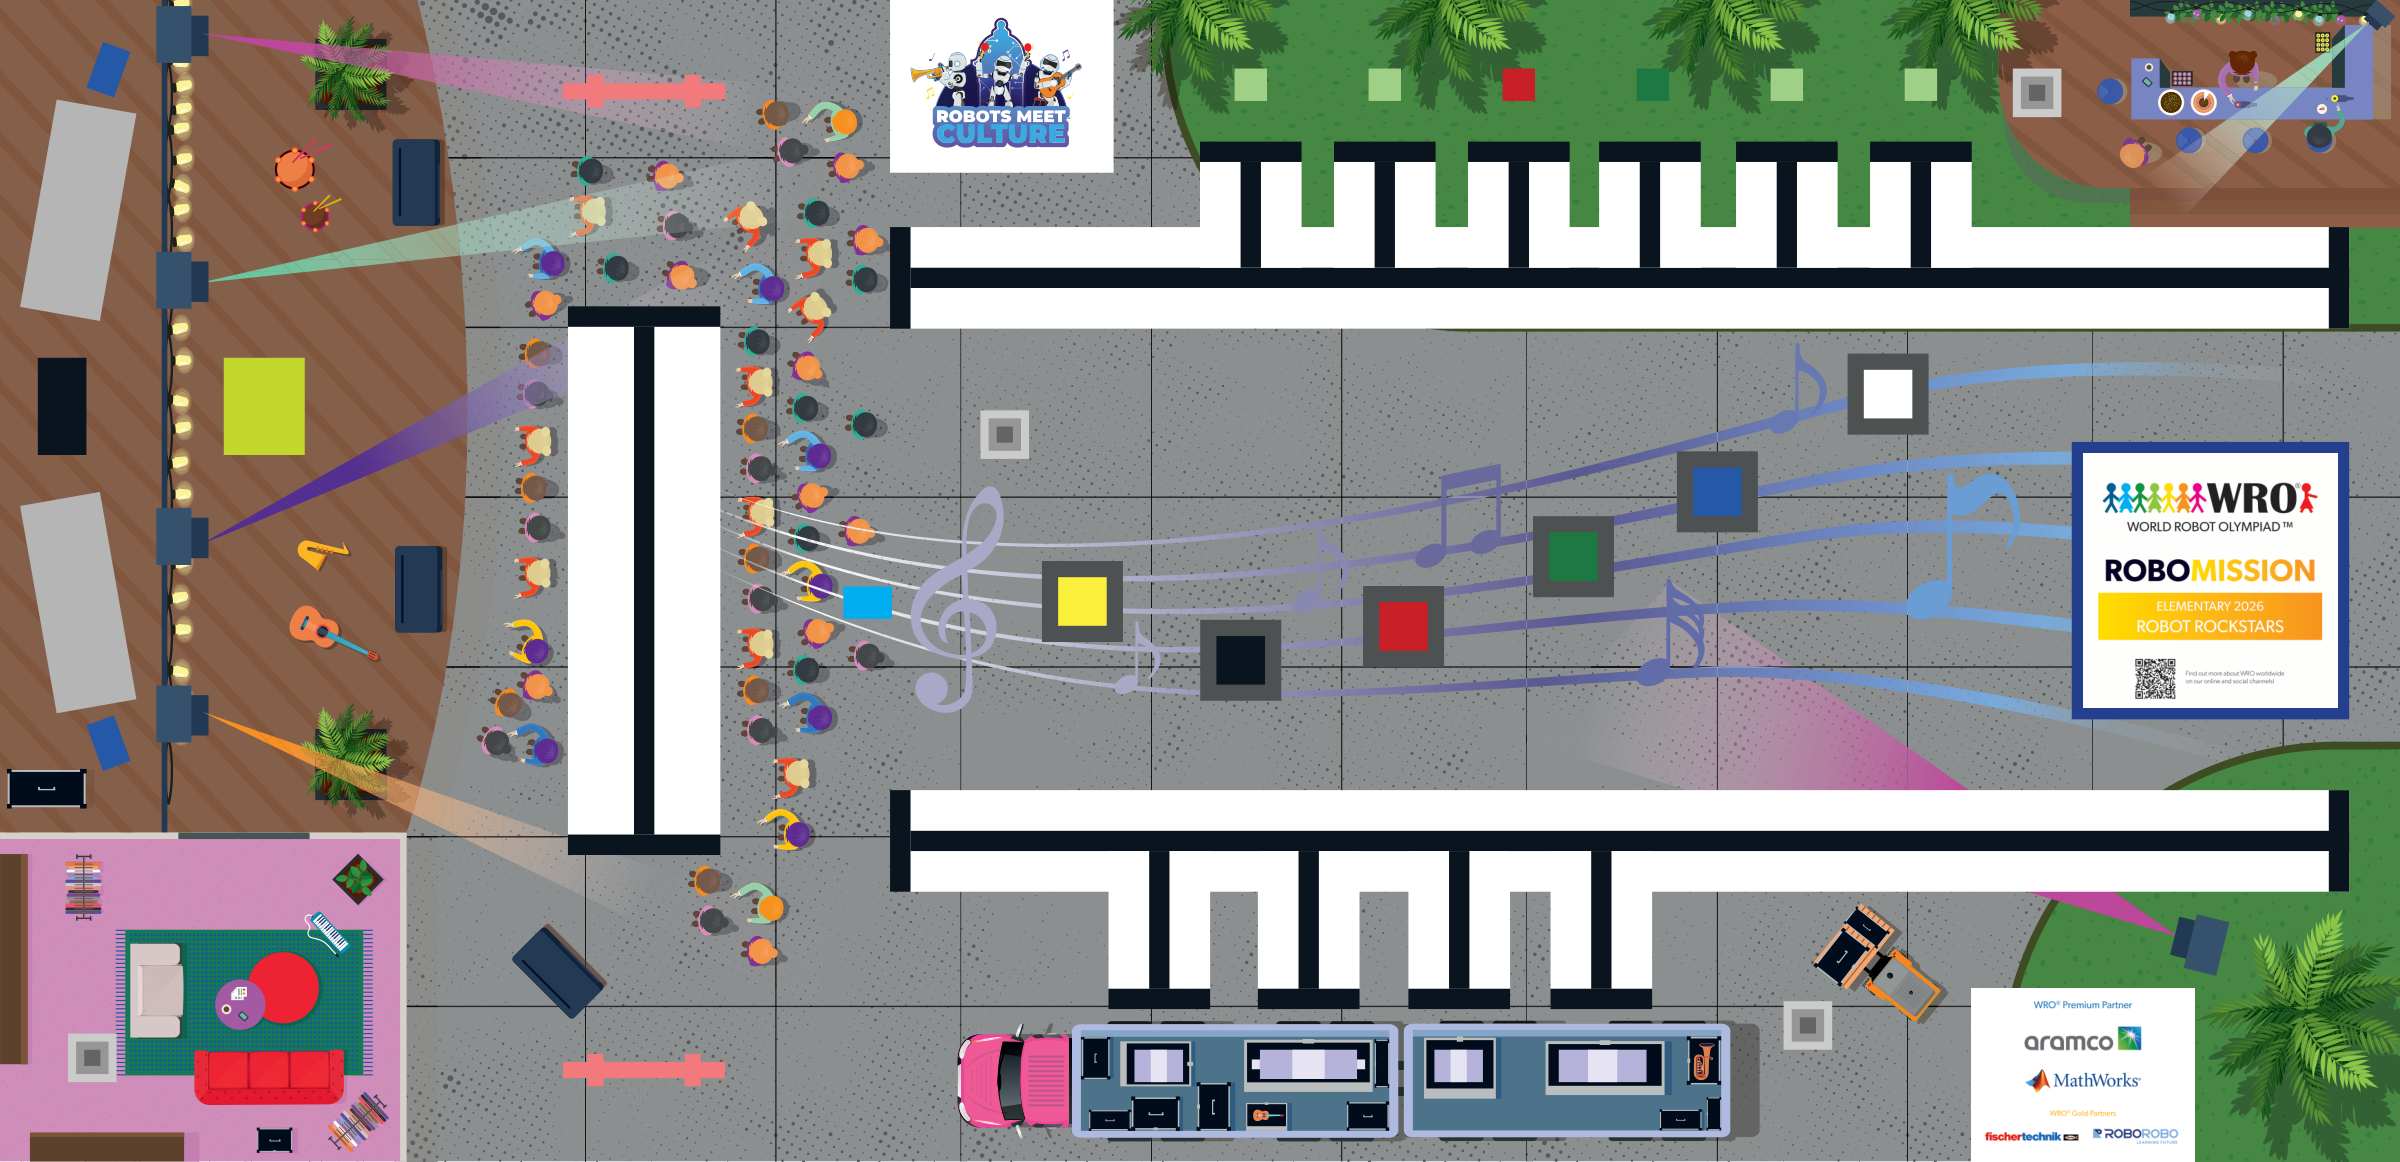
WRO 2026 RoboMission Elementary — Robot Rockstars · official WRO game mat, 2362 × 1143 mm
The challenges name these places rather than distances, so the same challenge works on any mat:
Work through them in order — each is harder than the last. The extra challenge comes after all three, and it is meant to make you plan before you build.
Run three pallet cycles and finish on your tape mark, with the fork's count back at zero.
Measure your machine's repeatability: five identical runs, five marks on the floor, and report the spread between them.
Improve that spread with ONE change — homing, hold position, or a slower speed — and prove the improvement with another five runs.
Carry a load from the station your teacher names to a second station, place it at a height you are given, and return to the start. Do it five times with no adjustment between runs, then report two numbers: the spread of the finishing positions and the spread of the placed heights.