Challenge 1
Fool each sensor on its own. Put a bag where a person would stand — the gate must not open. Wave the ticket from across the room — it must not open either. If either trick works, you have an "or" where you meant an "and".
Quick Learn — the model, the instructions, the program and the challenges. The theory is in Full Lesson.
EV3 Robotics›Level 2 · Intermediate›Lesson 31
Level 2 · Lesson 31 · EV3-L02-3160 minutes · Ages 9–16 · Model: Ticket Checker
The Ticket Checker: a barrier on a Large Motor, an Ultrasonic Sensor watching for somebody standing at the gate, and a Colour Sensor reading the ticket they present.
Either sensor alone can be fooled. A bag left by the gate looks like a person. A red jumper in the wrong place looks like a valid ticket. Neither mistake matters until the barrier actually opens.
By the end of the lesson your gate will open only when both sensors agree — and you will have decided, on purpose, which kind of mistake your machine is allowed to make.
Watch a station ticket gate closely and you will see it is not one sensor. There is something detecting that a person is in the aisle, something reading the ticket or card, and usually a beam further in that tells the gate the passenger is through so it can close behind them.
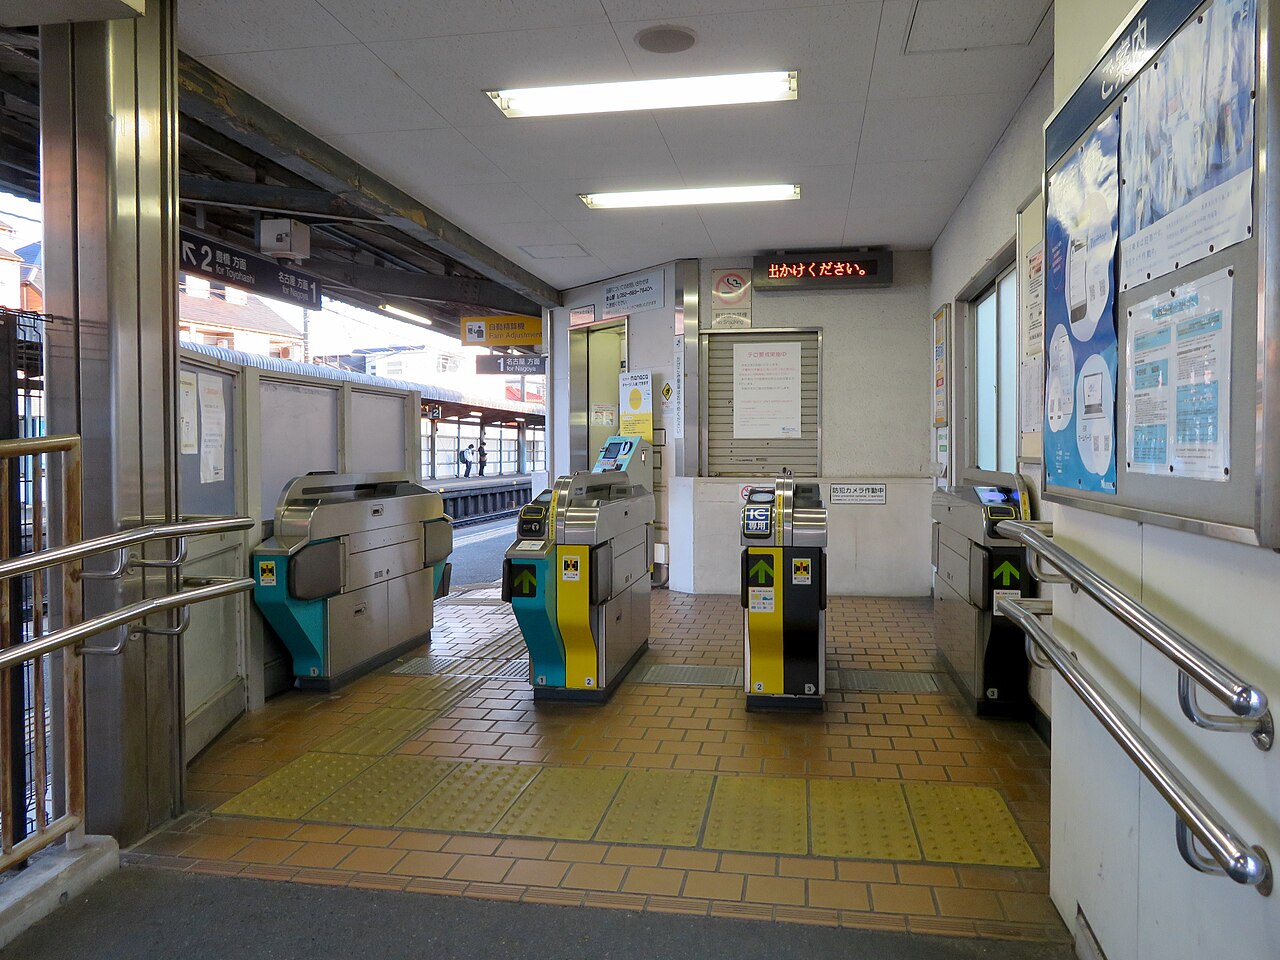
The gate does not open when the card is read. It opens when the card is valid and somebody is standing there. Present a card from two metres away and nothing happens — which is deliberate, because a gate that opened on the card alone would be held open by anyone waving a wallet.
Every sensor is wrong sometimes. A reader misreads a damaged card; a beam is broken by a suitcase; a proximity sensor fires at a passing coat. Requiring two independent sensors to agree does not make either one better — it makes their mistakes less likely to coincide.
Engineers call this sensor fusion, and it is everywhere. An aircraft has three airspeed sensors and believes the two that agree. A car’s automatic braking wants the camera and the radar to see the same obstacle before it stands on the brakes.
The two failure modes are not equally bad, and this is the important part. A gate that wrongly opens lets someone through without paying. A gate that wrongly refuses annoys a passenger who then asks staff.
Decide which mistake you would rather make. Then build the machine that makes that one.
Lesson 6 combined conditions to decide what should happen. Today you combine them to decide how sure you are — which is a different question with a different answer.
| Sensor | Fooled by | What the gate does wrongly |
|---|---|---|
| Ultrasonic alone | A bag, a trolley, someone walking past the gate. | Opens for nobody. |
| Colour alone | A red coat, a poster, the sensor pointing at the floor. | Opens with no ticket presented. |
| Both, agreeing | Something that is both person-shaped and showing the right colour, at the same moment. | Much rarer, and usually a real passenger. |
set [present v] to <([4 v] distance in cm) < (20)> :: variables
set [valid v] to <([3 v] color) = [green v]> :: variables

if <(present) and (valid)> then
  broadcast [open gate v] :: events
end
| Mistake | What it means here | Made less likely by |
|---|---|---|
| False positive | Opens when it should not. | Requiring and — more agreement before acting. |
| False negative | Refuses a real passenger. | Accepting or — less agreement needed. |
You cannot reduce both at once, and that is not a limitation of EV3. Every threshold you tighten to stop false positives creates false negatives, and vice versa. The engineering question is never “how do I get rid of errors” — it is “which error can I afford?”
Two sensors agreeing for one instant can still be a coincidence. Requiring them to agree for half a second removes almost all of those, at the cost of half a second’s delay.
wait until <(present) and (valid)> :: control
reset timer :: control
wait (0.4) seconds :: control
if <(present) and (valid)> then
  broadcast [open gate v] :: events
end
The Ultrasonic Sensor measures distance. It sends out a burst of sound too high for people to hear, listens for the echo, and works out how far away the surface is from how long the echo took — exactly how a bat finds a moth, and how a submarine uses sonar.
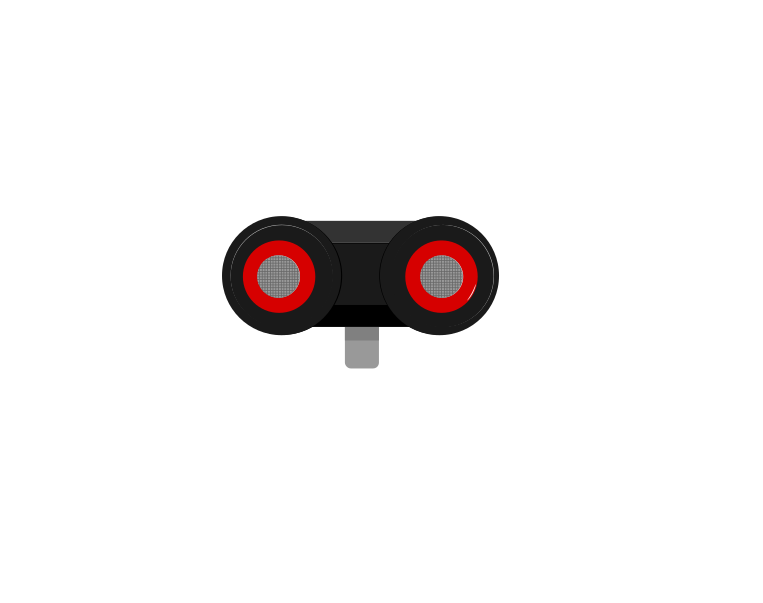 front
front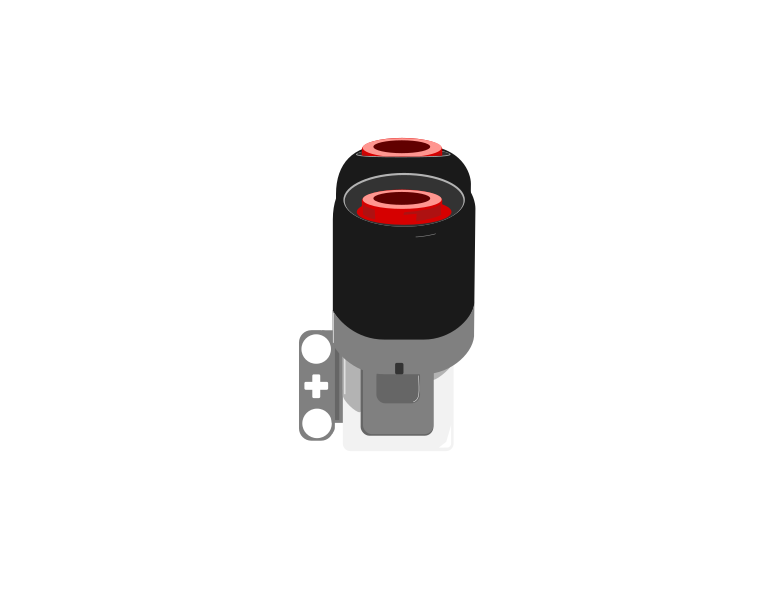 side
side| Block | What it does |
|---|---|
([4 v] distance in [cm v] :: sensors) | Reports how far away the nearest thing in front of the sensor is, as a number in centimetres. |
wait until <([4 v] distance in [cm v] :: sensors) < (15)> | Holds the program until something comes closer than 15 cm. |
This is the important step up from the Touch Sensor. Touch gives you true or false; the Ultrasonic gives you a number, and the deciding is left to you. Pick a threshold below and watch where the robot ends up.
The black line on the bar is the threshold; the blue fill is the reading. The robot stops the instant the fill crosses the line.
Three different robots, and only one number is different between them. That is what having a number rather than a yes-or-no buys you: the behaviour is tuned by editing one slot, not by rebuilding the program. It also means the sensor can never tell you it is “close” — close is a decision you make about a reading.
Car parking sensors, automatic doors at a shopping centre, and the sensor that stops a lift door closing on somebody all work this way. Reacting before contact is what makes a machine feel safe.
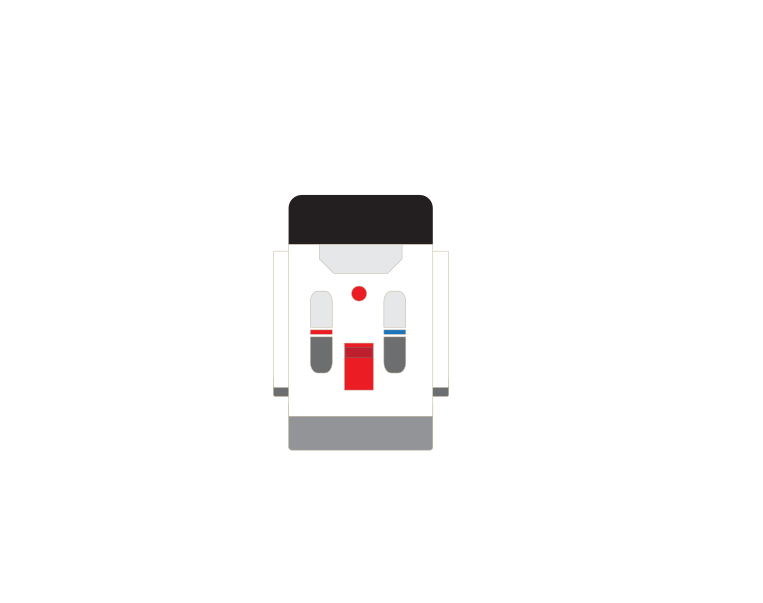
The Home/Retail EV3 set (31313) ships an Infrared Sensor and a Beacon in place of the Ultrasonic and Gyro sensors. The Infrared Sensor also measures distance, so the programs in this module work with it — but it reports a rough 0–100 proximity rather than real centimetres, and it is affected by sunlight and by dark surfaces in ways the Ultrasonic is not.
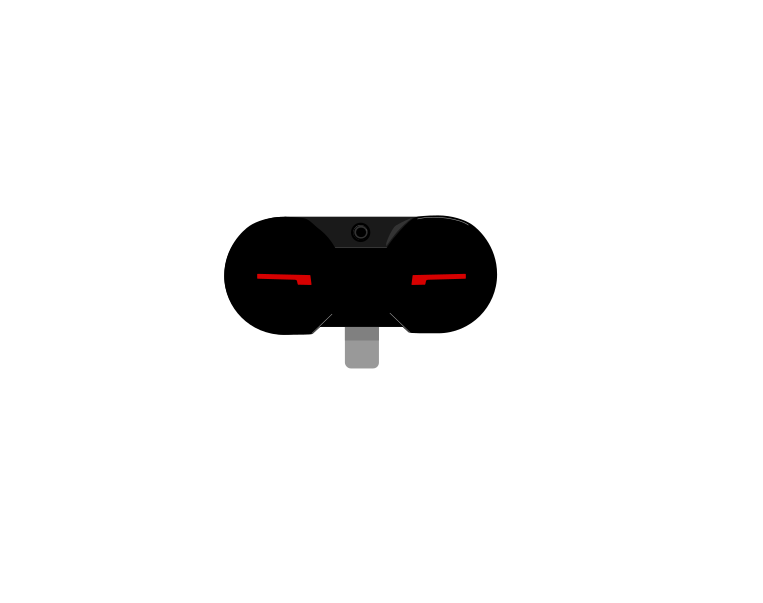 IR Sensor
 Beacon
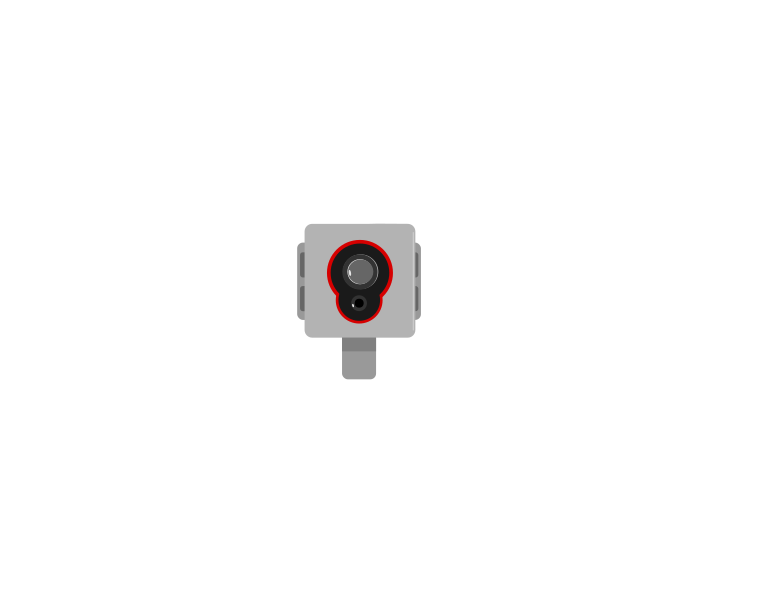
The Colour Sensor looks down at a surface and can answer three quite different questions: what colour is this?, how bright is this? and how light is the room? Choosing the wrong one is the usual reason a line-following robot refuses to work.
 front
front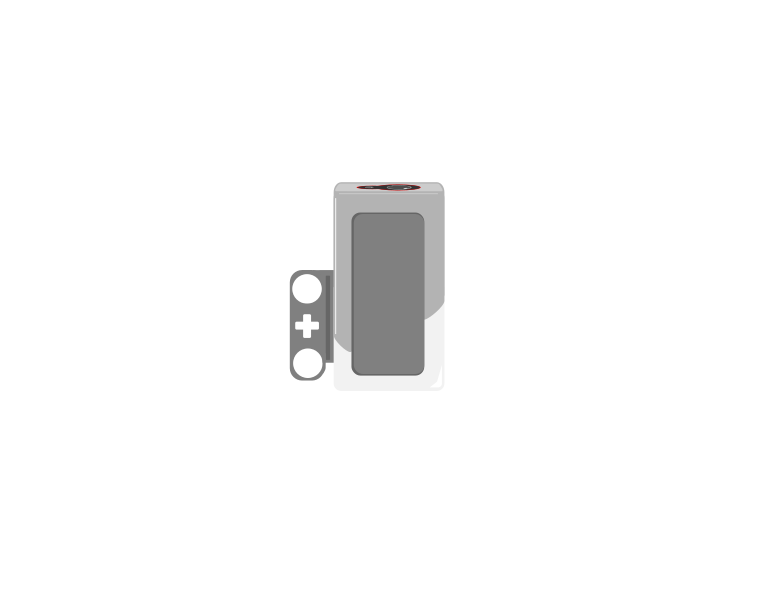 side
side| Block | What it does |
|---|---|
([3 v] color :: sensors) | Reports which colour it sees, from a short list — red, blue, green, black, white and a few more. |
([3 v] reflected light intensity :: sensors) | Reports how bright the surface is, as a number from 0 (black) to 100 (white). |
<[3 v] is color [red v]? :: sensors> | Reports true or false for one particular colour. |
([3 v] ambient light intensity :: sensors) | Reports how much light is falling on the sensor, 0 to 100, with its own lamp switched off. |
The sensor does not describe a colour — it picks one from a list of eight, and that list is the whole of what it can ever say:
| Reports | Means |
|---|---|
| 0 | no colour — too far away, or too dark to call |
| 1 · 2 · 3 | black, blue, green |
| 4 · 5 · 6 | yellow, red, white |
| 7 | brown |
Anything you put under it is forced into one of those eight. There is no orange and no purple: an orange brick comes back as red or as yellow, and often as red one moment and yellow the next as the robot creeps along. Light blue and grey are the other classic pair to avoid — grey is neither black nor white, so it flips between them.
This is why colour mode is a good fit for a task you control and a bad fit for one you do not. Sorting the LEGO bricks that come in the set works, because they are made in exactly these colours. Reading a printed sheet, a coloured tile from another set, or anything pastel is asking the sensor to answer a question it does not have a word for.
Two practical points follow from how it decides. It shines its own lamp and looks at how much red, green and blue comes back, so it must be close — about half a centimetre, and no more than a centimetre. Lift it and the answer decays to 0. And because it takes those three readings before it can answer, colour mode is the slowest thing this sensor does; a robot driving quickly can pass right over a small patch without ever reporting it.
When a colour must be recognised reliably, test it. Drive the robot slowly over the real surface with color shown on the screen and watch what it actually says — including what it says at the edges between two colours, which is where the wrong answers live.
Both questions are asked of the same surface at the same moment. Watch the two answers travel across a strip of colours and then over the edge of a black line.
Watch the two read-outs over the last third of the strip. One of them changes once. The other changes the whole way across.
Over the patches, both read-outs are useful. Over the edge of the line they part company: the colour name has only two answers to give and jumps between them, while the number slides smoothly from 88 down to 8. Every value in that slide tells you how far onto the line the sensor is — which is information the name simply does not carry.
A line follower built on colour names only knows “black” or “not black”, so it can only lurch. Built on reflected light it can tell how far onto the line it has drifted, which is what makes smooth following possible.
The first two modes both switch the sensor’s own lamp on and measure what bounces back off the surface. Ambient light intensity does the opposite: the lamp goes off, and the sensor simply reports how much light is arriving from wherever — 0 in the dark, up to 100 in bright light.
| Mode | Own lamp | Measures | Points |
|---|---|---|---|
| colour | on | which of eight colours the surface is | at the surface, very close |
| reflected light | on | how much of its own light comes back | at the surface, very close |
| ambient light | off | how bright the surroundings are | wherever you want to measure |
That makes it the only one of the three that is not really about the floor. A number between 0 and 100 means very little on its own, so watch the same sensor sit through five different rooms — nothing underneath it changes at any point.
the sensor’s own lamp is off — it is measuring the room
Nothing under the sensor changed at any point in this run. Ambient light is the one mode that is not asking about the surface at all.
Those are the shape of the scale rather than exact figures, but the shape is the useful part: a lit room is nowhere near 100, and the top of the range is reserved for a light pointed straight at the sensor. Cover it with your hand and the number drops to near zero — which is the easiest way to check the sensor is doing what you think.
Point it at the ceiling and it tells you whether the room lights are on; point it forwards and a torch will spike the reading, which is a way of signalling to a robot without touching it.
Do not reach for it as a substitute for reflected light. Room light falling on a black line and on white paper is almost the same, so ambient mode can barely tell them apart — the reason reflected light works is precisely that the sensor brings its own light and measures how much of it survives.
It is also the mode most at the mercy of the room. A reading taken by a window in the morning will not match the same spot in the afternoon, so anything built on ambient light needs measuring on the day, in the place, with the lights as they will be.
Even the two lamp-on modes are affected by room lighting — a reading taken by a sunny window differs from one taken in a corner. The sensor must also sit close to the surface and at a constant height, because lifting it changes the reading even though the surface has not changed.
A sensor that reports a number cannot be used to make a decision on its own — 23 is neither true nor false. An operator turns that number into an answer by comparing it with something.
| Block | What it does |
|---|---|
<(x) > (50)> | True when the left value is bigger than the right. |
<(x) < (50)> | True when it is smaller. |
<<> and <>> | True only when both conditions are true. |
<<> or <>> | True when at least one of them is. |
Forget the symbols for a moment. A comparison is a question about position on a number line: is x to the left of the other number, or to the right? Left is smaller, right is bigger — and that is the whole of it.
Drag the orange x and the black marker, and change the comparison. The green stretch is every position of x that would make the answer true — so you can see where the answer flips before you get there. Turn not on and watch the green jump to the other side.
Drag either marker, or use the arrow keys.
is x to the LEFT of it?
The lab above asks one question at a time: is this x true? A robot never has just one x, though — a sensor reading slides up and down all the time, so what really matters is which stretch of the line makes the condition true. This one draws the whole answer at once.
Drag the circle to move the number you are comparing against, and change the comparison. Everything shaded green is a value of x that would make it true.
Drag the circle, or use the arrow keys. It moves in steps of 0.2.
Every number to the left of 0.2 — but not 0.2 itself, so the circle is hollow.
Watch the circle, because it carries the part everyone gets wrong:
Now turn not on with x > 2 selected and watch two things happen together. The shading jumps to the other side, and the circle fills in — because “not greater than 2” means 2 or less, and 2 has to be part of it. That pairing is the whole reason a hollow circle is worth drawing.
Why a robot cares. Two conditions that look almost identical — light < 30 and not (light > 30) — differ by exactly one value, the reading of precisely 30. A robot sitting right on its threshold behaves differently under the two, and that is the sort of bug that only shows up occasionally and looks like a broken sensor.
These three join answers together rather than numbers. The trap is that English is looser than a program: “stop if it is close and the bumper is pressed” sounds like it covers both situations, when it covers neither on its own.
Flip the two conditions and watch the table. There are only four possible situations in total, and and and or differ on exactly two of them.
| close | bumper | and | or |
|---|---|---|---|
| true | true | true | true |
| true | false | false | true |
| false | true | false | true |
| false | false | false | false |
and is fussy: it wants both. Three of the four rows are false.
Two sensors are running below: an Ultrasonic reporting a number, and a Touch Sensor reporting true or false. Watch the comparison turn the number into an answer, and watch and and or disagree.
and was true in one row out of four. or was true in three. That is the whole difference, and it is why one of them makes a robot look broken.
The comparison is doing one job: it takes a reading that is neither true nor false and, by holding it against a number you chose, produces something a decision can use. The moment the blue fill crosses the black marker is the moment the answer changes.
The number you compare against is a design decision, not a fact. “Close” for a parking sensor might be 15 cm; for a robot arm it might be 3. Pick it by measuring what the sensor actually reads in the situation you care about, then leave a margin.
and narrows: both must hold, so the robot acts less often but more certainly — stop only if something is close and the bumper is pressed. or widens: either will do, so the robot acts more readily — stop if something is close or the bumper is pressed.
In the four situations above, and was true in one of them and or in three. That is the practical difference: swapping one for the other does not adjust a robot slightly, it changes how often it reacts at all.
Two sensors do not make each one right. They make it unlikely that both are wrong at the same moment.
A sensor that reports a number cannot be used to make a decision on its own — 23 is neither true nor false. An operator turns that number into an answer by comparing it with something.
| Block | What it does |
|---|---|
<(x) > (50)> | True when the left value is bigger than the right. |
<(x) < (50)> | True when it is smaller. |
<<> and <>> | True only when both conditions are true. |
<<> or <>> | True when at least one of them is. |
Forget the symbols for a moment. A comparison is a question about position on a number line: is x to the left of the other number, or to the right? Left is smaller, right is bigger — and that is the whole of it.
Drag the orange x and the black marker, and change the comparison. The green stretch is every position of x that would make the answer true — so you can see where the answer flips before you get there. Turn not on and watch the green jump to the other side.
Drag either marker, or use the arrow keys.
is x to the LEFT of it?
The lab above asks one question at a time: is this x true? A robot never has just one x, though — a sensor reading slides up and down all the time, so what really matters is which stretch of the line makes the condition true. This one draws the whole answer at once.
Drag the circle to move the number you are comparing against, and change the comparison. Everything shaded green is a value of x that would make it true.
Drag the circle, or use the arrow keys. It moves in steps of 0.2.
Every number to the left of 0.2 — but not 0.2 itself, so the circle is hollow.
Watch the circle, because it carries the part everyone gets wrong:
Now turn not on with x > 2 selected and watch two things happen together. The shading jumps to the other side, and the circle fills in — because “not greater than 2” means 2 or less, and 2 has to be part of it. That pairing is the whole reason a hollow circle is worth drawing.
Why a robot cares. Two conditions that look almost identical — light < 30 and not (light > 30) — differ by exactly one value, the reading of precisely 30. A robot sitting right on its threshold behaves differently under the two, and that is the sort of bug that only shows up occasionally and looks like a broken sensor.
These three join answers together rather than numbers. The trap is that English is looser than a program: “stop if it is close and the bumper is pressed” sounds like it covers both situations, when it covers neither on its own.
Flip the two conditions and watch the table. There are only four possible situations in total, and and and or differ on exactly two of them.
| close | bumper | and | or |
|---|---|---|---|
| true | true | true | true |
| true | false | false | true |
| false | true | false | true |
| false | false | false | false |
and is fussy: it wants both. Three of the four rows are false.
Two sensors are running below: an Ultrasonic reporting a number, and a Touch Sensor reporting true or false. Watch the comparison turn the number into an answer, and watch and and or disagree.
and was true in one row out of four. or was true in three. That is the whole difference, and it is why one of them makes a robot look broken.
The comparison is doing one job: it takes a reading that is neither true nor false and, by holding it against a number you chose, produces something a decision can use. The moment the blue fill crosses the black marker is the moment the answer changes.
The number you compare against is a design decision, not a fact. “Close” for a parking sensor might be 15 cm; for a robot arm it might be 3. Pick it by measuring what the sensor actually reads in the situation you care about, then leave a margin.
and narrows: both must hold, so the robot acts less often but more certainly — stop only if something is close and the bumper is pressed. or widens: either will do, so the robot acts more readily — stop if something is close or the bumper is pressed.
In the four situations above, and was true in one of them and or in three. That is the practical difference: swapping one for the other does not adjust a robot slightly, it changes how often it reacts at all.
Say this back before moving on: “Which mistake would I rather make?”
Find the two sensors and work out, for each one, something you could deliberately fool it with. You will use both in step 10.
| Part | What it is doing here |
|---|---|
| EV3 Intelligent Brick | The gate housing. Its screen reports what each sensor believes, which is how you will see disagreement rather than guess at it. |
| Large Motor — the barrier | Lifts and lowers the arm. Large because a barrier must move decisively — a hesitant gate gets pushed. |
| Ultrasonic Sensor — presence | Watches the approach. Note it cannot tell a person from a bag; that is the whole reason a second sensor exists. |
| Colour Sensor — the ticket | Reads a coloured card held up to it. It cannot tell a ticket from anything else of the same colour. |
| The barrier linkage (not electronic) | Must fall closed reliably. A barrier that sticks half-open is a security hole no amount of sensor agreement will fix. |
Put the two sensors where they cannot see the same thing. If the Colour Sensor is close enough that the Ultrasonic also fires on the ticket card itself, the two are no longer independent — and two sensors that fail together are worth barely more than one.
Sensors go in ports 1, 2, 3, 4. Motors go in ports A, B, C, D. They are not interchangeable, and nothing will tell you politely if you swap them.
| Part | Port | Why this one |
|---|---|---|
| Barrier (Large) | A | The only motor. |
| Ticket (Colour) | 3 | Colour stays on 3 across the course. |
| Presence (Ultrasonic) | 4 | Ultrasonic stays on 4 across the course. |
Check your own build now:
Two routes, and either is fine. USB is the reliable one and the one to fall back on when a room’s Bluetooth is busy; Bluetooth leaves the robot free to move, which some models need.
Do these in order. Naming the Brick after you go looking for it in the list is how groups end up driving each other’s robots.
EV3 until somebody changes it.EV3.The two failures, every class, every time. The Brick has gone to sleep while you were building — press the centre button to wake it. Or you have paired with the group at the next table, which is why the name matters.
The long version, including Port View and how to read the port tiles, is in the Brick & Bluetooth guide.
USB is fine — the gate stays put. Keep the lead out of the approach, though: a cable across the Ultrasonic’s line of sight is a permanent passenger.
Stuck? The long version, with a photograph of every screen, is in the Brick & Bluetooth guide.
One change at a time. Predict, then run, then look. Today you are deliberately trying to break your own machine, which is how security systems are actually tested.
or where you wanted an and.and to or. Now both tricks work. Count how many ways you can get through in thirty seconds — that number is what and was buying you.(present and valid) or override. Notice you have now deliberately built a false-positive route, and say why that is acceptable.Try to break your own machine before someone else does. The mistakes you find on purpose are cheaper than the ones you do not.
Two sensors agreeing protects you from one of them being wrong. It does not protect you from one of them being noisy.
Your Ultrasonic reading jumps around by a centimetre or two even when nothing moves. Standing exactly on the 20 cm boundary makes present flicker true and false several times a second, and no amount of agreement with the other sensor fixes a value that cannot make up its mind.
Averaging several readings instead of trusting one is the standard answer, and the next model makes it unavoidable: a walking biped rocks as it steps, so its sensor reading swings with every stride.
Lesson 12 made one reading trustworthy. Today made two readings agree. Next: making a single reading steady.
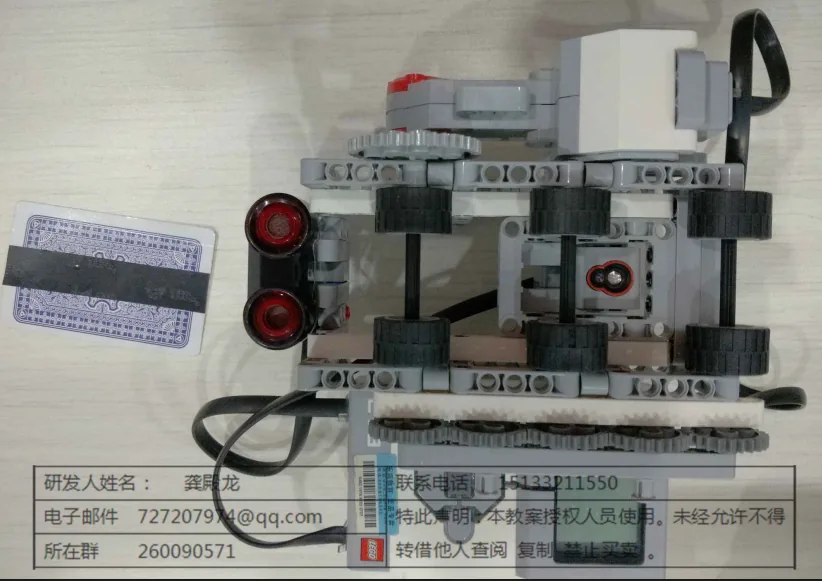
Build the model before you read any further. Everything after this is about making it do something, and none of it will make much sense with nothing on the table in front of you.
Use the viewer's own controls to zoom and turn pages. Fullscreen makes it big enough to build from.
Check the finished build against the picture before you switch anything on. A motor mounted the wrong way round is far easier to spot now than it is to debug later, when it looks like a program fault.
One stack owns the sensors and reports what each believes; another opens the gate only when both agree.
when program starts :: events hat
[A v] set motor to [hold position v] at stop :: motors
clear display :: display
forever
  set [present v] to <([4 v] distance in cm) < (20)> :: variables
  set [valid v] to <([3 v] color) = [green v]> :: variables
  write (present) at line (2) :: display
  write (valid) at line (4) :: display
end

when program starts :: events hat
forever
  wait until <(present) and (valid)> :: control
  wait (0.4) seconds :: control
  if <(present) and (valid)> then
    write [PASS] at line (6) :: display
    set status light to [green v] :: display
    [A v] run [clockwise v] for (90) [degrees v] at (50) % speed :: motors
    wait (2) seconds :: control
    [A v] run [counterclockwise v] for (90) [degrees v] at (50) % speed :: motors
    set status light to [off v] :: display
    write [] at line (6) :: display
    wait until <not (present)> :: control
  end
endwait until not present at the end ** stops the gate cycling repeatedly for one person standing there. Edge detection, from Level 2 Lesson 38.hold position at stop on the barrier ** so a closed gate stays closed when leaned on.What success looks like: standing there with no ticket does nothing; waving the ticket from across the room does nothing; standing there with the ticket opens the gate, which closes behind you.
If the gate never opens, watch lines 2 and 4 while you stand there with the ticket. One of them will be false, and that tells you which sensor to move rather than which line of code to blame.
Work through them in order — each is harder than the last. The extra challenge comes after all three, and it is meant to make you plan before you build.
Fool each sensor on its own. Put a bag where a person would stand — the gate must not open. Wave the ticket from across the room — it must not open either. If either trick works, you have an "or" where you meant an "and".
Make the wait adjustable and find the right one. Put the confirmation time in a named variable. Try 0.1, 0.4, 1.0 and 3.0 seconds. For each, count how many times you can fool it in thirty seconds AND how often it refuses a genuine passenger. Write both numbers down. There is no setting where both are zero — say which one you chose and why.
Add a staff override. The Touch Sensor opens the gate on its own, with no ticket and nobody standing there: (present and valid) or override. You have deliberately built a false-positive route. Write one sentence saying why that is acceptable here, and one saying what would stop it being abused.
Build a gate you would trust on a real barrier, and prove it. It must handle all four of these correctly, and you must demonstrate each to somebody else: - a genuine passenger with a ticket: opens promptly - somebody with no ticket: refuses, and says so - an object left in the aisle: refuses - somebody following closely behind a genuine passenger: does NOT let the second one through on the first one's opening That last case is the hard one and it is why real gates have a sensor further in. Work out how yours will know one person has finished before it considers the next. Then write a short honest report: how many times did you get through improperly in twenty attempts, and how many genuine passengers were refused? A gate with zero of both has probably not been tested hard enough.