Challenge 1
Build a Move Straight block that holds a heading, taking a distance in the units your team agreed in lesson 14.
Quick Learn — the model, the instructions, the program and the challenges. The theory is in Full Lesson.
EV3 Robotics›Level 4 · WRO Prep›Lesson 21
Level 4 · Lesson 21 · EV3-L04-2160 minutes · Block 3 of 6 · Mat: WRO 2023 — Connecting the World, Marine Life Preservation
Drive a long open crossing and arrive facing the way you set off — even if somebody knocks the robot on the way.
“Drive straight” has always been a lie. Both motors get the same power, one wheel grips slightly better, and the robot curves. Over a short leg you never notice. Over a crossing from the reefs to the harbour dock, you miss the dock.
You already know today’s technique. This is the third time you have used it: a distance in lesson 11, a light reading in lesson 12, a heading today. If it feels like something new, go back and read your own sentence from lesson 11 first.
Use the run from the reef square back to HOME at the harbour dock — the longest open stretch on the mat, and the one your route has to make every single round.
There is nothing to follow out there. No line, no wall to square against, nothing for the Colour Sensor to lock onto. Everything you built in Block 2 assumed a line existed; this leg is where that assumption runs out.
The lighthouse island at E sits between the reefs and the dock. If your route from lesson 17 includes it, this is the leg it interrupts — which makes holding a heading across it even more valuable, because the robot resumes on the same bearing after the stop.
Set the target heading to zero at the start of the leg. Then, over and over, all the way down the crossing:
error = current heading − target heading
Straight ahead, the error is zero. Drifted left, the error has one sign; drifted right, the other. Multiply by a gain and use the result as steering, and the robot corrects itself continuously — hard when it is badly off, gently when it is nearly right.
Compare that with lesson 12, where the error was the light reading minus 50. The shape is identical. Only the measurement changed. That is worth dwelling on, because the same three lines of thinking now solve three completely different-looking problems.
Why this beats driving blind. Setting both motors to the same power and hoping has no feedback: once the robot is off course it stays off course and gets worse. Holding a heading means every error is being actively cancelled — the robot is not driving straight, it is continuously discovering it is not straight and fixing it.
One consequence worth naming. Because the correction is against a heading and not a position, the robot will end up facing the right way but possibly a little to one side of where you wanted. Heading hold fixes rotation, not sideways drift. Squaring on a line, from lesson 6, is still the tool for fixing position — and that is exactly the trade-off lesson 22 makes you choose between.
No building. Two checks, both of which invalidate the lesson if they fail.
The gyro is still rigid. You mounted it in lesson 19 and have driven with it since. Push it gently: if it moves relative to the frame at all, re-brace it now. Heading hold amplifies a loose gyro into a robot that weaves.
The attachment is loaded. Run today’s tests with the sorter carrying items, because a loaded robot pulls differently from an empty one. A gain tuned empty will be wrong on the leg that matters.
Build a new My Block called Move Straight, taking a distance the same way Move For Distance did in lesson 14 — and in the same units, which you settled then.
Inside, a loop that runs until the distance is covered, and each time round:
Zero the gyro at the start of the block, not at the start of the program — every leg gets its own fresh heading, so the errors of the last leg are not inherited by the next one.
Leave Turn By Degrees alone. It was rebuilt last lesson and works; changing two blocks in one hour means you will not know which one caused a problem.
Same procedure as lesson 12, on a different measurement. Run the full crossing and watch the shape of the path.
Record the gain you keep. Note whether it differs from your line follower’s — it usually does, because the two errors are measured in different units, and expecting them to match is a common source of confusion.
Run the crossing from the reefs to HOME. Then run it again, and nudge the robot sideways mid-leg with a finger.
Watch what happens. A blind robot keeps the new wrong heading and arrives somewhere else entirely. A heading-holding robot swings back and carries on to the dock. That difference is the whole lesson, and it is much more convincing seen than described.
Do it once more with the attachment loaded, because that is the condition the round will actually run in.
Today’s entry:
You now have both navigation tools. Follow a line, or hold a heading. Next lesson stops treating that as a preference and makes it a choice you have to defend for every leg of the route.
This model drives, so its challenges are run on a mat. Mats differ between branches — check you are looking at the one in your room.
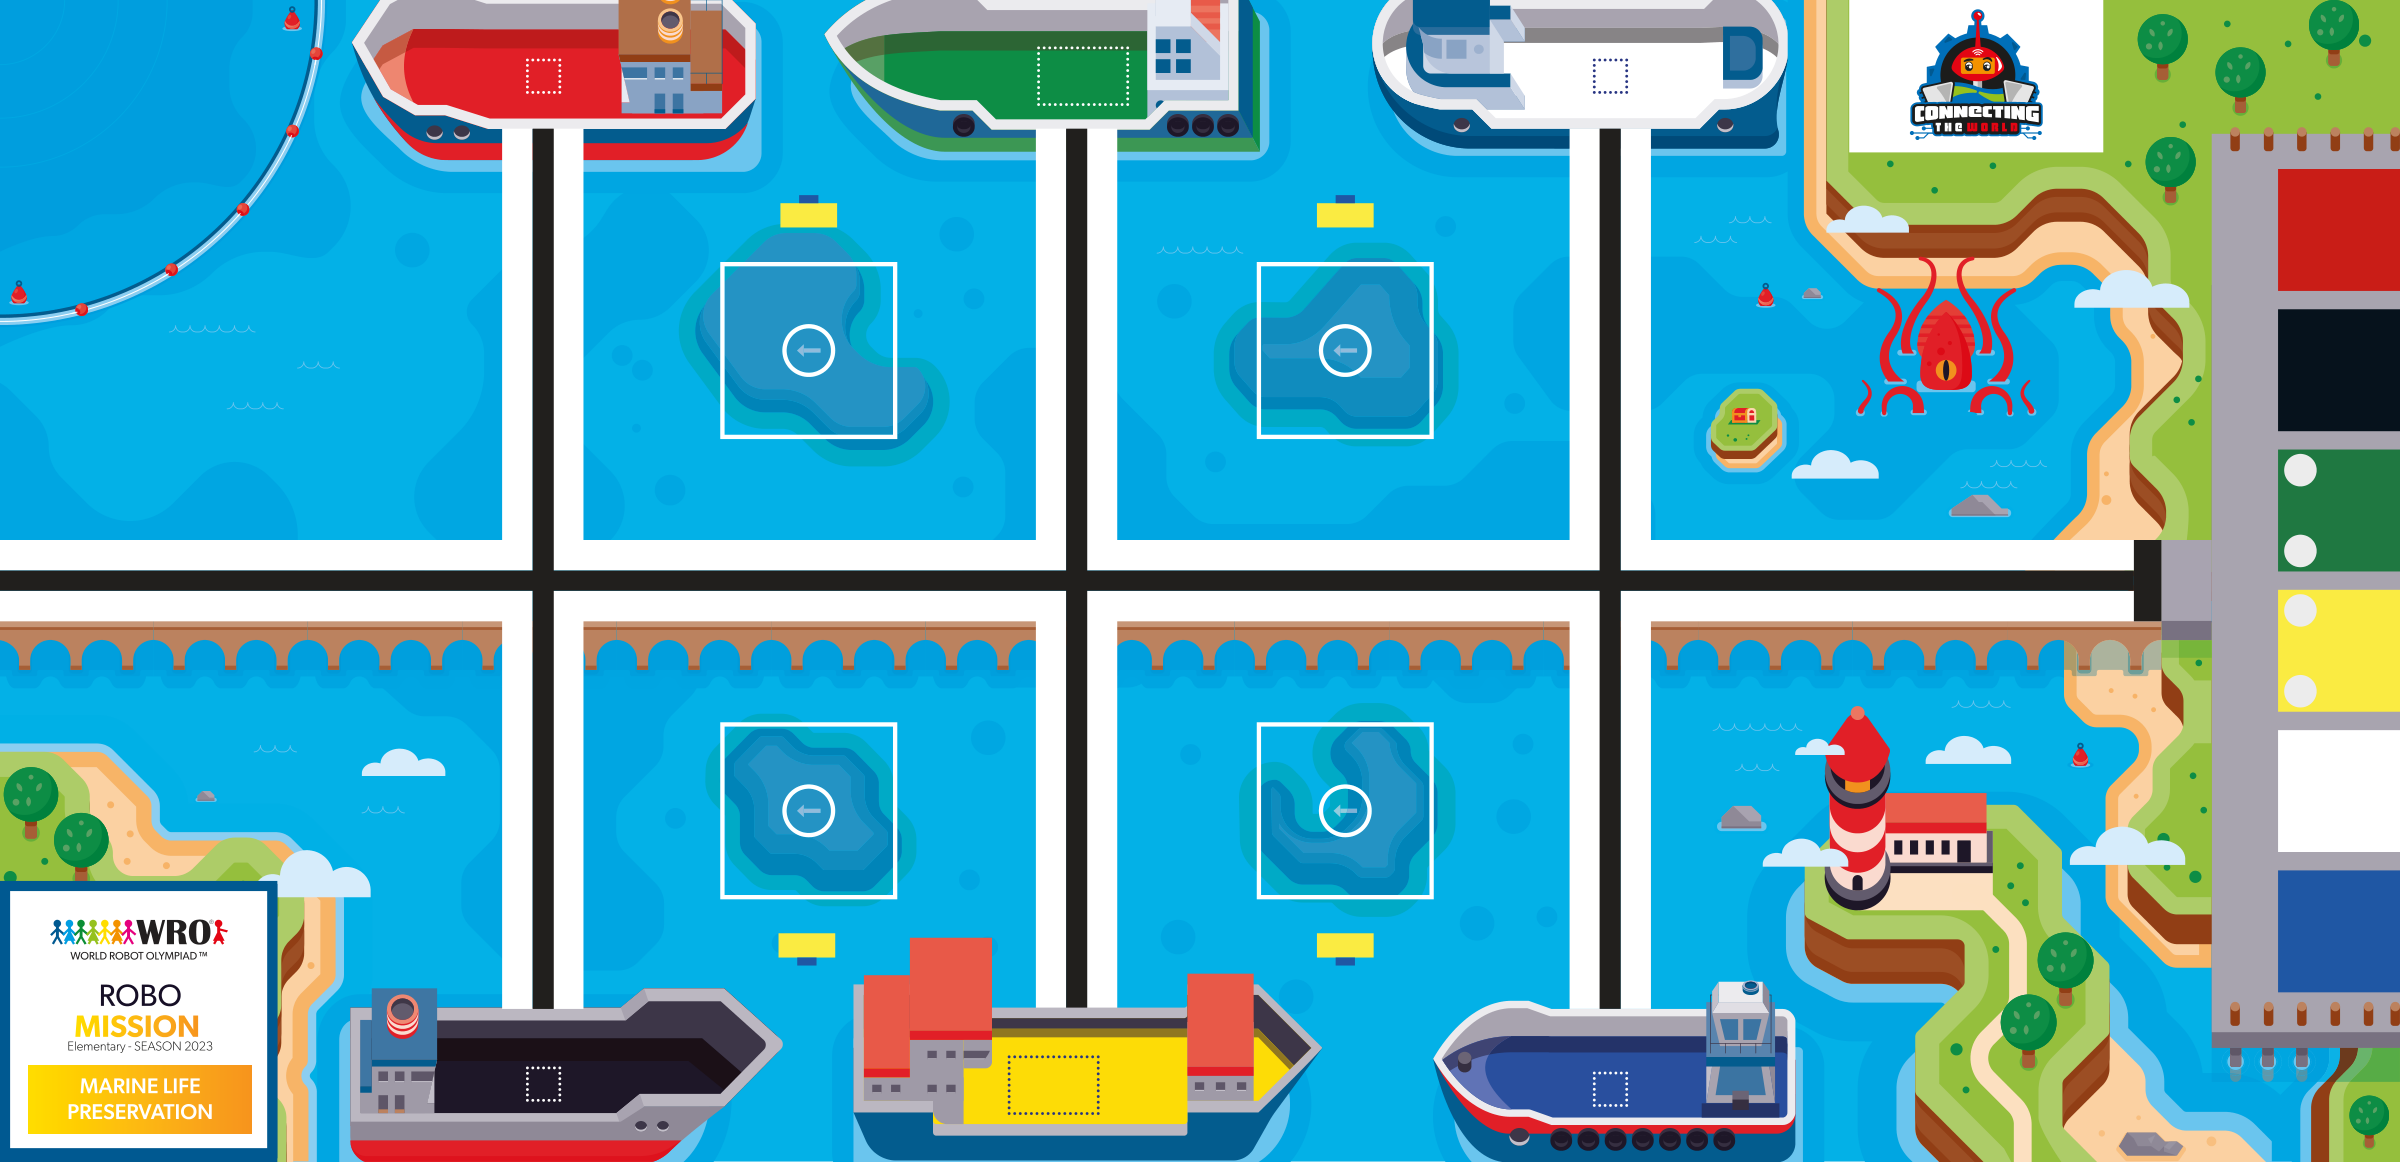
WRO 2023 RoboMission Elementary — Connecting the World — Marine Life Preservation · official WRO game mat, 2362 × 1143 mm
The challenges name these places rather than distances, so the same challenge works on any mat:
Switch mats above and every route below is redrawn on the mat you chose.
Work through them in order — each is harder than the last. The extra challenge comes after all three, and it is meant to make you plan before you build.
Build a Move Straight block that holds a heading, taking a distance in the units your team agreed in lesson 14.
Run the crossing from the reefs back towards the harbour dock with three different gains, and record what each one does to the shape of the path.
Nudge the robot sideways mid-crossing with a finger and watch whether it comes back. Then do it again with the attachment loaded.
Cross from the south-west reef at C to the harbour dock at HOME holding one heading the whole way, arriving facing the way you set off — with somebody knocking the robot once on the way.