Challenge 1
Build one attachment on port A that does both jobs in your sentence. Sketch it from the side and from above, and mark the widest point and the furthest forward point.
Quick Learn — the model, the instructions, the program and the challenges. The theory is in Full Lesson.
EV3 Robotics›Level 4 · WRO Prep›Lesson 26
Level 4 · Lesson 26 · EV3-L04-2660 minutes · Block 4 of 6 · Mat: WRO 2024 — Earth Allies, Sustainable Farming
One attachment. Two missions. Nothing swapped mid-run.
Read your attachment sentence from lesson 25 aloud. It should name two jobs and one shape. If it names two shapes, you have not finished designing yet — and today is the last build lesson before four lessons of control theory.
Why the constraint is worth it. You timed an attachment swap in lesson 16 and again in lesson 18. Those seconds came straight out of the round, every time. An attachment that never needs swapping does not just save that time — it removes a step that can go wrong under pressure.
Your two missions come from the route card. For most teams they are at opposite ends of the farm — something at the market barn at A or the vegetable stall at B along the top, and something at the compost heap at E or the packing table at F along the bottom.
That distance is the point. If both missions were neighbours you could swap between them cheaply; being at opposite corners is exactly what makes swapping expensive and one shape valuable.
And watch the greenhouses at C. They sit centrally, so most routes thread past them more than once. A wide attachment that clears everything else will catch there — and the team will spend lesson 27 blaming the follower for a mechanical collision.
The tempting design is two mechanisms sharing a mount: a gripper for one mission, a scoop for the other, bolted side by side. It works on the table and it is the wrong answer.
Three reasons, all of which show up on the mat rather than the bench:
The better move is to find one motion that serves both jobs. Ask what the two missions actually require of the robot physically, and look for the overlap:
The test question: what does the motor actually do? If your design needs the motor to do two unrelated things, it is two attachments. If one movement — one open, one lift, one sweep — serves both missions, you have found the shape.
Sketch from the side and above, and this time mark the widest point and the furthest forward point. Those two numbers decide whether your route still fits.
Keep the interface rules from lesson 10 — fits one way, locates before it fastens, does not move the wheels or the sensors. They are not re-taught, and they still apply.
Drive it from port A. Keep port 2 clear for the gyro you mounted in lesson 19; it is not going anywhere and this block depends on it more than the last one did.
Build it as light and as narrow as it can be while still doing both jobs. Every gram at the front is grip lost at the wheels.
You have a Collect My Block from lesson 13 and possibly a variant from lesson 18. Today asks a design question in software as well as in bricks.
If the same motion does both jobs, the same block does both, and nothing changes. That is the clean outcome and it is worth aiming for.
If the two missions need the motor to travel to different positions, give the block an input for the position rather than making a second block. Lesson 14’s rule holds: two blocks differing only by a number should be one block with an input.
Find the positions by hand as always, read them off the port view, and write them in the journal. Then check the main canvas still reads as intentions.
Drive the marked fast leg from lesson 25 with the attachment fitted and loaded. Then drive whatever leg passes closest to the greenhouses at C.
Anything that catches, scrapes or nudges is a mechanical problem to fix now with a narrower or higher shape — not a follower problem, and not something to work around by re-routing.
Then run the spin test from lesson 18 again: loaded, full point turn both ways. A multi-purpose shape usually carries its load differently from a dedicated one, so a design that passed last block is not automatically fine this block.
Drive from HOME to the first mission station, do the job, cross to the second mission station at the far end of the farm, do the second job, and return to HOME — without touching the attachment at any point.
That is the whole claim of this lesson, and either the run proves it or it does not. If somebody had to reach in, the design is not finished, and it is much cheaper to know that today than in lesson 32.
Today’s entry:
Mechanical work stops here. Lessons 27 to 30 are control theory and lesson 31 is a timed milestone. Anything still loose, wide or heavy after today will get debugged in the middle of a tuning lesson, where it will look exactly like a bad gain.
This model drives, so its challenges are run on a mat. Mats differ between branches — check you are looking at the one in your room.
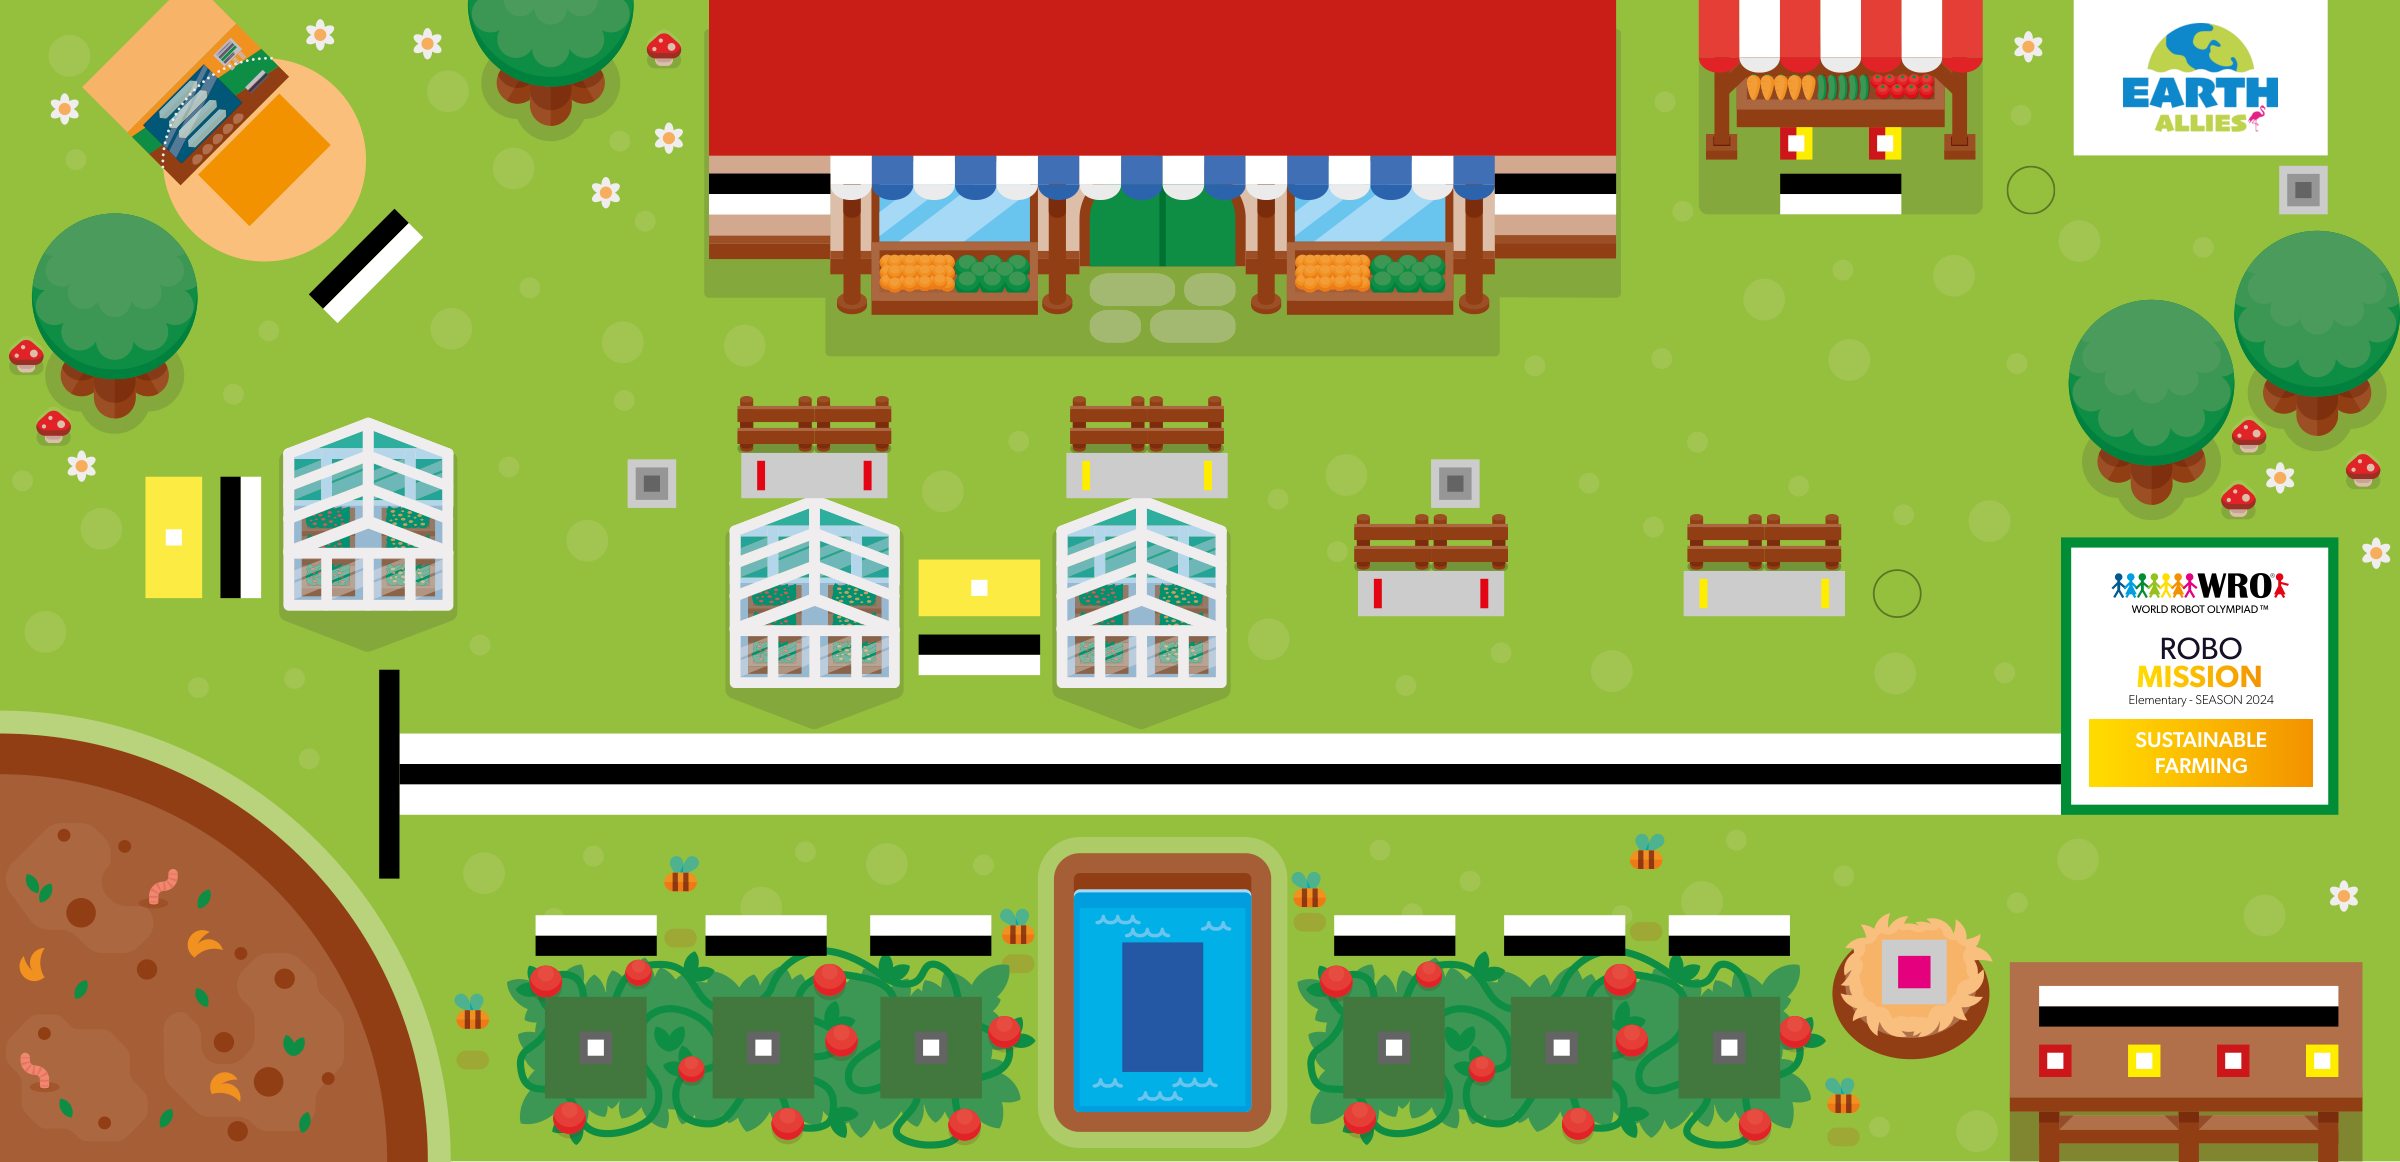
WRO 2024 RoboMission Elementary — Earth Allies — Sustainable Farming · official WRO game mat, 2362 × 1143 mm
The challenges name these places rather than distances, so the same challenge works on any mat:
Switch mats above and every route below is redrawn on the mat you chose.
Work through them in order — each is harder than the last. The extra challenge comes after all three, and it is meant to make you plan before you build.
Build one attachment on port A that does both jobs in your sentence. Sketch it from the side and from above, and mark the widest point and the furthest forward point.
Drive the legs that pass closest to the greenhouses at C with the attachment fitted and loaded. Anything that catches or scrapes gets a narrower or higher shape — not a re-route.
Run the loaded spin test from lesson 18 both ways, then decide in software: if the two jobs need different motor positions, give Collect an input rather than building a second block.
Drive from HOME to the market barn at A, do the first job, cross the farm to the packing table at F, do the second, and return to HOME — without anybody touching the attachment at any point. If somebody had to reach in, the design is not finished, and lessons 27 to 30 are control theory with no time in them for bricks.