Challenge 1
Build the MOUNT first and the modules second — a keyed position with a hard stop, so a module fits one way and one place. Test it by fitting the same module five times and checking it sits identically.
Quick Learn — the model, the instructions, the program and the challenges. The theory is in Full Lesson.
EV3 Robotics›Level 4 · WRO Prep›Lesson 34
Level 4 · Lesson 34 · EV3-L04-3460 minutes · Block 5 of 6 · Mat: WRO 2025 — The Future of Robots
One robot that can be reconfigured between runs — not rebuilt.
Yesterday you established that the mission set varies per round. A robot that needs rebuilding to suit the round cannot suit the round, because there is no time to rebuild.
This is not a reversal of Block 4. A swap during a run costs round seconds, and that is still bad — lesson 26 was right. A swap between runs costs setup time only, and is cheap if the build was designed for it. Different problem, opposite answer.
The three launch pads at A, B and C sit in a row along the bottom and want the same thing done to them, so one module serves all three. That is the easy half.
The other jobs are different in kind. The launch gantry at D is a delivery, and the satellite row at E is at the top of the mat and almost certainly wants something else again.
So the natural split is: a pad module used in every round, and a satellite module used only when the crossing to E is worth it. Two modules, one mounting point, chosen before the round starts.
Check the clearance along the bottom row while you are looking. The pads at A, B and C are only about fourteen units apart, so a module that overhangs sideways can be interfering with the next pad while it is working on this one.
Modularity is not "some parts come off". It is a mounting point with rules, and everything that attaches obeys them.
The program cannot see which module is fitted. There is no sensor for it. So the configuration is another thing a human has to tell the robot at the start — which is exactly the mechanism lesson 35 builds for the mission choice. Design your modules today so that a menu entry can name them tomorrow.
Build the mount first and the modules second. Teams do it the other way round and end up with two good modules that attach differently.
The mount is whatever gives you a repeatable position: a pair of pin holes and a hard stop is enough. Test it by fitting the same module five times and checking it sits identically each time.
Then build the pad module, since every round needs it. Build the satellite module only if your costing in lesson 33 said the crossing to E is worth doing at all — if it is not, one module is a complete and honest answer, and you should say so rather than building something you will never fit.
Sketch both from the side and above, marking the widest point, and keep the ports as they have been all course: drive on B and C, gyro on 2, colour on 3, ultrasonic on 4, module on A.
For each module, write a card. This is the document the person setting the robot up reads, out loud, before every round.
“We will remember which one is on” is not a plan. Round two, in a hall, after a bad round one, with a scorer waiting — that is when the robot runs the pad routine with the satellite module fitted. The card exists for that moment, and reading it aloud takes five seconds.
Then check your My Blocks still work with each module fitted. Collect may need a different position per module, which by lesson 14’s rule is an input, not a second block.
Time a full module change: robot on the table, module off, other module on, seated and pinned, robot back at HOME ready to start.
Under thirty seconds is a modular robot. Over two minutes is a rebuild wearing a disguise, and the honest response is to simplify the mount rather than practise harder.
Then do the drill three times and check the module ends up in the same place each time. Fit a module, drive one pad approach, mark where the robot stops. Repeat. If the marks scatter, the mount is not locating properly and every route you tuned will inherit that scatter.
With the pad module fitted, run HOME to a launch pad, do the job, deliver to the gantry at D, return to HOME.
Then swap to the satellite module, on the clock, and run HOME up to the satellite row at E and back.
Two runs, one robot, one mounting point, nothing rebuilt. If either run needed a spanner, a second pair of hands or a rethink, that is today’s remaining work — and it is the last build time this course gives you.
Today’s entry:
Mechanical work ends here — for the course. Lessons 35 to 39 are software and lesson 40 is a round. Block 6 revises what exists. Anything still loose, slow to fit or wrong today stays that way, so fix it now rather than planning to.
This model drives, so its challenges are run on a mat. Mats differ between branches — check you are looking at the one in your room.
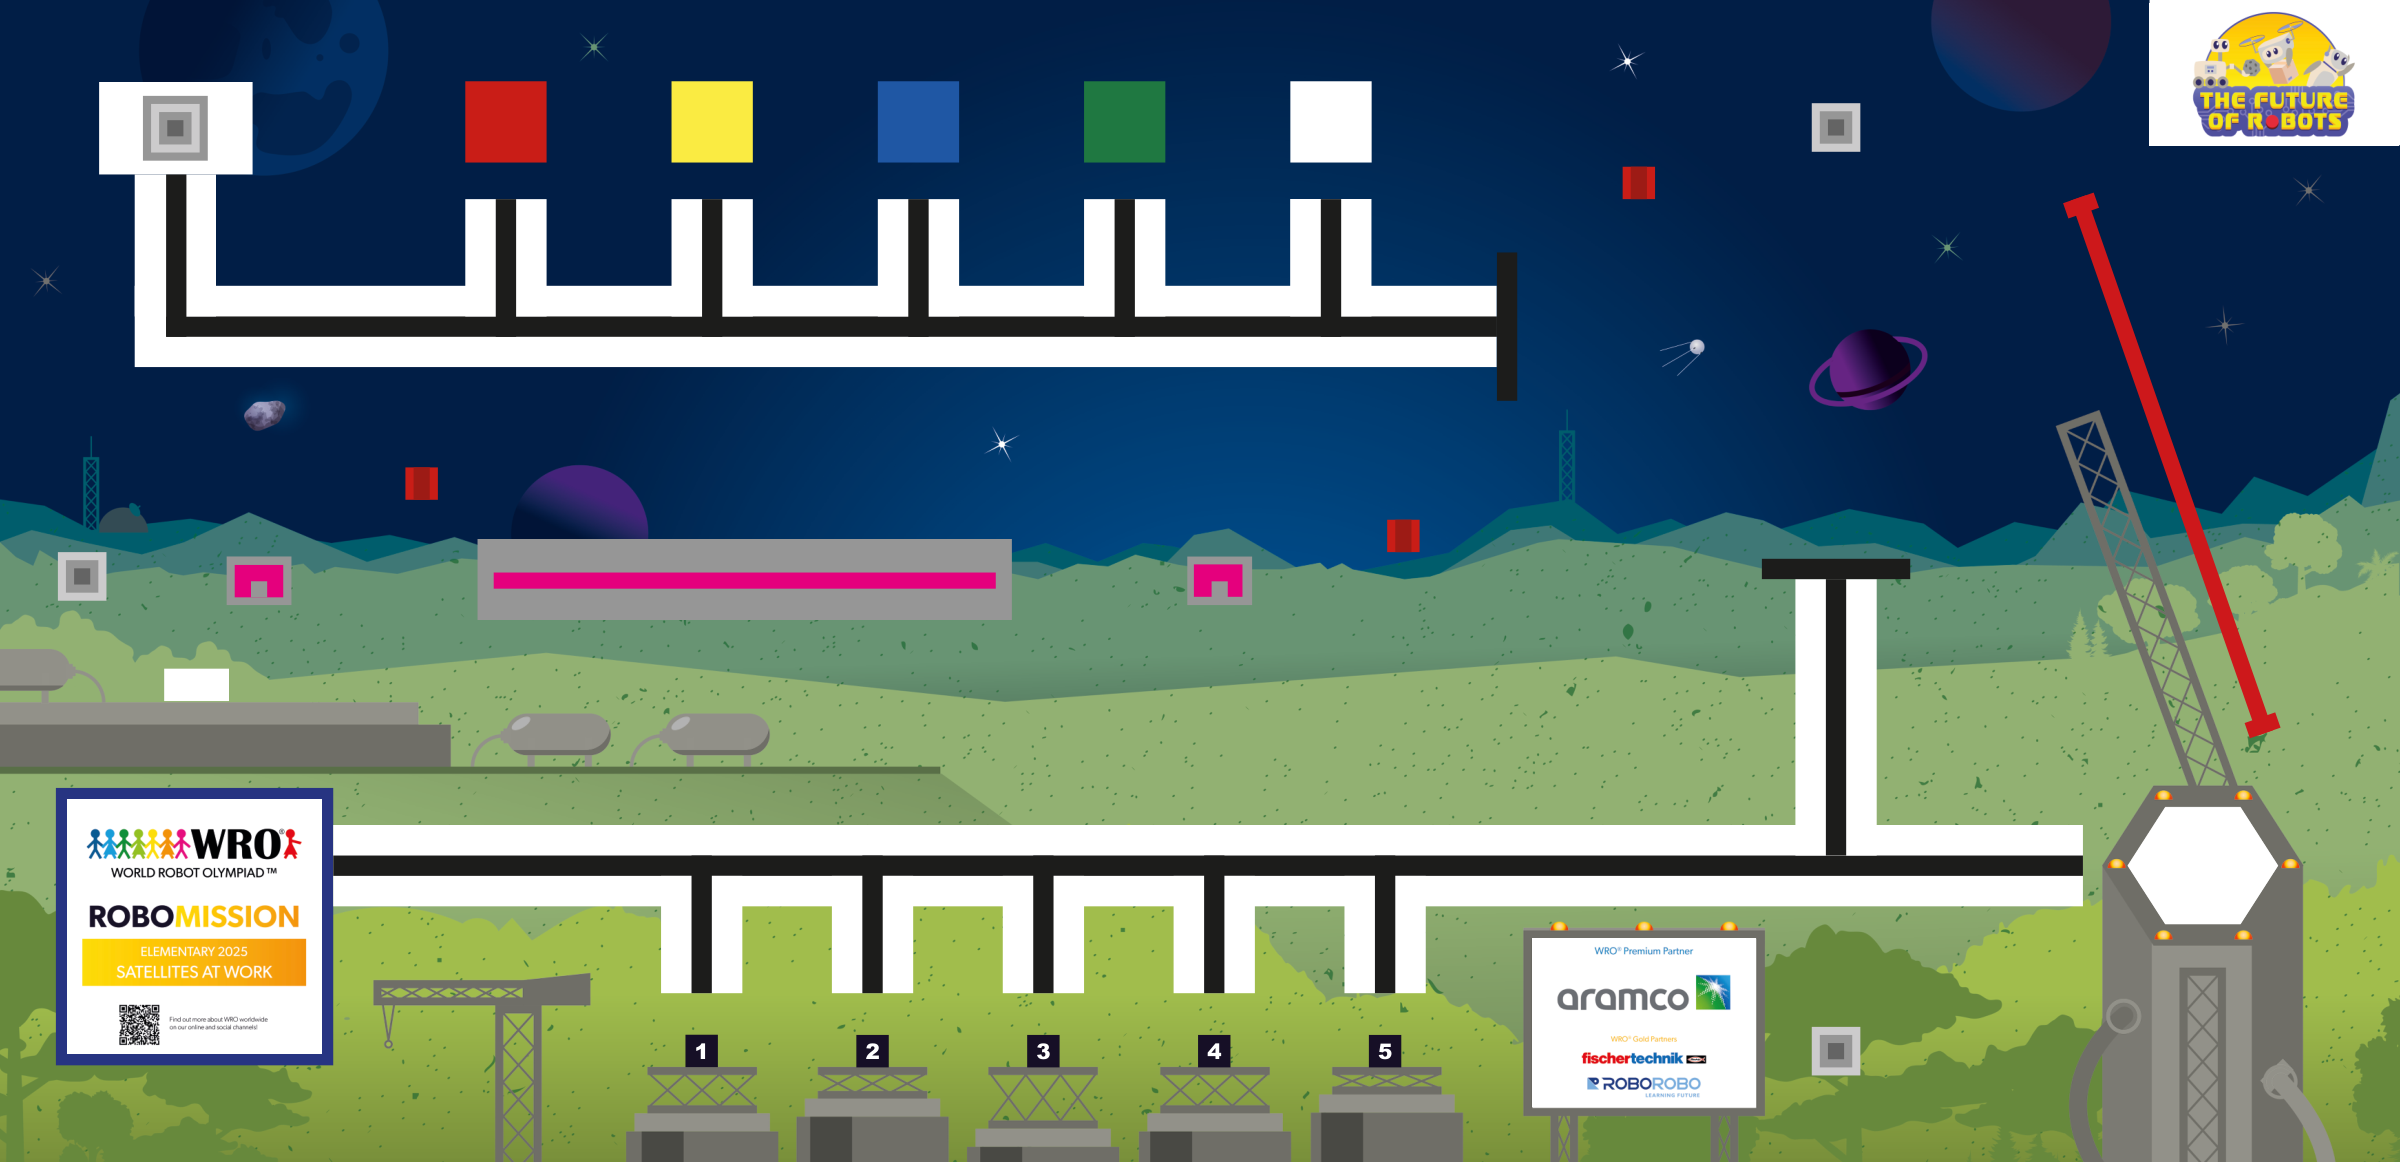
WRO 2025 RoboMission Elementary — The Future of Robots · official WRO game mat, 2362 × 1143 mm
The challenges name these places rather than distances, so the same challenge works on any mat:
Switch mats above and every route below is redrawn on the mat you chose.
Work through them in order — each is harder than the last. The extra challenge comes after all three, and it is meant to make you plan before you build.
Build the MOUNT first and the modules second — a keyed position with a hard stop, so a module fits one way and one place. Test it by fitting the same module five times and checking it sits identically.
Time a full module change: robot on the table, one module off, the other on, seated and pinned, back at HOME ready to start. Under thirty seconds is modular. Over two minutes is a rebuild in disguise, and the answer is a simpler mount, not more practice.
Write a configuration card per module — the name the menu will use, which missions it serves, the motor positions read off the port view, and anything the program must be told differently when it is fitted. 'We will remember which one is on' is not a plan.
Run both configurations without rebuilding: with the pad module, HOME to a launch pad, do the job, deliver to the gantry at D, home. Then swap on the clock and run HOME up to the satellite row at E and back. A swap DURING a run costs round seconds and Block 4 was right to remove it; a swap BETWEEN runs is cheap if the build was designed for it. This is the last build lesson of the course.