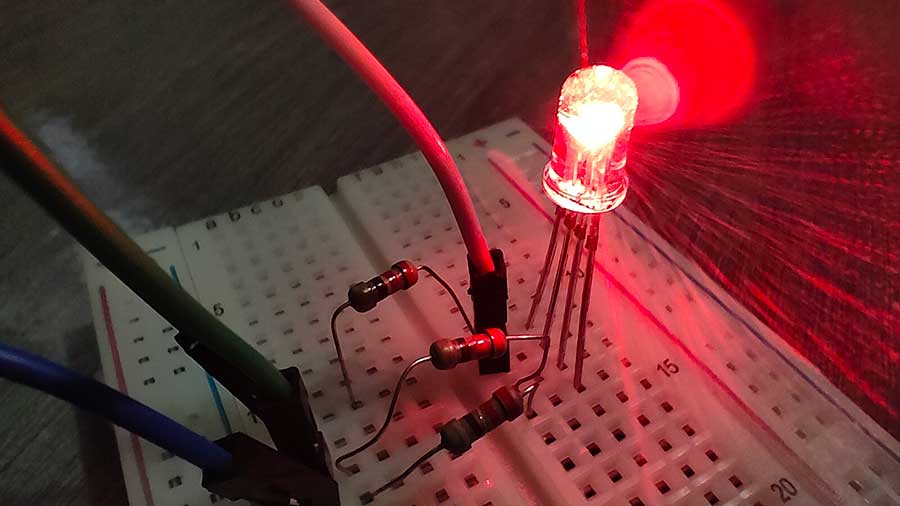
Introduction
An LED is a tiny lamp. The letters stand for light emitting diode.
A diode only lets current flow one way. So an LED has a right way round. The long leg is the anode and takes the positive side. The short leg is the cathode and goes to ground. Flip it and nothing lights, though nothing breaks either.
An LED cannot limit its own current. Wire it straight across 5 V and it draws far too much. It grows hot and burns out in seconds. A resistor in series holds the current down to a safe level. On a 5 V Arduino pin, 220 Ω is the everyday choice.
Your sketch drives the pin with digitalWrite(). HIGH puts 5 V on the pin and the LED lights. LOW puts 0 V on the pin and the LED goes dark.
Learn that pair of words here and you have already met the pattern. A buzzer, a relay and a motor driver all switch the same way.
Video demo
Fullscreen it while you build — you can pause and scrub with the player's own controls.
What you will be able to do
By the end of this lesson you can:
- Tell the anode from the cathode before you wire an LED.
- Explain why a series resistor keeps the LED alive.
- Build the circuit on a breadboard from a pin table.
- Set a pin as an output with
pinMode(). - Switch that pin on and off with
digitalWrite(). - Change a blink rhythm by editing
delay().
What you need
| Part | Type | Qty |
|---|---|---|
| Arduino UNO R3 | Microcontroller | 1 |
| USB A to B cable | Cable | 1 |
| Solderless breadboard, 830 point | Prototyping | 1 |
| Jumper wires, male to male | Wiring | 3 |
| LED, red 5mm | Indicator | 1 |
| Resistor 220 ohm | Resistor | 1 |
Wiring Diagram
Unplug the USB cable before you build. Wire it up, check it, then plug in.
Basic
Why the resistor?
Skip the resistor and the LED still lights — for a while. Then it dies. Here is why.
An LED is not a bulb with a fixed resistance. Once it turns on, it drops a roughly constant voltage across itself and then takes whatever current the circuit will give it. A red LED drops about 2 V. Your Arduino pin supplies 5 V. That leaves 3 V with nowhere to go, and nothing to hold the current back.
The resistor takes that leftover voltage. Ohm's law gives the current:
I = (5 V − 2 V) ÷ 220 Ω
I = 3 ÷ 220
I ≈ 0.0136 A  =  13.6 mA
An LED is happy at about 20 mA and an Arduino pin can supply 40 mA at most. 13.6 mA is bright but safe — comfortably under both limits.
Push on the maths
Drag the sliders. Take the resistor below about 150 Ω and you will see why the 220 Ω one is in your kit.
I = (5.0 − 2.0) ÷ 220 = 13.6 mA
Healthy. Comfortably inside the LED's 20 mA rating.
The 2 V subtracted is the LED's own forward voltage — the bit it keeps for itself. Only what is left over is pushed through the resistor, which is why swapping the resistor changes the brightness but swapping the LED colour changes it too.
- 100 Ω gives 30 mA: brighter, hotter, and shortening the life of the LED and the pin.
- 1 kΩ gives 3 mA: visible, but dim.
- 220 Ω sits in the middle, which is why it is the one you reach for.
Rule of thumb: one 220 Ω resistor per LED, every time. Not one shared between several.
How do I know it is 220 Ω?
Resistors do not have their value printed on them. They carry coloured bands, and a 220 Ω one reads red–red–brown–gold. Learn to read the bands and you never have to guess which resistor you pulled out of the bag.
→ Reading Resistor Colour Codes — the full band chart, with practice.
How it works
Now let's make led blinking!
Fullscreen it while you build — you can pause and scrub with the player's own controls.
Challenges
Challenge 1
Change the rhythm.
Set both delays to 200, upload, and watch. Then set both to 2000 and upload again.
Now make the LED spend a short time on and a long time off, like a lighthouse. Only the two numbers change.
Write down which line controls the on time and which controls the off time.
Fullscreen it while you build — you can pause and scrub with the player's own controls.
Log in to ask for hints.
Challenge 2
Two LEDs, taking turns.
Add a second LED on pin 8, with its own 220 Ω resistor. Give it a second const int.
Make one LED light while the other is dark, then swap. Aim for the alternating lamps at a Jalan Bukit Bintang pedestrian crossing.
Hint: one loop() needs four digitalWrite() lines and two delay() lines.
Fullscreen it while you build — you can pause and scrub with the player's own controls.
Log in to ask for hints.
Challenge 3
A blinking sign for a mamak stall.
The stall opens at night and wants an LED that says "we are open".
Make the LED flash three quick blinks, then hold dark for two seconds, then repeat.
You will need six digitalWrite() lines and six delay() lines in loop(). Count them before you type, then check your sketch matches.
Fullscreen it while you build — you can pause and scrub with the player's own controls.
Log in to ask for hints.
Extra challenge
A traffic light for the junction.
Build a red, a yellow and a green LED, each with its own 220 Ω resistor, on pins 9, 10 and 11.
Run a realistic Malaysian junction cycle:
- Green for 5 seconds.
- Yellow for 2 seconds.
- Red for 5 seconds.
- Red and yellow together for 1 second, then back to green.
Only one colour should be lit at a time, apart from that last step. Switching a lamp on is not enough — remember to switch the previous one off.
Think about it: your sketch is now a long list of digitalWrite() and delay() lines. If the council asked for a 30-second green, how many numbers would you have to hunt down? Keep that in mind when you meet arrays and millis().
Fullscreen it while you build — you can pause and scrub with the player's own controls.
Log in to ask for hints.
Resources
Lesson photo