Introduction
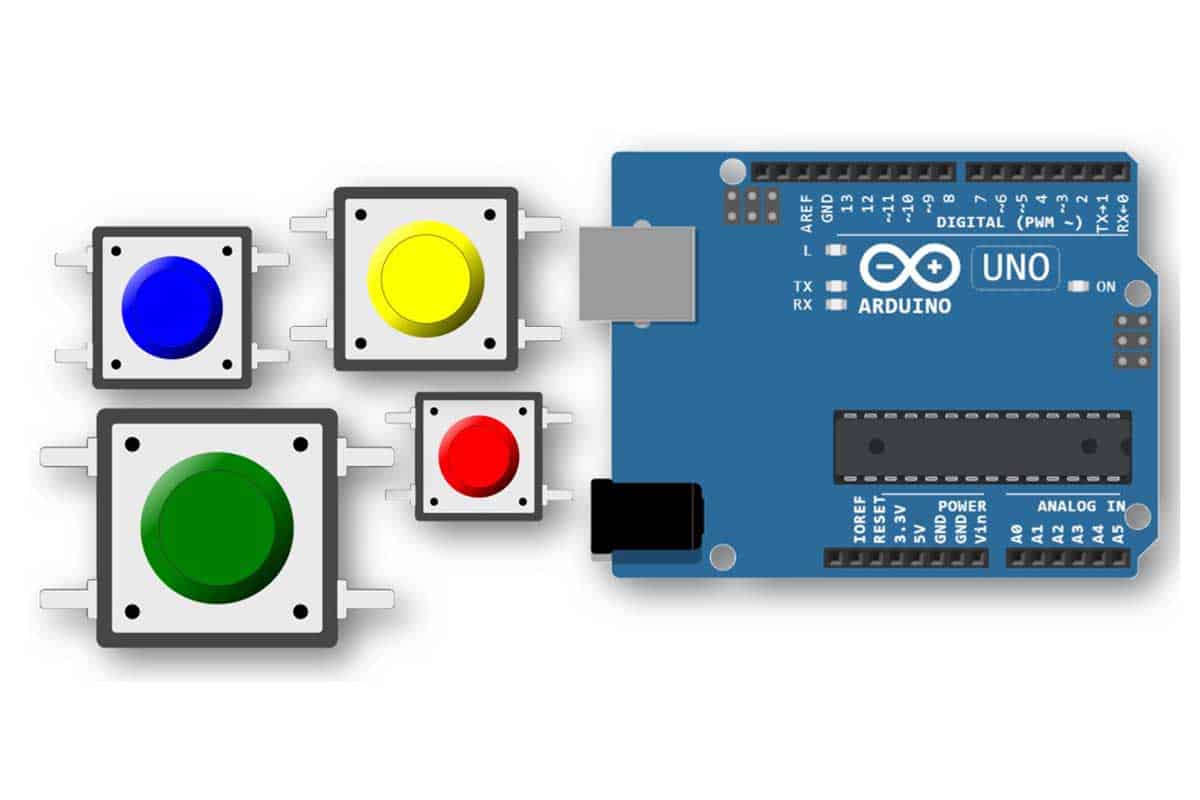
A push button is the simplest input there is. It does one job: it joins two wires while you hold it, and separates them when you let go.
Reading it is where beginners come unstuck. An Arduino pin set to plain INPUT is not "off" when nothing is connected — it is floating. It picks up electrical noise from the air, from your hand, from the mains, and digitalRead() returns HIGH and LOW at random. A floating pin is the single most common reason a button "works sometimes".
The cure is a pull-up resistor: a resistor tying the pin up to 5 V, so the pin has a definite value when the button is open. The Arduino has one built into the chip, and INPUT_PULLUP switches it on. No extra part, no extra wire.
That gives the circuit a small surprise. The pull-up holds the pin at 5 V, so released reads HIGH. Pressing connects the pin to ground, so pressed reads LOW. The logic is inverted, and it stays inverted for every INPUT_PULLUP button you ever wire.
Video demo
Fullscreen it while you build — you can pause and scrub with the player's own controls.
What you will be able to do
By the end of this lesson you can:
- Explain what a floating pin is, and why it makes a button unreliable.
- Say the difference between
INPUTandINPUT_PULLUPin one sentence. - Wire a button with two wires and no external resistor.
- Read a pin with
digitalRead(). - Remember that a pulled-up button reads LOW when pressed.
- Use
if/elseto act on what the pin says.
What you need
| Part | Type | Qty |
|---|---|---|
| Arduino UNO R3 | Microcontroller | 1 |
| USB A to B cable | Cable | 1 |
| Solderless breadboard, 830 point | Prototyping | 1 |
| Jumper wires, male to male | Wiring | 3 |
| Push button, tactile | Input | 1 |
| LED, red 5mm | Indicator | 1 |
| Resistor 220 ohm | Resistor | 1 |
Wiring Diagram
Unplug the USB cable before you build. A button to read, and an LED to prove it works.
Press and hold the button in the picture to watch the current appear.
Basic
INPUT or INPUT_PULLUP?
Two modes, one line apart in your sketch, and completely different behaviour.
pinMode(2, INPUT) | pinMode(2, INPUT_PULLUP) | |
|---|---|---|
| Pin when button is open | floating — reads randomly | held at 5 V — reads HIGH |
| Pin when button is pressed | depends on your wiring | pulled to 0 V — reads LOW |
| Extra resistor needed | yes, a 10 kΩ one | no |
| Wires to the button | three | two |
| Reading when pressed | HIGH (with a pull-down) | LOW |
INPUT_PULLUP is the one to reach for. Fewer parts, fewer wires, and no floating pin. The only cost is remembering the inversion.
→ Push Buttons and digitalRead — the full story, including wiring a button the hard way with an external resistor. → INPUT_PULLUP — what the resistor inside the chip actually is, drawn as a schematic.
How it works
Let's see how the button working!
Fullscreen it while you build — you can pause and scrub with the player's own controls.
Challenges
Challenge 1
Invert it.
Change the sketch so the red LED is on all the time, and goes off while you hold the button.
You should only need to change one word.
Then say out loud what digitalRead() returns when the button is released, and check it against the table above.
Fullscreen it while you build — you can pause and scrub with the player's own controls.
Log in to ask for hints.
Challenge 2
A doorbell for the mamak stall.
The kitchen is noisy, so the waiter wants a light instead of a bell.
While the button is held, the red LED blinks quickly. When it is released, the LED stays off.
You will need a delay() inside the if block. Try 100 ms.
Then hold the button and press it again quickly — notice the blink does not restart cleanly. Why not? Write down what you think is happening.
Fullscreen it while you build — you can pause and scrub with the player's own controls.
Log in to ask for hints.
Challenge 3
Two buttons, one light.
Add a second button on pin 3, also INPUT_PULLUP, on its own row of the breadboard.
Make the LED light only when both buttons are held at once — a two-handed safety switch, like the ones on a workshop press.
Then change it so the LED lights when either button is held.
Think about it: you have now written digitalRead() twice in one if. What happens to your sketch when there are eight buttons? Keep that in mind when you meet arrays.
Fullscreen it while you build — you can pause and scrub with the player's own controls.
Log in to ask for hints.
Extra challenge
The latching light.
Every switch you have written so far only holds while your finger is down. A real light switch is not like that.
Make one button toggle the LED: press once and it stays on, press again and it goes off. Your finger is off the button the whole time it is lit.
Start by keeping a note of what the light should be doing, instead of asking the button:
int status = 0; // 0 = off, 1 = onNow the button's job is not "is it down?" but "flip status". Read the button, flip status between 0 and 1, then further down in loop() turn the LED on or off to match.
Build that much and try it. It will misbehave, and the reason is in "Watch out for" above: loop() runs thousands of times a second, so one press of your finger is hundreds of passes, and status flips on every one of them. The LED lands wherever it happens to be when you let go.
So after flipping, you have to wait for the finger to come off before going round again. A while loop does exactly that:
while (digitalRead(BUTTON_PIN) == LOW) {
  delay(100);
}
Read it out loud: while the button is still down, do nothing — wait 100 ms and look again. The sketch parks there until you release, so one press flips status once, however long you hold it. Put it straight after the flip, inside the same if. See while, break and continue.
Get it working, then press the button twenty times slowly and count.
Think about it: while your sketch is sitting in that while loop waiting, it can do nothing else. Harmless here. What if this were the doorbell from Challenge 2 and something else had to keep running?
Fullscreen it while you build — you can pause and scrub with the player's own controls.
Log in to ask for hints.
Resources
Lesson photo