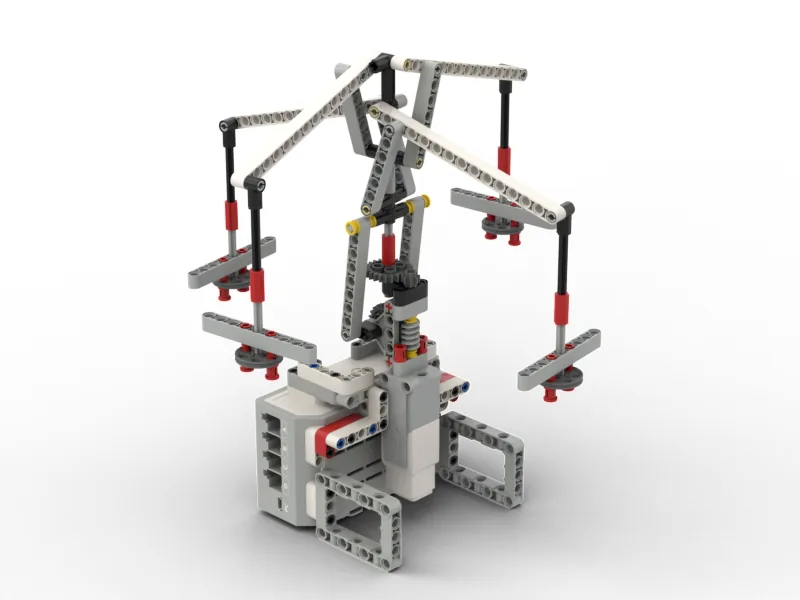
Challenge 1
Bring the ride to a proper stop. It must wind down through at least two speeds before it stops, so the seats come back in gently rather than swinging and tangling. Watch the seats, not the screen, to decide whether you have succeeded.
Quick Learn — the model, the instructions, the program and the challenges. The theory is in Full Lesson.
EV3 Robotics›Level 1 · Beginner›Lesson 19
Level 1 · Lesson 19 · EV3-L01-1960 minutes · Ages 9–16 · Model: Lifting Flying Chair
The Lifting Flying Chair: a fairground ride on a tall central mast, with seats hanging from chains around the top. Turn it slowly and the seats hang straight down. Turn it faster and they swing outwards and rise.
Nothing lifts them. There is no second motor, no winch, no arm. The only thing that changes is how fast the mast is turning — and the ride changes shape.
By the end of the lesson your ride will start gently, wind up to full speed, hold there, and wind back down to a stop — the way a real one has to.
Every funfair has one: the chair swing, the wave swinger, the chair-o-plane. Riders sit in seats hung on chains from a spinning roof. As it gets going the seats drift outward until they are flying almost level, well clear of the ground.
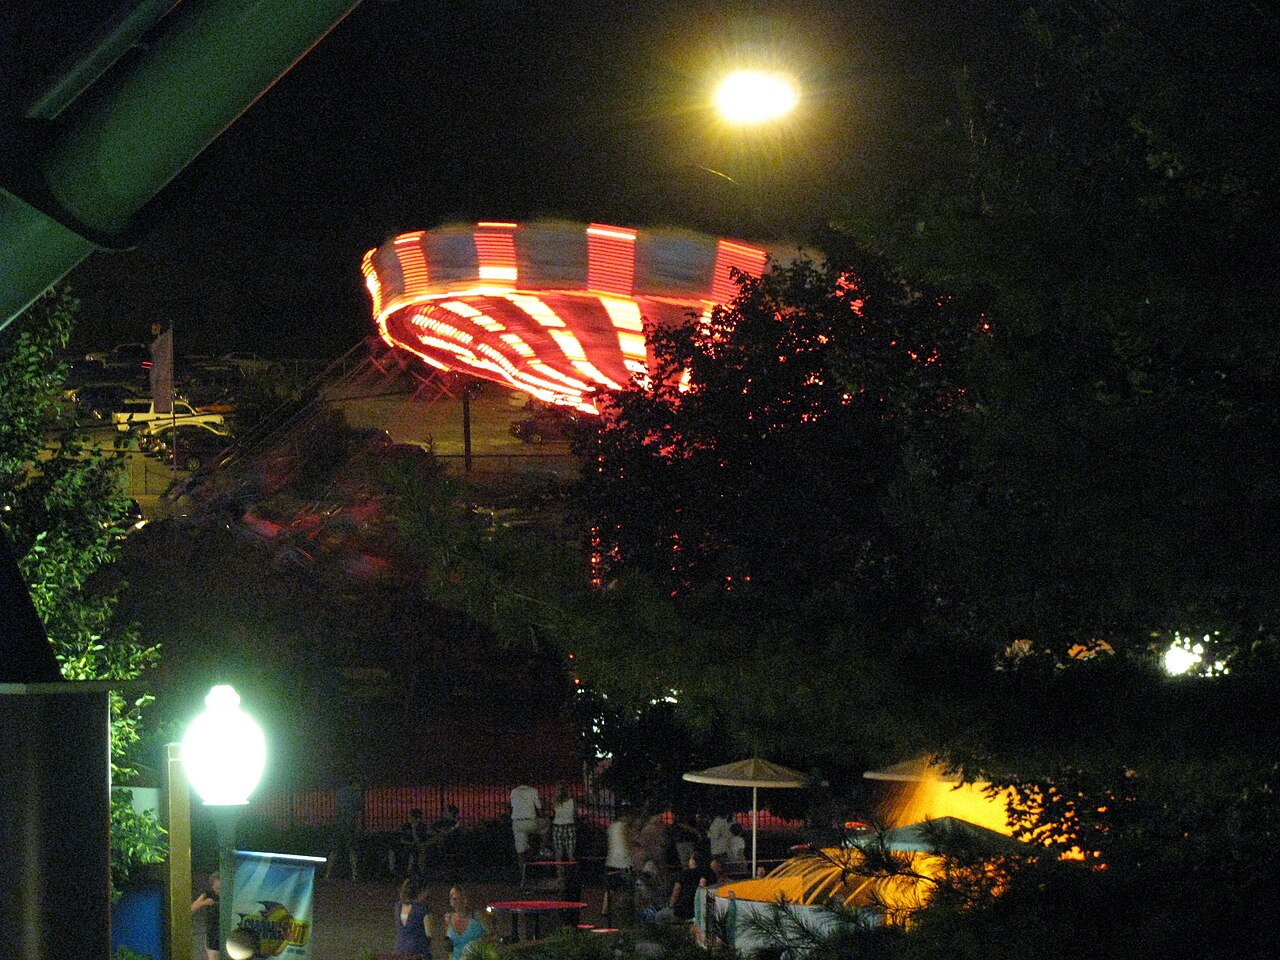
A seat on a chain wants to travel in a straight line. To keep it going round instead, the chain has to pull it constantly towards the middle. That inward pull is called the centripetal force.
The chain can only pull along its own length, so the only way it can pull inwards and hold the seat up is to slant. The faster the ride spins, the harder the inward pull needs to be, and the more the chain has to slant — which swings the seat outwards and lifts it.
So the height of the seats is not a setting. It is a read-out of the speed. Look at a chair swing from across the fairground and you can tell how fast it is going without seeing the motor.
Now think about starting one. If the ride jumped straight to full speed, the seats would be flung outwards in an instant and the riders would be thrown against their restraints. Real rides are built to wind up gradually, over many seconds.
Stopping matters just as much. Cut the power suddenly and the seats swing back inwards, collide with one another and tangle their chains. The ride has to be brought down as carefully as it was brought up.
A ride is not a thing that is on or off. Winding up and winding down are part of the machine.
A speed setting can be changed during a run, not only before it.
You met speed as its own dial back in Lesson 3, and you have used it in nearly every lesson since. But always the same way: set the speed, then start the motor. One speed, from beginning to end.
[A v] set speed to (50) % does not have to come first. Put it after the motor has started and it takes effect immediately, on the motor that is already turning. A stack of them, spaced out with waits, is a ramp.
| Where the speed block sits | What it does |
|---|---|
| Before the motor starts | Chooses the speed it will start at. Nothing moves yet — it is a setting, not an action. |
| After the motor has started | Changes the speed of the motor that is already turning, right now. The ride winds up without stopping. |
| Several of them, with wait (1) seconds between | A ramp. The wait is what gives the ride time to actually reach each speed before the next one arrives. |
The waits are not padding. A speed block changes the instruction instantly, but the ride is heavy and takes a moment to catch up. Without waits, all your speed blocks run in a fraction of a second and the ride simply lurches to the last one.
Set speed before starting to choose a speed. Set speed after starting to change it. A ramp is several of those, with time in between.
The Medium Motor is the smaller of the two EV3 motors. It is quick and light rather than strong, which makes it the right choice for anything that has to move a part of the robot rather than the whole robot — a gate arm, a pair of jaws, a winch, a pointer.
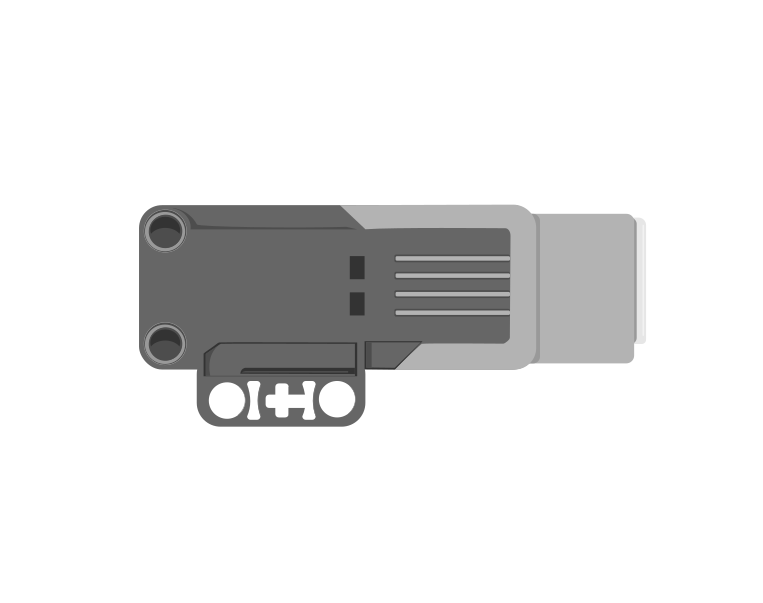 side
side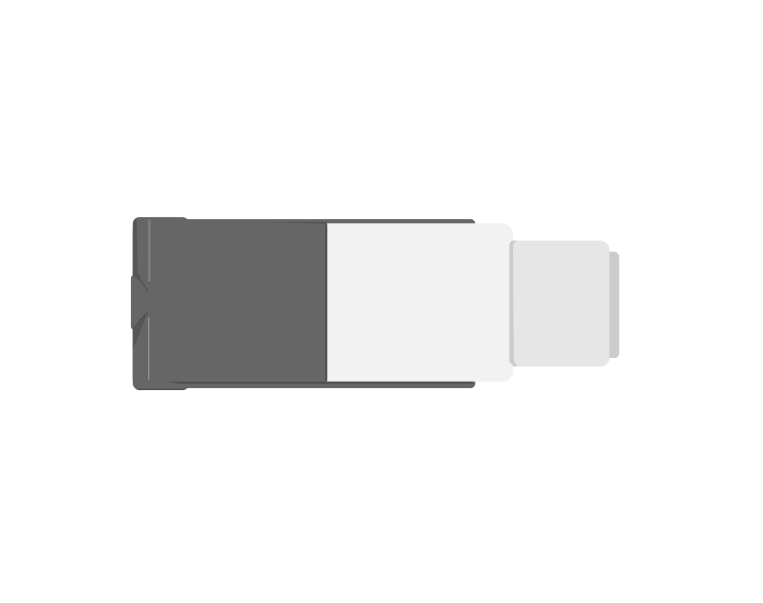 from above
| Block | What it does |
|---|---|
[A v] run [clockwise v] for (1) [rotations v] :: motors | Turns the motor a measured amount, then stops. One rotation is one full turn of the motor shaft. |
[A v] run [clockwise v] for (90) [degrees v] :: motors | The same idea, but in degrees — useful when a quarter or a half turn is what the mechanism needs. 360 degrees is one rotation. |
[A v] run [clockwise v] for (2) [seconds v] :: motors | Turns the motor for a length of time and then stops, whatever the shaft managed to do in it. The one measurement that always finishes. |
[A v] set speed to (50) % :: motors | Sets how fast the motor will run from now on. It does not start the motor by itself. |
[A v] start motor [clockwise v] :: motors | Starts the motor turning and moves straight on to the next block. It keeps going until something stops it. |
[A v] stop motor :: motors | Stops the motor. |
These two look similar and behave completely differently, and almost every early EV3 bug comes from picking the wrong one. Watch both run the same job, over and over.
versus
Let it loop a few times. The left dial keeps landing on the same mark; the right one leaves a new mark almost every run — that scatter is what “not repeatable” means.
The black mark is where the shaft should finish. The measured motor hits it every single run, because the program waits at that block until the motor has turned exactly that far. The timed motor is only running for a second — and a second covers a different amount depending on the battery, the friction and whatever the mechanism is carrying. Each orange dash is a run that finished somewhere it was not asked to.
If a mechanism has to end up in a particular place — a gate that must finish upright, a jaw that must close fully — use the measured block.
The dropdown at the end of the run block has a third setting, and it is the one that saves lifting mechanisms. for () seconds switches the block off a distance and onto a duration: it drives the motor for that long and then stops, whatever the shaft managed to do in the time.
That sounds strictly worse than a measured turn, and for most jobs it is. It matters because of what the measured block actually waits for. run for (90) degrees does not finish when 90 degrees’ worth of time has passed. It finishes when the shaft has turned 90 degrees — and if the mechanism runs out of travel first, the shaft never will.
Every arm, jaw and lift has a physical limit: a point where the mechanism reaches the top of its travel, or something in the build gets in the way. Push a motor into that limit and it stalls — the shaft stops turning and the motor sits there straining. The motor is fine and the program is spelled correctly. But the encoder has stopped counting, so a measured block that was told a bigger number is still waiting, and it will wait until the Brick is switched off.
Nothing after that block ever runs. Not the next motor block, not the sound, not the display, not the rest of the program. That is the whole failure, and it looks like a crash even though nothing has crashed.
when program starts :: events hat
[A v] set speed to (30) % :: motors
[A v] run [clockwise v] for (90) [degrees v] :: motors
[A v] reset degrees counted :: motors
write [HOME SET] at line (1) :: display
Watch the Brick screen, not the arm. HOME SET is the block after the motor block, so a blank screen means the program never got past it.
Compare the first two. The only difference between them is 45 and 90, the mechanism is identical, and one of them is a working program while the other locks up on the third block. Nothing in the listing distinguishes them — the end stop is a fact about the build, and the program has never heard of it.
This is the mistake almost every student makes the first time a Medium Motor lifts something. A lifting arm has a lowest position and a highest one; ask it to turn past either and the program hangs. It is worse than an ordinary bug, because the robot looks alive — the motor is still being driven, still buzzing, still hot — and the next block never comes.
The fix turns the problem into the technique. You often do not know how many degrees it is to the top of an arm’s travel — it depends on the build, and it changes the moment somebody rebuilds it. So do not measure it. Drive the arm gently into its own end stop for a couple of seconds, and then declare that position to be zero:
when program starts :: events hat
[A v] set speed to (30) % :: motors
[A v] run [counterclockwise v] for (2) [seconds v] :: motors
[A v] reset degrees counted :: motors
write [HOME SET] at line (1) :: display
Three things make that work, and all three are deliberate:
After that, use measured blocks for everything inside the travel and timed blocks whenever you are driving to a limit. The rule of thumb: if the movement ends against something solid, run for seconds.
A Medium Motor is normally plugged into port A or D, which leaves B and C free for the Large Motors that drive wheels. The letter in the block must match the port the cable is actually in — this is the single most common reason a program appears to do nothing at all.
Speed is set separately from movement. You tell the motor how fast it should go, and then you tell it to go — two blocks, in that order.
| Block | What it does |
|---|---|
[A v] set speed to (25) % :: motors | Sets the speed for this motor from now on. Nothing moves — it only changes what the next movement will do. |
[A v] run [clockwise v] for (2) [rotations v] :: motors | Now moves, at whatever speed was last set. |
when program starts :: events hat
[A v] set speed to (25) % :: motors
[A v] run [clockwise v] for (2) [rotations v] :: motors
Swap those two blocks round and the program still contains a speed of 25 % — it just never gets used. Both shafts below are asked for exactly 2 rotations; watch how long each one takes.
speed first — works
speed last — does nothing
Both shafts turn exactly 2 rotations. Only the time they take is different — and the right-hand program never gets the slow movement it was written to have.
The right-hand movement is over before the left is a third of the way round, because it ran at the default speed. Its set speed to () block does run — you can see it light up — but by then the movement it was meant to slow down has already happened. A speed block only ever affects the movements after it. This catches people out constantly.
A high speed is not a better program. Slow movements are gentler on the gears, easier to watch and debug, and look more like the real machine — a barrier that snaps up in a fraction of a second reads as broken rather than fast.
Say this back before moving on: “A speed block after the motor has started changes the speed of a motor that is already turning.”
Look at your ride. Which parts have a cable running to the Brick? There is only one.
Medium — in this build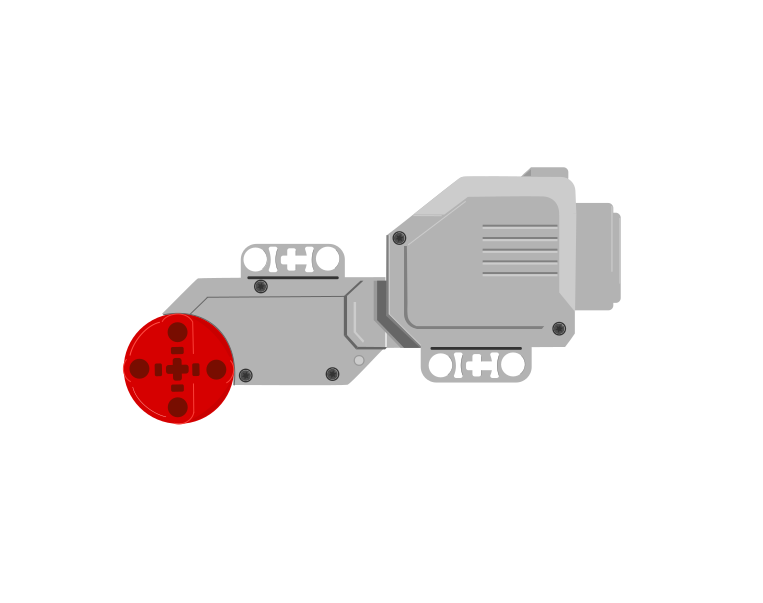 Large — not used here
| Part | What it is doing here |
|---|---|
| EV3 Intelligent Brick | Runs the program and is the base the whole mast stands on. It is also the heaviest part, which is what stops the ride walking off the table. |
| Medium Motor, port A | Turns the mast. Fast rather than strong, and a ride wants turns. |
| Sensors | None. The ride cannot tell how high its own seats are. You are the one who can see that. |
Check the seats hang free before you go on. Lift each one and let it fall. It should swing without touching the mast, the roof or its neighbour. A seat that catches on something will not rise at any speed, and you will spend the lesson blaming the program.
Sensors go in ports 1, 2, 3, 4. Motors go in ports A, B, C, D. They are not interchangeable, and nothing will tell you politely if you swap them.
The manual builds the ride to the last seat and never shows you where the cable goes. That is your decision, and the course has a habit for it.
| Part | Port | Why this one |
|---|---|---|
| Medium Motor (the mast) | A | One motor with a job of its own takes A. B and C stay free for a matched pair, and this ride has no pair. |
| Sensors | none | Ports 1–4 stay empty. An empty port is a perfectly good answer. |
Check your own build now:
Two routes, and either is fine. USB is the reliable one and the one to fall back on when a room’s Bluetooth is busy; Bluetooth leaves the robot free to move, which some models need.
Do these in order. Naming the Brick after you go looking for it in the list is how groups end up driving each other’s robots.
EV3 until somebody changes it.EV3.The two failures, every class, every time. The Brick has gone to sleep while you were building — press the centre button to wake it. Or you have paired with the group at the next table, which is why the name matters.
The long version, including Port View and how to read the port tiles, is in the Brick & Bluetooth guide.
One change at a time, and predict before each run. Judge every run by the seats, not by the numbers on your screen.
Step 3 is the one to write down. You now have a table of speed against height, for a machine with no sensor that can measure height. The seats did the measuring.
Speed is not only a number in a program. On the right machine you can see it from across the room.
Eight blocks, and five of them are the ride winding up and down. Read it as a ride cycle, not as a list.
when program starts :: events hat
[A v] set speed to (20) % :: motors
[A v] start motor [clockwise v] :: motors
[A v] set speed to (50) % :: motors
wait (3) seconds
[A v] set speed to (90) % :: motors
wait (5) seconds
[A v] set speed to (20) % :: motors
Walk it in the order the Brick runs it:
The motor is still running at the end. That is deliberate — a ride coming down slowly is better than one that stops dead. Stopping it properly is Challenge 1.
What success looks like: watch the seats, not the screen. They should rise in two clear stages and come back down in one. If they go straight to their highest position, your waits are too short — the ride never had time to be at 50 %.
Build the model before you read any further. Everything after this is about making it do something, and none of it will make much sense with nothing on the table in front of you.
Use the viewer's own controls to zoom and turn pages. Fullscreen makes it big enough to build from.
The same build on Google Drive — sometimes a video, sometimes a scan:
Use the viewer's own controls to zoom and turn pages. Fullscreen makes it big enough to build from.
Check the finished build against the picture before you switch anything on. A motor mounted the wrong way round is far easier to spot now than it is to debug later, when it looks like a program fault.
Work through them in order — each is harder than the last. The extra challenge comes after all three, and it is meant to make you plan before you build.
Bring the ride to a proper stop. It must wind down through at least two speeds before it stops, so the seats come back in gently rather than swinging and tangling. Watch the seats, not the screen, to decide whether you have succeeded.
Run a full ride cycle: load, wind up, cruise, wind down, unload. There must be a still moment at the beginning and end long enough for a rider to get on and off safely, and the Brick screen must say which stage the ride is in. Time the whole cycle and report it.
Measure the ride. Find the height of the seats at four different speeds, using a ruler held beside the mast, and write the four pairs of numbers down. Then predict the height at a fifth speed you have not tried, run it, and report how close you were.
Design a ride that is safe for its riders. Real fairground rides are built around what a human body can take, not around what a motor can do. Your job is to design and program a ride cycle that would be safe if the seats held people. Plan on paper before you touch the program. Decide the fastest speed you will allow and why, how long the ride takes to reach it, and how long it takes to come back down. A rider must never be flung outwards suddenly, and must never be stopped suddenly either. Build in one more thing: a way for a person standing beside the ride to see at a glance whether it is safe to approach. The Brick has more than one way to do this. Two questions when you demonstrate it. What is the fastest your ride goes, and how did you decide that was the limit? And how would somebody who had never seen your ride know when to step forward?