Challenge 1
Make the performer complete five out-and-back trips and stop at the near end, with the trip count on the screen.
Quick Learn — the model, the instructions, the program and the challenges. The theory is in Full Lesson.
EV3 Robotics›Level 2 · Intermediate›Lesson 40
Level 2 · Lesson 40 · EV3-L02-4060 minutes · Ages 9–16 · Model: Balance Unicycle
The Balance Unicycle: a little brick-built performer on a single wheel, riding a rubber-band rope that a motor drives from one end.
The performer has no electronics at all. It balances because of how it is built — its weight hangs below the rope — and it travels because the rope moves under it.
By the end of the lesson the performer will run to one end of the wire, turn round on its own, and run back — for ever — without any number in the program saying how long the wire is.
A tightrope walker crosses a wire holding a long pole. The pole is not for show, and it is not for holding on to. It is the single most important piece of equipment they carry.
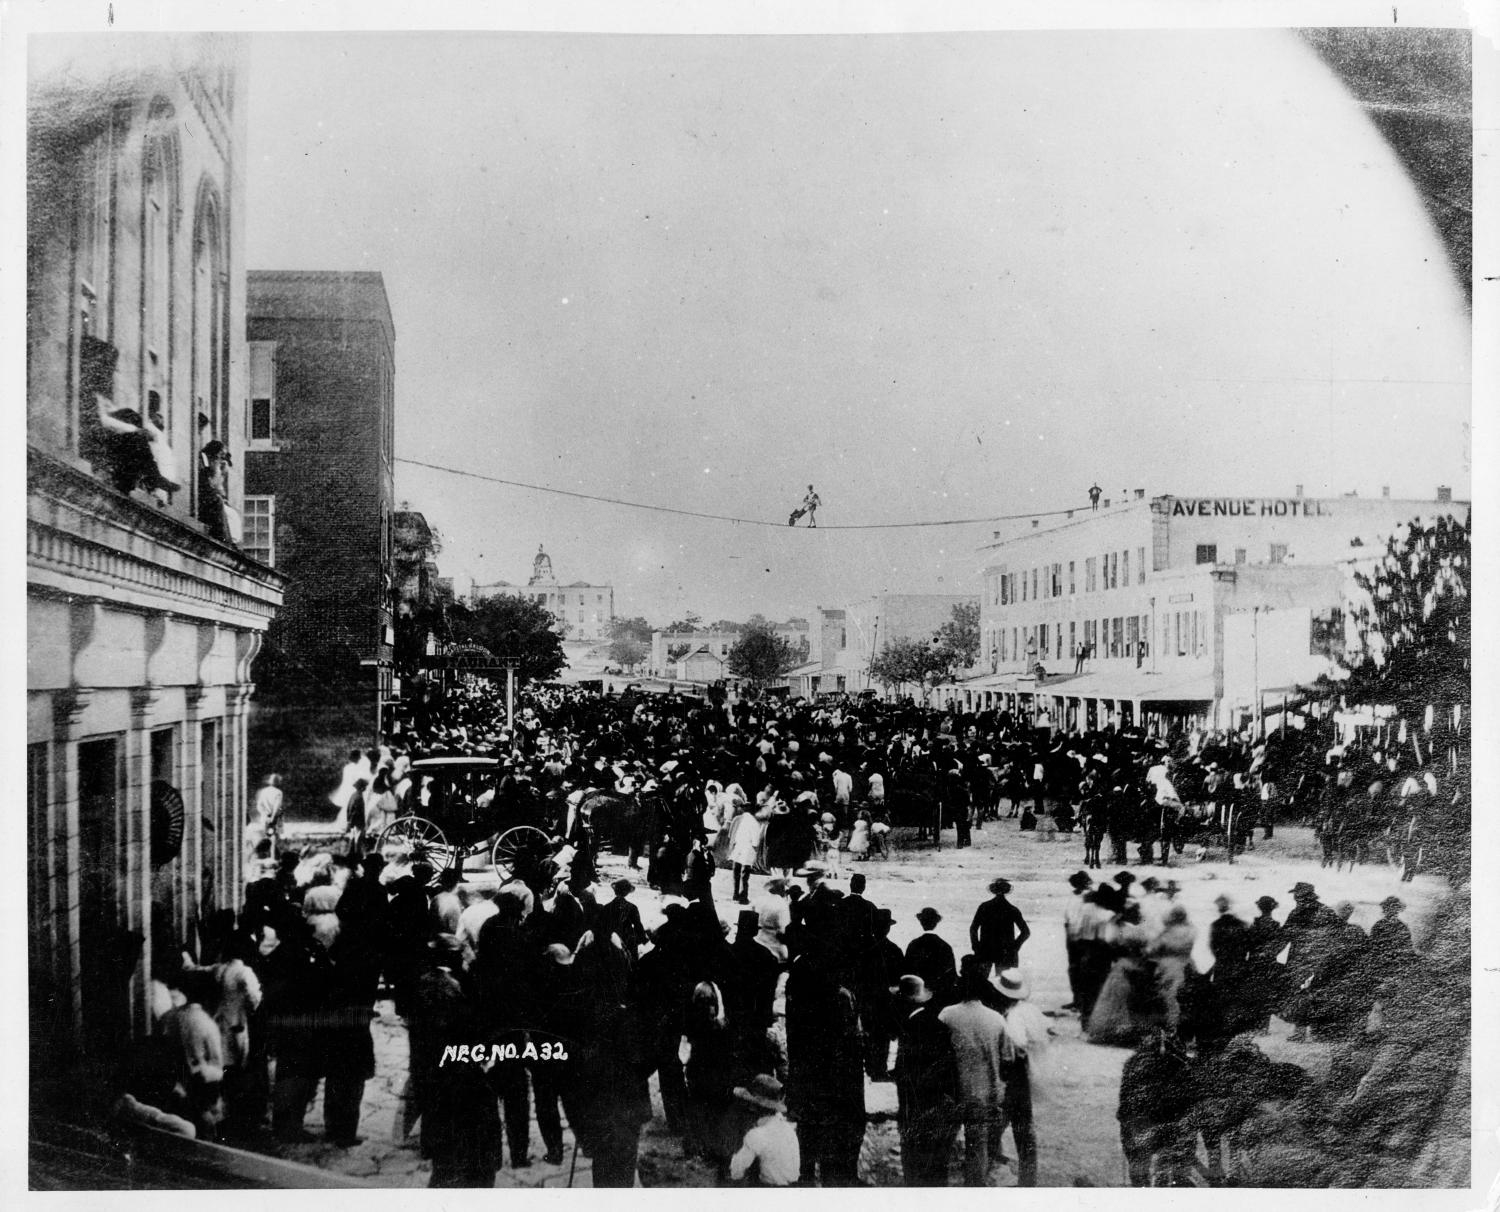
A long pole makes the walker slower to tip. Spreading weight far out to the sides means any lean has to move a lot of mass a long way, and that takes time — time the walker uses to correct.
Better still, the pole usually droops at the ends and hangs below the wire. That drags the combined centre of gravity of walker-plus-pole downward. Once the weight sits below the wire, a lean no longer tips the walker further over — gravity pulls them back upright. It stops being a balancing act and starts being a pendulum.
Your performer does exactly the same thing. Its weight hangs beneath the rope, which is why it stays up without a single sensor or line of code.
With the weight above the wire, every wobble grows. With the weight below, every wobble shrinks. That is the whole difference between a stunt and a swing.
Some problems are solved in the build, and no program can solve them instead.
Lesson 25’s crane knew where its limits were because you measured them and typed the numbers in. That works — right up until something slips.
This machine drives through a rubber band. A rubber band stretches. It grips differently when it is warm. It slips when the performer catches on something. After ten minutes of running, “800 degrees” is no longer the end of the wire.
[A v] start motor [clockwise v] :: motors
[1 v] wait until [pressed v] :: sensors
[A v] stop motor :: motors
| An encoder limit (Lesson 28) | An end stop (today) | |
|---|---|---|
| Knows the end because | a number you measured earlier | something is physically there |
| If the drive slips | wrong, and getting worse | still right |
| If somebody moves the model | wrong immediately | still right |
| Costs | nothing — it is already counting | a sensor, a port and a place to mount it |
This is why a printer makes that noise when you switch it on, and why a garage door runs to the top the first time you power it up. The machine is homing: driving until it hits a known stop, so that everything it counts afterwards is counted from somewhere real.
forever
  [A v] start motor [clockwise v] :: motors
  [1 v] wait until [pressed v] :: sensors
  [A v] start motor [counterclockwise v] :: motors
  [2 v] wait until [pressed v] :: sensors
end
This program works on a wire of any length, and it keeps working after the band stretches. That is not a small thing. Most programs that break in a classroom break because the world moved and the number did not.
The Touch Sensor is the simplest input the EV3 has: a button that is either pressed or not. That sounds trivial, but it is how a robot knows it has hit a wall, reached the end of a track, or been told to start by a person.
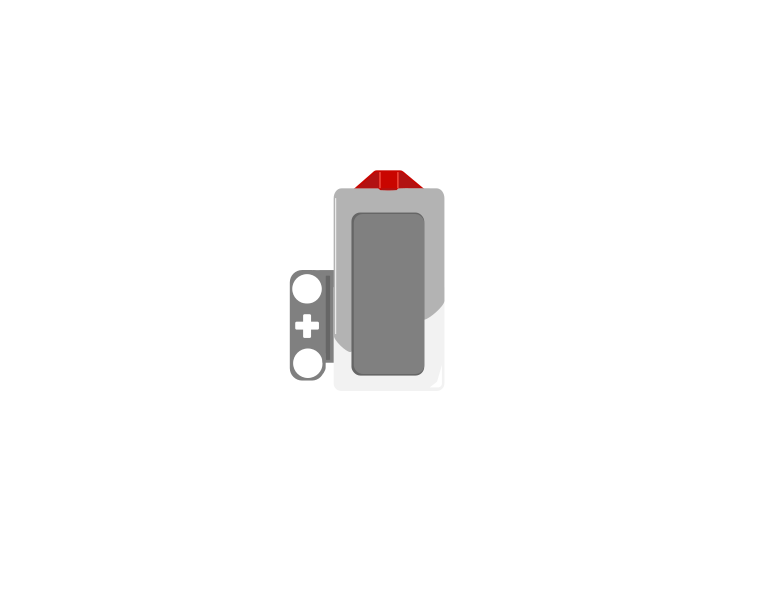 released
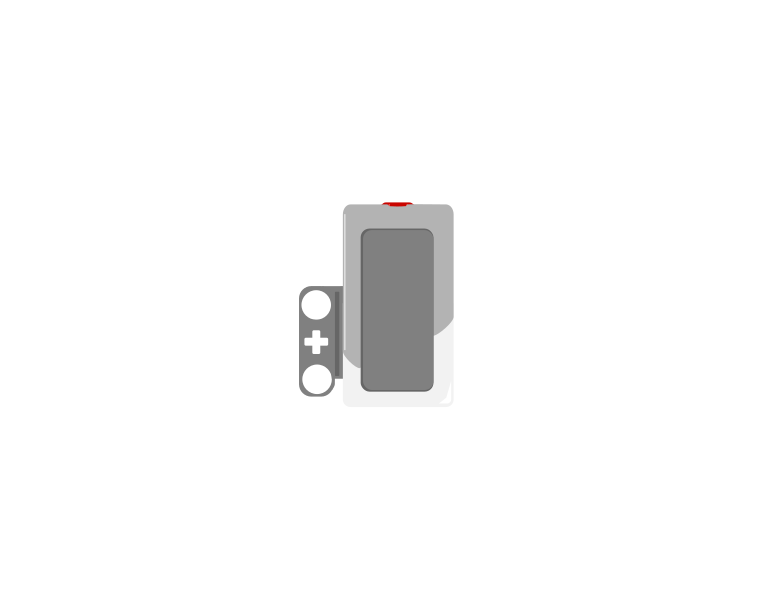 pressed
| Block | What it does |
|---|---|
wait until <[1 v] is pressed? :: sensors> | Holds the program here until somebody presses the sensor. |
<[1 v] is pressed? :: sensors> | Reports true or false. Drop it into a condition to make a decision rather than a wait. |
[1 v] when [bumped v] :: events hat | Starts a whole stack of its own. The dropdown chooses the moment: pressed, released or bumped. |
A button is not only “pressed”. One press is three things: the moment it goes down, the time it stays down, and the moment it comes back up. Watch what a single press does to three programs at once.
versus two hat blocks
The middle counter is the one that surprises people. Nothing is wrong with it — a loop really does check that fast, and every check really is a separate answer.
Nothing there is broken. A loop really does get round hundreds of times a second, and each time it asks is pressed? the honest answer is still yes — so if that loop plays a sound or counts something, it does it hundreds of times from one finger. The two hat blocks each fire once, and they fire at different moments: pressed the instant the button goes down, bumped only when it comes back up.
The three options, and what each is for:
when program starts :: events hat
set movement motors to [B v] and [C v] :: movement
start moving [straight: 0] :: movement
wait until <[1 v] is pressed? :: sensors>
stop moving :: movement
The robot drives until something presses the sensor. Note that the movement is started unmeasured on purpose — the sensor decides when to stop, not a distance.
Touch sensors are everywhere in machines you cannot see into: a lift knows the doors are shut, a printer knows the lid is closed, a washing machine will not spin until it is latched. They are safety devices as much as inputs.
Waiting is how a program gives the physical world time to catch up. There are two kinds, and choosing between them is one of the first real design decisions in robotics.
| Block | What it does |
|---|---|
wait (1) seconds | Holds the program for a fixed length of time, whatever else is happening. |
wait until <> | Holds the program until a condition becomes true — usually a sensor reading. |
Most sensors bring their own ready-made wait block, already coloured to match the sensor and with its comparison built in. They are all the same idea — hold here until this is true — and they live in the sensor’s own palette rather than in Control.
| Sensor | Block | Waits until |
|---|---|---|
| Touch | [1 v] wait until [pressed v] :: sensors | the button is pressed. The dropdown also offers released and bumped. |
| Colour | [3 v] wait until color is [red v] :: sensors | the surface underneath is that one of the eight colours. |
| Ultrasonic | [4 v] wait until distance [< v] (15) [cm v] :: sensors | something is nearer than 15 cm. Flip the dropdown to > to wait for something to move away. |
| Gyro | [2 v] wait until angle [< v] (45) :: sensors | the robot has turned past that angle. |
| Brick buttons | wait until [center v] button is [pressed v] :: sensors | somebody presses that button on the Brick. No port — it is built in. |
Some readings have no wait block of their own — reflected light, ambient light, the timer, and a motor’s degrees counted. For those, drop the matching boolean into the plain wait until from Control. It does exactly the same job:
wait until <[3 v] is reflected light intensity [< v] (30) %? :: sensors>
wait until <[3 v] is ambient light intensity [> v] (50) %? :: sensors>
wait until <(timer) > (5)>
wait until <([A v] degrees counted :: sensors) > (720)>
This is also the way to wait for two things at once, which no ready-made block can do — the sensor blocks each take one condition, but a boolean can be combined:
wait until <<[1 v] is pressed? :: sensors> or <(timer) > (5)>>
That one says “stop waiting when the button is pressed, or after five seconds, whichever comes first” — which is how you stop a wait hanging for ever when the thing you are waiting for never happens.
Two robots, the same job: drive up to the wall and stop. One waits two seconds; the other waits for the wall. Let it run several times — the interesting part is what happens on the second and third run.
wait for a length of time
wait for a condition
Each orange dash is where a previous timed run finished. The sensing robot has never left a second mark, because it has never stopped anywhere else.
The timed robot is not being careless. Two seconds is a perfectly good guess, and on the first run it may look exactly right. But a second covers a different distance on a fresh battery, on a dusty floor, or with a heavier load, so the robot finishes somewhere new every run — sometimes short, sometimes into the wall. The sensing robot has never had to guess.
Prefer waiting for a condition wherever a sensor can tell you. Keep timed waits for things with no sensor to check — letting a sound finish, or pausing so a person can watch.
A lift that waits three seconds for its doors is guessing; one that waits for the door sensor knows. The first eventually closes on somebody.
When the world can shift, measure against the world — not against a number you wrote down.
Every object behaves, as far as balancing is concerned, as though all its weight were concentrated at a single point: its centre of gravity. Find that point and you can predict whether a robot stands up or falls over, without knowing anything else about it.
Drop a vertical line from the centre of gravity. If it lands inside the base — the patch of floor between the parts touching the ground — the object stands. If it lands outside, it tips.
That is the whole of it. Everything else — wide wheelbases, low batteries, counterweights — is a way of keeping that line inside that patch.
The red line is the pull of gravity through the centre of the whole robot. It tips the moment that line lands outside the wheels.
It stands. Raising the load costs nothing while the robot is level, and costs everything the moment it tilts: this one goes over at about 42°.
Two ways to make a robot harder to tip, and they are both in the numbers above: put the heavy parts low so the line barely moves when it tilts, and make the wheelbase wide so there is more floor for the line to land on.
This is the part worth being deliberate about, because it is why a robot passes every test on the bench and falls over in the competition.
Standing level, a load carried high is exactly as stable as the same load carried low — the line comes down in the same place either way. Tilt the robot, though, and the line swings sideways by an amount proportional to how high the centre of gravity is. A tall robot needs only a small tilt to push the line past its wheels; a low one can be tipped a long way and still come back.
A robot does not have to be on a ramp to be tilted, either. Accelerating hard, braking hard and turning sharply all lean the effective pull of gravity to one side, and a tall robot finds that out at the first corner.
There is a cost to a very low, very wide robot: it cannot climb over anything and it will not fit through gaps. Like everything else in mechanics, it is a trade.
Balance the robot on one finger, or on the edge of a ruler, until it sits level. The centre of gravity is directly above where you are supporting it. Do it from two directions — front to back, then side to side — and you have located it well enough to build around.
Then test it properly: raise one side of a board until the robot goes over, and measure the angle. Change one thing, do it again, and record both. That is the same one-thing-at-a-time discipline Mechanisms without motors asks for everywhere else.
Racing cars are built low and wide for exactly this reason, and double-decker buses are tested by tilting them until they fall. A crane carries huge counterweights so that the line from its centre of gravity stays inside its tracks even with a load out at full reach.
Say this back before moving on: “The switch is at the end, so the end cannot move.”
Look at your model. Which parts are electronic, and which are doing their job purely by shape? This build is a good one for that question — the star of the show has no wires at all.
| Part | What it is doing here |
|---|---|
| EV3 Intelligent Brick | Anchors one end of the wire and runs the program. |
| Large Motor — the roller | Turns the roller that drives the rubber band. Large, not Medium: the band has to be pulled against the performer’s whole weight and its own stretch. |
| Touch Sensor — near end | Says “you are home”. |
| Touch Sensor — far end | Says “you have arrived”. Identical to the other one — only the cable tells them apart. |
| The performer (no electronics) | Rides the band on one wheel. Its weight hangs below the band, which is the entire reason it stays upright. |
| The rubber band (not electronic) | The rope, and the reason today’s idea is necessary — it stretches and slips, so distances measured through it drift. |
Sensors go in ports 1, 2, 3, 4. Motors go in ports A, B, C, D. They are not interchangeable, and nothing will tell you politely if you swap them.
| Part | Port | Why this one |
|---|---|---|
| Roller motor | A | One motor doing its own job. |
| Near-end switch | 1 | The Touch Sensor’s standing home. |
| Far-end switch | 2 | The Gyro’s usual slot, borrowed because this model has no Gyro. Same deviation as Lesson 31, and said out loud for the same reason. |
The manual wires this model differently: motor to B, switches to 2 and 4. This lesson keeps the course convention — a lone motor on A, the Touch Sensor’s home on 1 — because that is what its programs say. Three cables, ten seconds. Move them, or change every port in every program; not half of each.
Check your own wiring now:
Two routes, and either is fine. USB is the reliable one and the one to fall back on when a room’s Bluetooth is busy; Bluetooth leaves the robot free to move, which some models need.
Do these in order. Naming the Brick after you go looking for it in the list is how groups end up driving each other’s robots.
EV3 until somebody changes it.EV3.The two failures, every class, every time. The Brick has gone to sleep while you were building — press the centre button to wake it. Or you have paired with the group at the next table, which is why the name matters.
The long version, including Port View and how to read the port tiles, is in the Brick & Bluetooth guide.
Keep the cable off the wire. This model is a balancing act with very little margin. A cable resting on the band adds drag at one point, and the performer will stall exactly there every single run.
Stuck? The long version, with a photograph of every screen, is in the Brick & Bluetooth guide.
One change at a time. Predict first — the interesting runs here are the ones that go wrong slowly.
wait (1) seconds after each beep. The performer now pauses at each end, and you can watch it settle. Does it swing? How long before it is still?Steps 2 and 3 together are the argument for the whole lesson. The counted version works beautifully for a while, and then it does not — and nothing tells you it stopped working. That silent drift is the failure end stops exist to prevent.
A count drifts. A switch does not. Where it matters, spend the port.
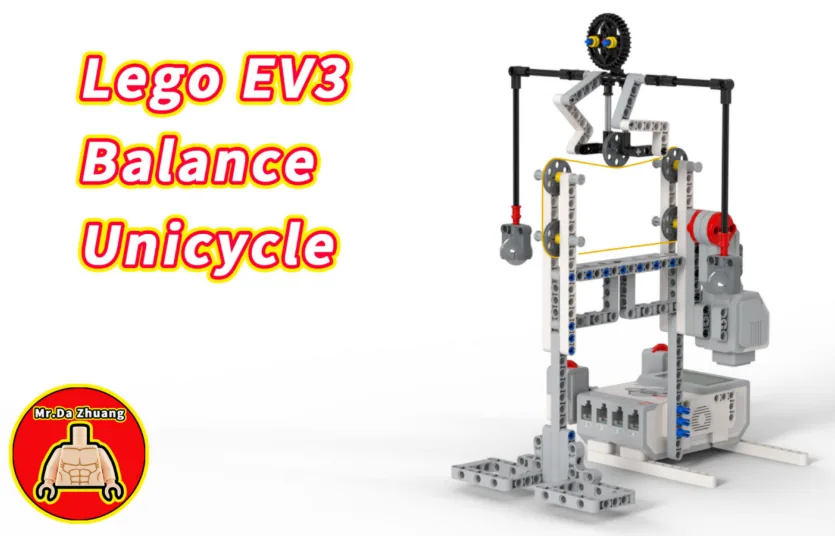
The whole act: home first, then shuttle back and forth for as long as anybody is watching.
when program starts :: events hat
clear display :: display
write [CARI RUMAH] at line (1) :: display
[A v] start motor [counterclockwise v] :: motors
[1 v] wait until [pressed v] :: sensors
[A v] stop motor :: motors
write [PERSEMBAHAN] at line (1) :: display
forever
  [A v] start motor [clockwise v] :: motors
  [2 v] wait until [pressed v] :: sensors
  play beep (72) for (0.2) seconds :: sound
  [A v] start motor [counterclockwise v] :: motors
  [1 v] wait until [pressed v] :: sensors
  play beep (60) for (0.2) seconds :: sound
end
stop motor inside the loop. The next start motor simply reverses it. A stop would make the performer pause and swing at each end — which is worth trying on purpose later.What success looks like: the performer glides to the far end, the Brick beeps high, it comes back, the Brick beeps low, and it keeps going. It should never run off the end and never stop halfway.
If it reverses immediately and jams, switches 1 and 2 are swapped. If it runs off the end, the performer is missing the switch — go back to the hand check in step 5, because no amount of programming fixes a switch that is never pressed.
Build the model before you read any further. Everything after this is about making it do something, and none of it will make much sense with nothing on the table in front of you.
Use the viewer's own controls to zoom and turn pages. Fullscreen makes it big enough to build from.
The same build on Google Drive — sometimes a video, sometimes a scan:
Use the viewer's own controls to zoom and turn pages. Fullscreen makes it big enough to build from.
Check the finished build against the picture before you switch anything on. A motor mounted the wrong way round is far easier to spot now than it is to debug later, when it looks like a program fault.
Work through them in order — each is harder than the last. The extra challenge comes after all three, and it is meant to make you plan before you build.
Make the performer complete five out-and-back trips and stop at the near end, with the trip count on the screen.
Add a pause and a bow: at each end the performer stops for two seconds and the Brick plays a different sound before setting off back.
Home the performer from wherever it happens to be sitting, without the program knowing which way it needs to go first.
Send the performer to the far end, back, and make it stop in the MIDDLE of the wire — with no switch in the middle. Work out how to combine the two end stops with the encoder to find the centre, and prove your method still works after somebody has stretched or reseated the rubber band.