Challenge 1
Make both buttons work. One button raises the car while you hold it. The other lowers it while you hold it. Both stop straight away when you let go. Then park the car at three heights your teacher points to. Do not go past any of them.
Quick Learn — the model, the instructions, the program and the challenges. The theory is in Full Lesson.
EV3 Robotics›Level 2 · Intermediate›Lesson 35
Level 2 · Lesson 35 · EV3-L02-3560 minutes · Ages 8+ · Model: Lift Simulation 2
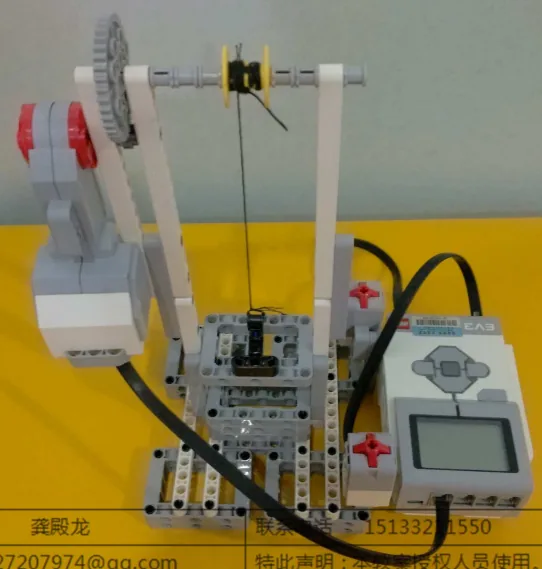
The Lift is a tower with a car on a string. A Large Motor winds the string. There are two Touch Sensors. One sends the car up. One brings it down.
This machine has a problem. See it before you write anything. Nothing tells the robot where the top is. There is no sensor up there. Say the motor keeps winding after the car reaches the roof. Then the string snaps, or the tower comes apart.
Most models so far fixed this by counting turns or degrees. Today you fix it the way the Saw Machine did in Lesson 28. The machine runs only while someone holds the button down. The person watching is the part that knows when to stop.
Every tall building in Tokyo has lifts. Each one has a panel of buttons. You press a floor and let go. The lift takes itself there.
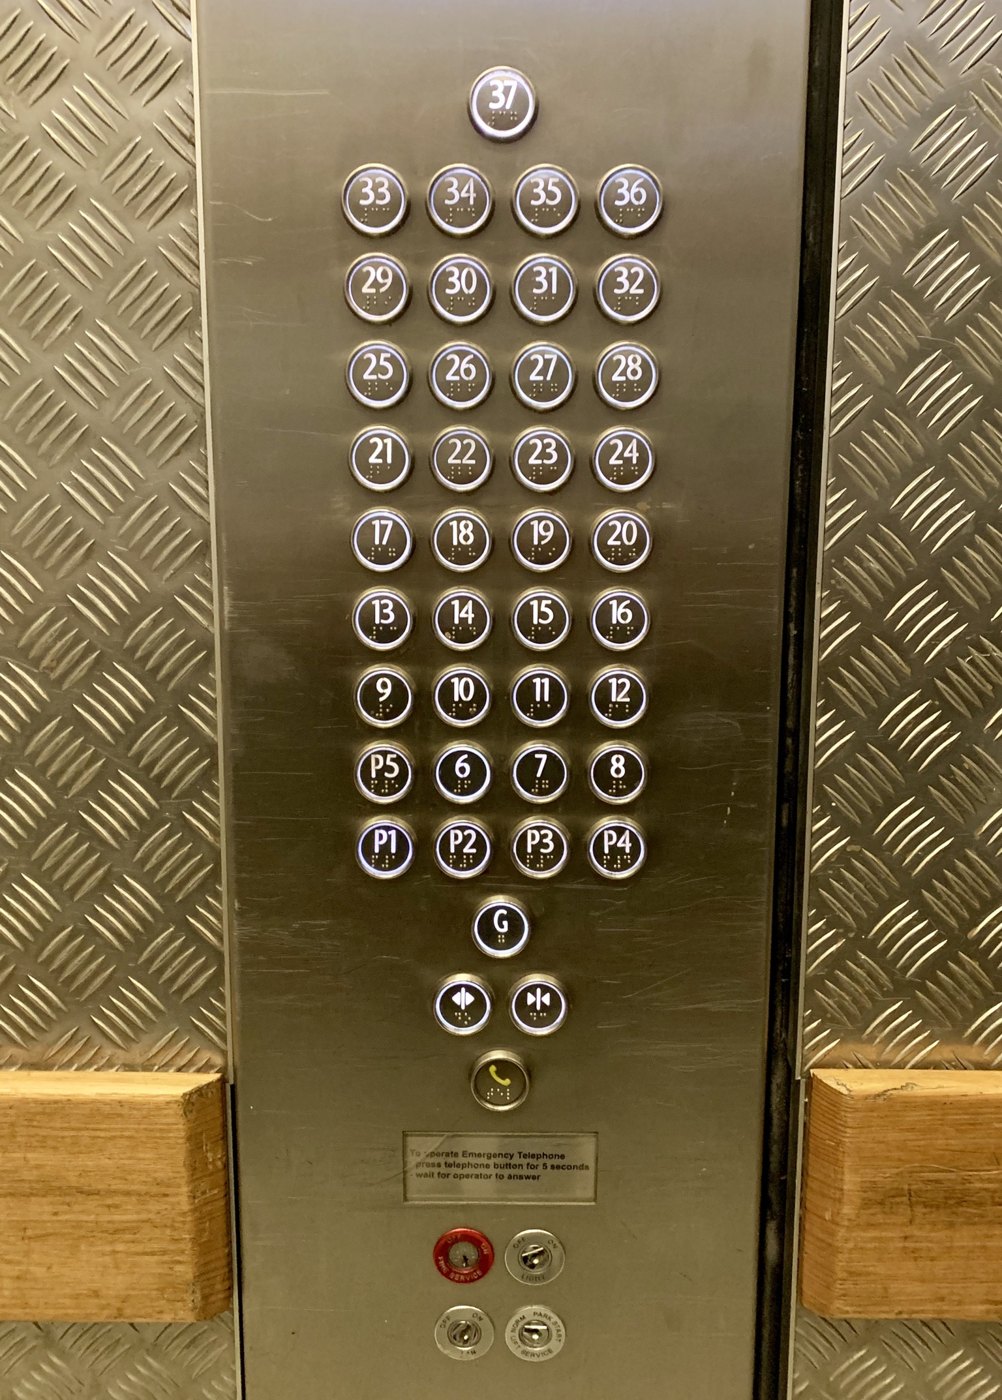
A lift for people can work like that because it knows where it is. There are sensors at every floor. There are switches at the very top and bottom. So one press is enough. You can trust it to stop in the right place.
Now look at a building-site lift. Or a big drill, or the lift on the back of a lorry. They often have a different button. It works only while you hold it. Let go, and the machine stops straight away.
This is called a hold-to-run button. Engineers use it when the machine cannot be trusted to decide for itself.
Your lift has no floor sensors. It has no switch at the top. Give it a press-once-and-go button, and the first mistake breaks the model. The car reaches the top. The motor keeps winding. Something breaks.
If a machine cannot tell when to stop, do not let it run with nobody watching.
A trigger and a hold-to-run button use the same sensor. They look almost the same in a program. But they make very different machines.
| Pattern | What it means for the person |
|---|---|
Trigger — Level 1, Lessons 16 and 38[1 v] wait until [bumped v] :: sensors | Click and let go. Now the machine does its job, even if nobody is watching. |
Hold-to-run — today[1 v] wait until [pressed v] :: sensors [1 v] wait until [released v] :: sensors | It moves while your finger is down. It stops the moment you lift it. You are part of the machine. |
It takes four blocks, in this order. Wait for the press. Start the motor. Wait for the release. Stop it. The motor block in the middle is start motor. It has no ending built in. You met it in Lesson 28. The ending comes from the person, not from a number.
That is the big idea. Most models had their ending written in the program. This one has its ending in someone’s hand.
Bumped means “go and keep going”. Pressed, then released, means “go for just as long as I say”.
The Touch Sensor is the simplest input the EV3 has: a button that is either pressed or not. That sounds trivial, but it is how a robot knows it has hit a wall, reached the end of a track, or been told to start by a person.
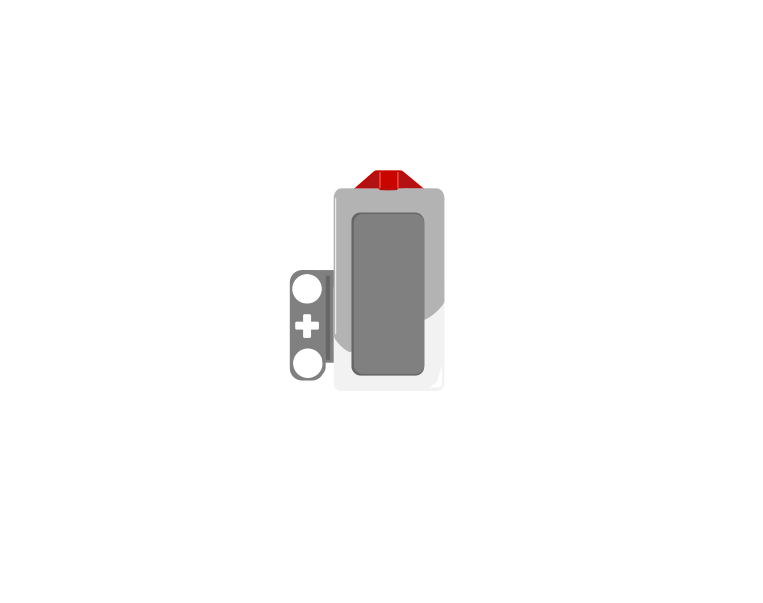 released
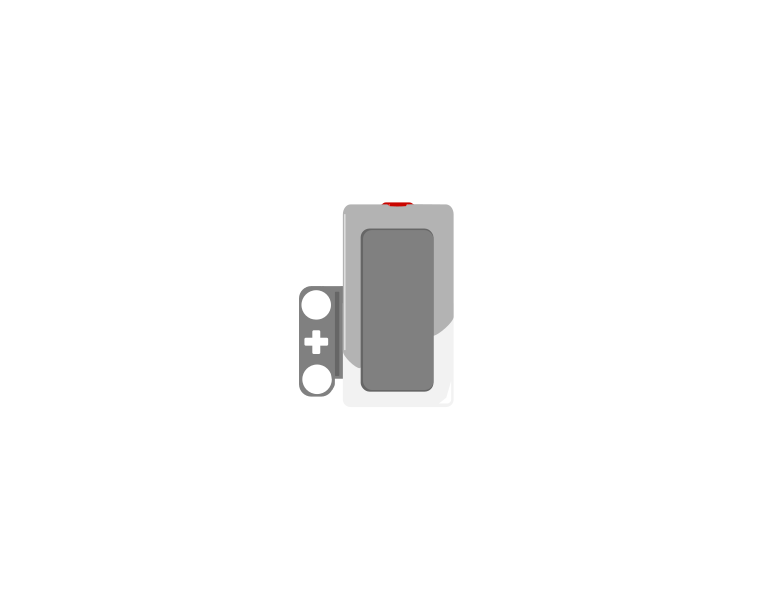 pressed
| Block | What it does |
|---|---|
wait until <[1 v] is pressed? :: sensors> | Holds the program here until somebody presses the sensor. |
<[1 v] is pressed? :: sensors> | Reports true or false. Drop it into a condition to make a decision rather than a wait. |
[1 v] when [bumped v] :: events hat | Starts a whole stack of its own. The dropdown chooses the moment: pressed, released or bumped. |
A button is not only “pressed”. One press is three things: the moment it goes down, the time it stays down, and the moment it comes back up. Watch what a single press does to three programs at once.
versus two hat blocks
The middle counter is the one that surprises people. Nothing is wrong with it — a loop really does check that fast, and every check really is a separate answer.
Nothing there is broken. A loop really does get round hundreds of times a second, and each time it asks is pressed? the honest answer is still yes — so if that loop plays a sound or counts something, it does it hundreds of times from one finger. The two hat blocks each fire once, and they fire at different moments: pressed the instant the button goes down, bumped only when it comes back up.
The three options, and what each is for:
when program starts :: events hat
set movement motors to [B v] and [C v] :: movement
start moving [straight: 0] :: movement
wait until <[1 v] is pressed? :: sensors>
stop moving :: movement
The robot drives until something presses the sensor. Note that the movement is started unmeasured on purpose — the sensor decides when to stop, not a distance.
Touch sensors are everywhere in machines you cannot see into: a lift knows the doors are shut, a printer knows the lid is closed, a washing machine will not spin until it is latched. They are safety devices as much as inputs.
The Large Motor is the bigger of the two EV3 motors. It turns more slowly than the Medium Motor but pushes far harder, which is why it drives wheels and lifts loads. If a mechanism struggles or stalls with a Medium Motor, this is usually the answer.
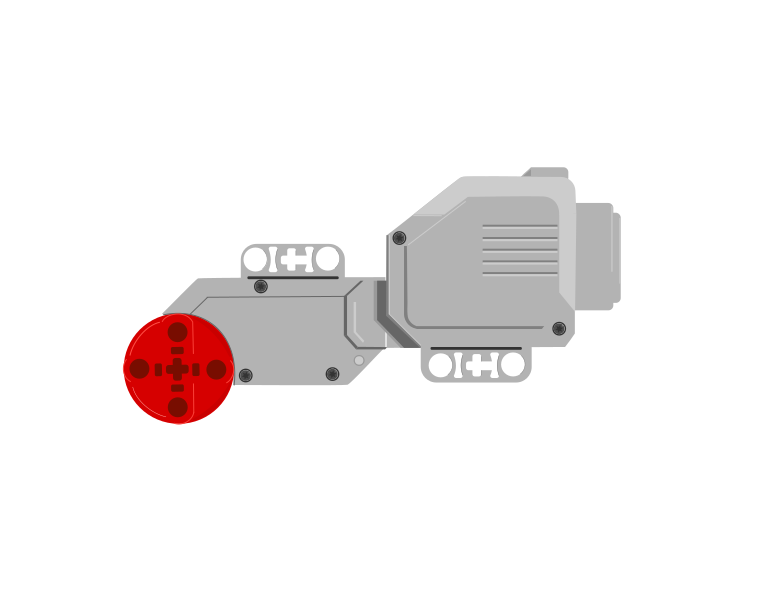 Large Motor
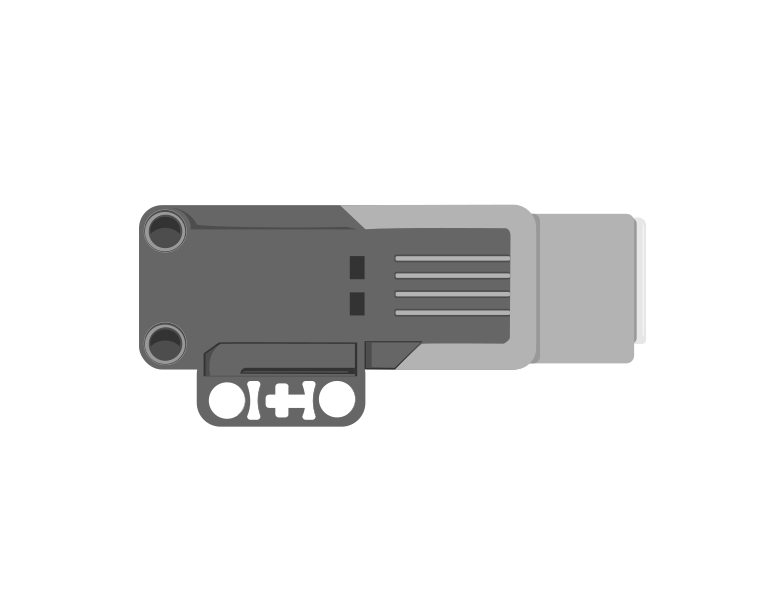 Medium Motor
| Block | What it does |
|---|---|
[B v] run [clockwise v] for (3) [rotations v] :: motors | Turns the motor a measured amount, then stops. |
[B v] run [clockwise v] for (2) [seconds v] :: motors | Turns it for a length of time rather than a distance, then stops — however far the shaft actually got. |
[B v] set speed to (40) % :: motors | Sets how fast the next movement will be. |
[B v] start motor [clockwise v] :: motors | Starts it turning and carries straight on. |
Give both motors the same program and the same arm. With nothing on the arm the Medium Motor wins easily — which is why it is tempting to treat it as simply the better motor. Then the demo hangs a weight on both arms and runs it again.
and on the Large Motor, only the port changes
Turning the speed up would not rescue the Medium Motor here — a stalled motor needs more force, which means gearing it down or using the Large Motor.
That is the whole difference. The Medium Motor is quicker; the Large Motor is stronger. A motor that cannot produce enough force does not move slowly — it stops altogether and strains, which is the buzzing, going-nowhere failure almost every LEGO builder meets sooner or later.
Being stronger buys the Large Motor a bigger load, not an infinite one. Every winch runs out of cable and every lift reaches the top of its rails, and when a motor arrives at a limit it stalls: the shaft stops turning and the motor sits there straining.
That is a problem for the program, not just the mechanism. run for (3) rotations does not finish when three rotations’ worth of time has gone by — it finishes when the shaft has actually turned three times. A winch that reaches the top after two and a half will never report three, so the block waits, and every block after it is unreachable. Nothing crashes. The motor keeps pushing and the rest of the program simply never happens.
The third setting in that dropdown is the way out. for () seconds drives the motor for a duration and then stops regardless, so it always finishes and the program always moves on. Drive into a limit slowly, for a comfortably long time, and then call that position zero:
when program starts :: events hat
[B v] set speed to (30) % :: motors
[B v] run [counterclockwise v] for (3) [seconds v] :: motors
[B v] reset degrees counted :: motors
The lift ends up against its own stop, the encoder is zeroed there, and every measured move afterwards starts from a place you know. The rule is the same for both motors: if the movement ends against something solid, run for seconds; if it ends somewhere in the middle, measure it. The Medium Motor module has the animation for it — see The Medium Motor, which is where this bites hardest, because a Medium Motor is usually the one doing the lifting.
The blocks are identical apart from the port letter, so swapping one motor for the other is a build change, not a programming change.
Real machines match the motor to the load. A lift uses a powerful, slow motor; the button panel beside it uses tiny ones. Choosing the wrong size is the most common reason a LEGO mechanism whines but does not move.
Say this back before moving on: “It runs while the button is down and stops when I let go.”
| Part | What it is doing here |
|---|---|
| EV3 Intelligent Brick | Runs the program. It is also the base of the tower. |
| Large Motor | Winds the string. Port A. It is strong, because it pulls against gravity all the way up. |
| Touch Sensor ×2 | Up and down. The two look the same. Only the port tells them apart. That is the rule from the Machine Gun in Level 1, Lesson 38. |
| The string (no cable) | Holds the whole car. It can pull, but it cannot push. So gravity brings the car down. |
Turn the Brick off. You are finding the top and bottom. The machine has no way to know them.
The program does not know the top or the bottom. You found them. You remember them. Today your finger keeps the car between them.
Sensors go in ports 1, 2, 3, 4. Motors go in ports A, B, C, D. You cannot swap them. If you do, nothing warns you. The robot just will not work.
| Part | Port | Why this one |
|---|---|---|
| Large Motor (winds the string) | A | One motor with its own job goes in A. |
| Touch Sensor — UP | 1 | Touch is always port 1 in this course. |
| Touch Sensor — DOWN | 2 | The second one uses the Gyro’s port, like on the Machine Gun in Level 1, Lesson 38. There is no Gyro here. |
Check your own build now:
Two routes, and either is fine. USB is the reliable one and the one to fall back on when a room’s Bluetooth is busy; Bluetooth leaves the robot free to move, which some models need.
Do these in order. Naming the Brick after you go looking for it in the list is how groups end up driving each other’s robots.
EV3 until somebody changes it.EV3.The two failures, every class, every time. The Brick has gone to sleep while you were building — press the centre button to wake it. Or you have paired with the group at the next table, which is why the name matters.
The long version, including Port View and how to read the port tiles, is in the Brick & Bluetooth guide.
Keep every cable away from the string and the car. A cable could catch the car on the way up. The car stops, but the motor keeps winding. That is just what this lesson is trying to stop.
One change at a time, and guess before each run. Always be ready to let go.
Step 4 is what this lesson is for. Both programs use the same sensor and the same motor. One stops when the person says so. The other stops when a number says so. Only one of them knows where the top of the tower is.
When the machine cannot know, let the person decide. That is a smart choice, not a lazy one.
Build the model before you read any further. Everything after this is about making it do something, and none of it will make much sense with nothing on the table in front of you.
One page at a time — use Next and Previous, or the ← → keys. Fullscreen makes it big enough to build from.
Check the finished build against the picture before you switch anything on. A motor mounted the wrong way round is far easier to spot now than it is to debug later, when it looks like a program fault.
Seven blocks. The hold-to-run part is the four inside the loop. This program only does up. You add down in the next section.
when program starts :: events hat
[A v] set speed to (30) % :: motors
forever
  [1 v] wait until [pressed v] :: sensors
  [A v] start motor [clockwise v] :: motors
  [1 v] wait until [released v] :: sensors
  [A v] stop motor :: motors
end
Go through it in the order the Brick runs it:
What success looks like: the car goes up smoothly while you hold. It stops straight away when you let go. It stays where it is. Try stopping it just halfway. Then two-thirds of the way. You can put it anywhere. No counting program could do that.
Do not test what happens at the top. Let go well before the car reaches the top wheel. You already know what would happen.
Work through them in order — each is harder than the last. The extra challenge comes after all three, and it is meant to make you plan before you build.
Make both buttons work. One button raises the car while you hold it. The other lowers it while you hold it. Both stop straight away when you let go. Then park the car at three heights your teacher points to. Do not go past any of them.
Add a display that helps the person running the lift. The screen must show if the lift is going UP, going DOWN or STOPPED. It must change at the same moment the movement does. Someone across the room should be able to tell what the lift is doing. They should not need to see your hands.
Show why hold-to-run was the right choice. Hold-to-run means it only moves while you hold the button. Build a second version. It uses bumped to start, then a set number of rotations. Show both versions to somebody who has not seen the model. Ask which one they would trust near the top. Report what they said, and if you agree.
Build a lift that a building site boss would say is safe. Somebody who has never seen your lift must be able to use it safely. It needs clear labels on the controls. It needs a display that says what is happening. There must be no way to reach the top of the tower by accident. Give it to another group. Let them use it without any help. Plan on paper before you build. List every way the car could be driven into the top of the tower. Decide what stops each one. Remember, your machine has no sensor up there. You cannot add one today. Answer two questions when you show it. What is the safety system on this machine, in one sentence? And if you could add one more sensor, what would you add first?