The Medium Motor
The Medium Motor is the smaller of the two EV3 motors. It is quick and light rather than strong, which makes it the right choice for anything that has to move a part of the robot rather than the whole robot — a gate arm, a pair of jaws, a winch, a pointer.
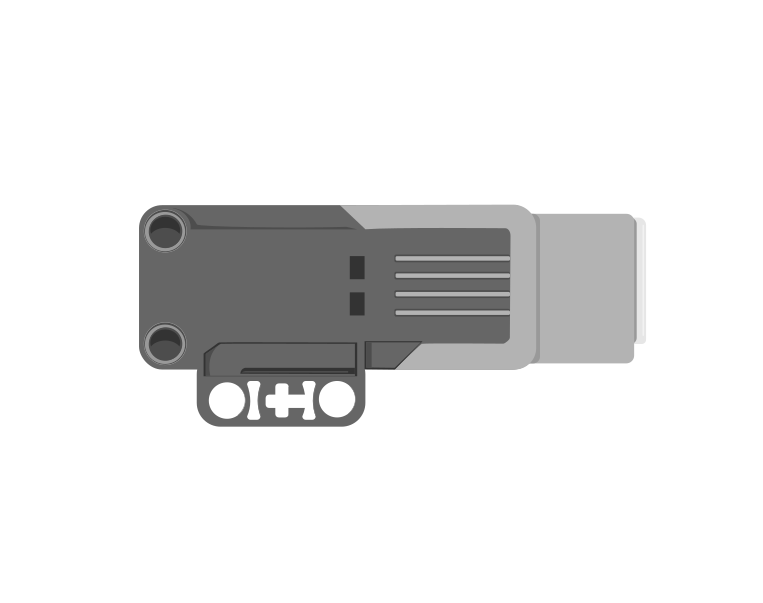 side
side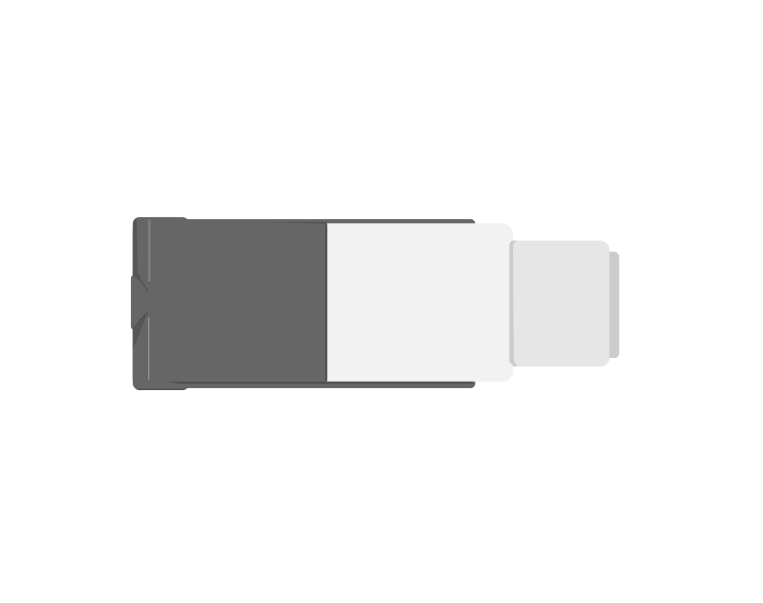 from above
Blocks reference
| Block | What it does |
|---|---|
[A v] run [clockwise v] for (1) [rotations v] :: motors | Turns the motor a measured amount, then stops. One rotation is one full turn of the motor shaft. |
[A v] run [clockwise v] for (90) [degrees v] :: motors | The same idea, but in degrees — useful when a quarter or a half turn is what the mechanism needs. 360 degrees is one rotation. |
[A v] run [clockwise v] for (2) [seconds v] :: motors | Turns the motor for a length of time and then stops, whatever the shaft managed to do in it. The one measurement that always finishes. |
[A v] set speed to (50) % :: motors | Sets how fast the motor will run from now on. It does not start the motor by itself. |
[A v] start motor [clockwise v] :: motors | Starts the motor turning and moves straight on to the next block. It keeps going until something stops it. |
[A v] stop motor :: motors | Stops the motor. |
Measured, or not measured
These two look similar and behave completely differently, and almost every early EV3 bug comes from picking the wrong one. Watch both run the same job, over and over.
versus
Let it loop a few times. The left dial keeps landing on the same mark; the right one leaves a new mark almost every run — that scatter is what “not repeatable” means.
The black mark is where the shaft should finish. The measured motor hits it every single run, because the program waits at that block until the motor has turned exactly that far. The timed motor is only running for a second — and a second covers a different amount depending on the battery, the friction and whatever the mechanism is carrying. Each orange dash is a run that finished somewhere it was not asked to.
- run for () rotations is measured. Run it twice and you get the same movement twice.
- start motor is not measured. It hands the motor its instruction and moves straight on, so how far the motor gets depends on how long it happens to be left running.
If a mechanism has to end up in a particular place — a gate that must finish upright, a jaw that must close fully — use the measured block.
The third one: run for () seconds
The dropdown at the end of the run block has a third setting, and it is the one that saves lifting mechanisms. for () seconds switches the block off a distance and onto a duration: it drives the motor for that long and then stops, whatever the shaft managed to do in the time.
That sounds strictly worse than a measured turn, and for most jobs it is. It matters because of what the measured block actually waits for. run for (90) degrees does not finish when 90 degrees’ worth of time has passed. It finishes when the shaft has turned 90 degrees — and if the mechanism runs out of travel first, the shaft never will.
Stalling, and the program that never moves on
Every arm, jaw and lift has a physical limit: a point where the mechanism reaches the top of its travel, or something in the build gets in the way. Push a motor into that limit and it stalls — the shaft stops turning and the motor sits there straining. The motor is fine and the program is spelled correctly. But the encoder has stopped counting, so a measured block that was told a bigger number is still waiting, and it will wait until the Brick is switched off.
Nothing after that block ever runs. Not the next motor block, not the sound, not the display, not the rest of the program. That is the whole failure, and it looks like a crash even though nothing has crashed.
when program starts :: events hat
[A v] set speed to (30) % :: motors
[A v] run [clockwise v] for (90) [degrees v] :: motors
[A v] reset degrees counted :: motors
write [HOME SET] at line (1) :: display
Watch the Brick screen, not the arm. HOME SET is the block after the motor block, so a blank screen means the program never got past it.
Compare the first two. The only difference between them is 45 and 90, the mechanism is identical, and one of them is a working program while the other locks up on the third block. Nothing in the listing distinguishes them — the end stop is a fact about the build, and the program has never heard of it.
This is the mistake almost every student makes the first time a Medium Motor lifts something. A lifting arm has a lowest position and a highest one; ask it to turn past either and the program hangs. It is worse than an ordinary bug, because the robot looks alive — the motor is still being driven, still buzzing, still hot — and the next block never comes.
Finding a home position by stalling on purpose
The fix turns the problem into the technique. You often do not know how many degrees it is to the top of an arm’s travel — it depends on the build, and it changes the moment somebody rebuilds it. So do not measure it. Drive the arm gently into its own end stop for a couple of seconds, and then declare that position to be zero:
when program starts :: events hat
[A v] set speed to (30) % :: motors
[A v] run [counterclockwise v] for (2) [seconds v] :: motors
[A v] reset degrees counted :: motors
write [HOME SET] at line (1) :: display
Three things make that work, and all three are deliberate:
- Slowly. 20–30% is enough to reach the stop and gentle enough not to strain the gears or shake the build apart while it sits there.
- Long enough. Pick a time comfortably longer than the arm needs — one to three seconds for most mechanisms. It stalls partway through and spends the remainder pressed against the stop, which is exactly what you want.
- Then reset. reset degrees counted makes this position 0, so every measured move afterwards is measured from a place you know. Now run for (120) degrees is safe, because you know where it is starting from.
After that, use measured blocks for everything inside the travel and timed blocks whenever you are driving to a limit. The rule of thumb: if the movement ends against something solid, run for seconds.
Ports
A Medium Motor is normally plugged into port A or D, which leaves B and C free for the Large Motors that drive wheels. The letter in the block must match the port the cable is actually in — this is the single most common reason a program appears to do nothing at all.
More motion tutorials
- One motor, on and off — Start one motor, let it run, and stop it again.
- The Large Motor — The big, strong motor used for wheels and heavy lifting.
- Driving with two motors — Drive a robot in a straight line, and turn it, using two Large Motors.
- Rotations and degrees — Measure how far a motor turns, so the same movement repeats exactly.
- Speed and power — Make a motor go faster or slower.
- Brake or coast — Stop a motor dead, or let it roll to a halt.
- Moving to an exact angle — Send a motor to an exact position instead of a distance from here.