Challenge 1
Make the shooter throw deliberately weakly: a shot that travels less than half the distance of your best one, and does it three times in a row within a hand-span of the same spot. Weak is easy. Weak and repeatable is the challenge.
Quick Learn — the model, the instructions, the program and the challenges. The theory is in Full Lesson.
EV3 Robotics›Level 1 · Beginner›Lesson 11
Level 1 · Lesson 11 · EV3-L01-1160 minutes · Ages 9–16 · Model: Gear Shooter
The Gear Shooter: a motor, a train of gears, and a heavy wheel that spins up to speed and throws a gear across the table.
Last lesson your Ferris Wheel turned slowly and strongly, and the reason was a small gear driving a big one. This model does the exact opposite with the same parts, and gets the opposite result. Same trade, run backwards.
By the end you will be able to look at any two meshed gears and say which way the trade is going — before switching anything on.
Gears are how machines change their minds about speed and force. A bicycle is the clearest example you can actually feel: the low gear that gets you up a hill has your legs turning fast and the wheel turning slowly, and the high gear on the flat does the reverse.
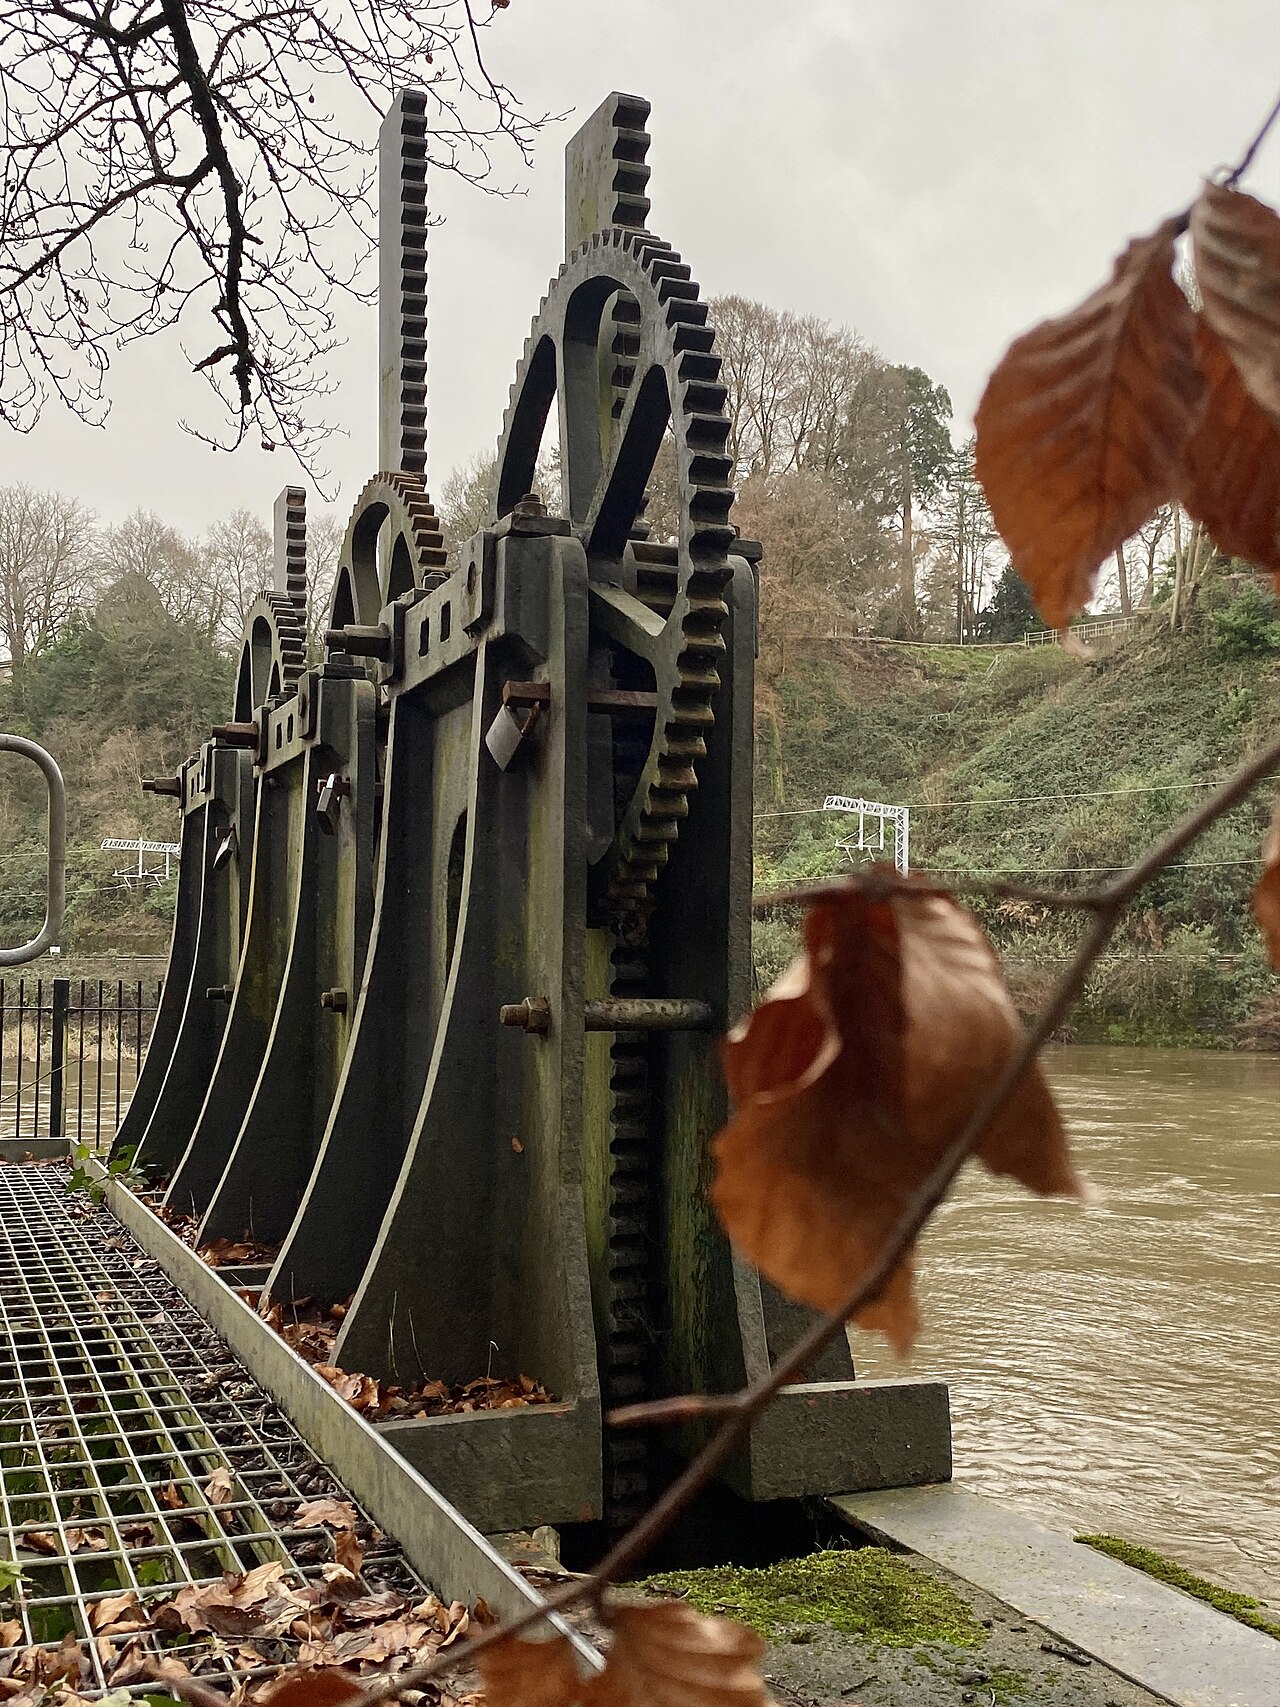
When two gears mesh, their teeth have to move past each other at the same rate — they have no choice, they are touching. So a gear with few teeth must turn many times to drag a gear with many teeth round once.
You never get something for nothing. Gain speed and you lose turning force. Gain turning force and you lose speed. The teeth decide which.
A motor has one speed it is good at. Bolt it straight to a fairground wheel and it is far too fast and far too weak to lift the cars; bolt it straight to a launcher and it is far too slow to throw anything. Gears are what let one ordinary motor do both jobs — which is why your kit has one motor and a bag full of gears.
One rule, and it has no exceptions anywhere in engineering.
Small gear driving a big one: slower, stronger — that is gearing down. Big gear driving a small one: faster, weaker — that is gearing up.
The demo below makes it countable rather than something you have to take on trust. Pick which gear drives which, and watch both the turns and the load.
The number of teeth is the whole story. 8 teeth driving 24 means 8 ÷ 24 of a turn out for every turn in — and the force changes by exactly the opposite amount.
Your last two models are the same rule, pointed opposite ways:
| Model | Driver → driven | What the machine gets |
|---|---|---|
| Ferris Wheel (Lesson 4) | small gear → 40-tooth gear | Geared down. A slow wheel with enough force to lift four loaded cars. |
| Gear Shooter (today) | big gear → small gear | Geared up. A shooting wheel spinning far faster than the motor — and easy to slow down by touching it. |
Two meshed gears are a bargain. Whatever one of them gains in turns it loses in force, and whatever it loses in turns it gains in force. There is no arrangement of gears that gives you more of both, and no amount of building will find one.
Count the teeth on the gear you are turning (the driver) and the teeth on the one being turned (the follower). That is the whole calculation:
turns out = turns in × driver teeth ÷ follower teeth
An 8-tooth gear driving a 24 gives ⅓ of a turn out for every turn in — and three times the turning force. Turn the pair round and you get three turns out and a third of the force. Count the turns yourself below.
The number of teeth is the whole story. 8 teeth driving 24 means 8 ÷ 24 of a turn out for every turn in — and the force changes by exactly the opposite amount.
| Arrangement | Turns | Force | What it is for |
|---|---|---|---|
| Gearing down — small driving large | fewer | more | winches, lifts, robot arms, anything that has to move a weight |
| Gearing up — large driving small | more | less | fans, spinners, launchers, wheels on a light fast robot |
| 1 : 1 — same size | same | same | moving the drive to a different axle, or fixing a direction |
The names are worth getting right because they are backwards from what people expect: gearing down makes the output slower, not smaller, and it is the setting that makes a weak motor able to lift things.
Put several pairs in a row and the ratios multiply. Two 1:3 reductions in series give 1:9 — which is how a Medium Motor ends up able to raise something it could never shift directly. This is also how a gearbox with a sensible number of parts reaches a ratio that a single pair never could: a 40-tooth gear driven by an 8 is 1:5, and doing it twice is 1:25.
Only the first and last gear affect the ratio. Anything in the middle passes the motion along and changes nothing but the direction — which is a whole idea of its own, in Changing the direction of a turn.
Every mesh loses a little to friction, so a long train is less efficient than a short one. Gearing down far enough to lift a heavy load also makes the mechanism slow, and slow is not always acceptable. And a gear train that is geared down hard is very hard to turn backwards by hand, which is either a useful brake or a nuisance depending on what you are building.
A bicycle is the same idea with a chain instead of teeth in mesh: the low gear that gets you up a hill is turning the back wheel slowly and pushing hard, and the high gear you use going downhill does the opposite. Cars, drills, cranes and clocks are all making the same trade.
Gears do two jobs and they are worth keeping apart. One is the trade between turns and force — that is Gearing up and gearing down. The other is geometry: which way the far end turns, and about which axis.
This follows from what a tooth actually does. Where two gears touch, one tooth is pushing the other sideways — so they cannot possibly be going the same way round. Every mesh in a train flips the direction again.
A gear dropped between two others changes the direction and nothing else. Its own size cancels out — it takes exactly as much as it gives — so the ratio is still first gear ÷ last gear however big or small the middle one is.
That makes an idler the normal, sensible way to fix a direction. It costs one gear and one hole in a beam, and it is a far better answer than rewiring a motor or writing counterclockwise in half your program and forgetting it in the other half.
Watch the red marks, not the gears. Two gears meshed together can never turn the same way — everything else follows from that one fact.
Ordinary spur gears keep the two axles parallel. Some jobs need the output at right angles to the input — a motor lying flat in the chassis driving an upright turntable, or a horizontal axle driving a vertical drill.
The teeth still set the ratio in all of these. Changing the axis and changing the speed are separate decisions that happen to be made by the same pair of parts.
Two parts on the same axle turn together, at the same speed, in the same direction, with no losses. It is the simplest answer and worth reaching for first: if the motor can already do the job at its own speed and force, gears add friction, backlash and parts for nothing.
Gears earn their place when you need a different speed, a different force, a different direction, or the drive to come out somewhere the motor cannot reach.
A car’s differential is a set of bevel gears turning the drive shaft’s rotation through 90° to the wheels. A hand drill turns your horizontal cranking into vertical drilling with the same trick. Once you can see the corner, you start seeing it everywhere.
Say this back before moving on: “Gears do not create anything. They trade speed for force, and I choose the direction of the trade by choosing which gear drives which.”
Two electronic parts again — and a great many gears.
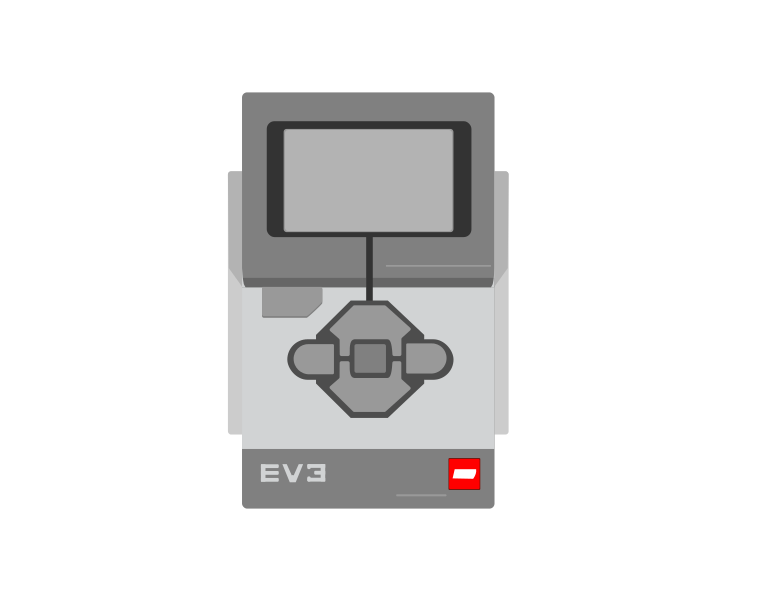 EV3 Brick × 1
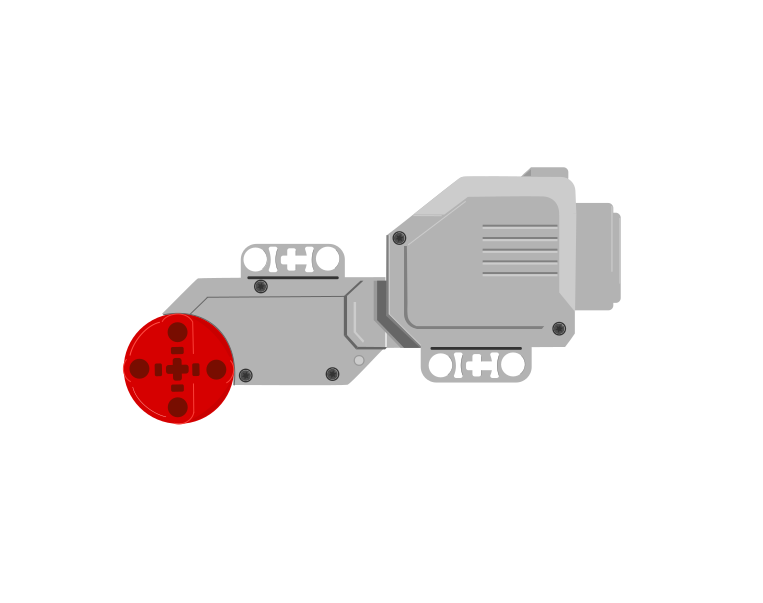 Large Motor × 1
Start at the motor and follow the gears one by one to the big wheel with the tyre. At every mesh, ask the same question: is the driver bigger or smaller than the one it turns?
That last number is your gear ratio, measured rather than calculated. Keep it — Challenge 3 and the mission both need it.
The heavy wheel is doing a job too. It is not just a wheel; it is a flywheel. Once spinning it holds its speed, which is what gives the shot its punch. A light wheel spun just as fast would throw far less.
Sensors go in ports 1, 2, 3, 4. Motors go in ports A, B, C, D. They are not interchangeable, and nothing will tell you politely if you swap them.
| Part | Port | Why this one |
|---|---|---|
| Large Motor (drives the gear train) | A | A single working motor conventionally takes A. Every program on this page says A. |
Safety, and it is not a formality. This model throws a gear hard enough to sting. Point it down the table, never at a person or a face, and keep fingers away from the spinning wheel — a geared-up flywheel will not stop politely for a finger.
Check your own build now:
Two routes, and either is fine. USB is the reliable one and the one to fall back on when a room’s Bluetooth is busy; Bluetooth leaves the robot free to move, which some models need.
Do these in order. Naming the Brick after you go looking for it in the list is how groups end up driving each other’s robots.
EV3 until somebody changes it.EV3.The two failures, every class, every time. The Brick has gone to sleep while you were building — press the centre button to wake it. Or you have paired with the group at the next table, which is why the name matters.
The long version, including Port View and how to read the port tiles, is in the Brick & Bluetooth guide.
Bluetooth is the better choice today if you have it. A model that throws things is easier to aim safely when it is not tethered to a laptop by a short cable.
That third step is the gear ratio showing itself again, and this time in your favour: a small turn of the shooting wheel makes a big change in the counter, because the counter is on the motor and the motor is the fast-turning end of a gear-up.
If the number does not move at all, stop here. The cable is in the wrong port or not pushed fully home.
One change at a time, predict before each run, and measure how far the gear lands each time. Same loading spot every run, or you are measuring your hands.
If the gears grind or the train jams, a gear has worked loose along its axle and is only half meshed. Push each gear firmly against its bush and check the train turns freely by hand before running the motor again.
A flywheel needs time to reach speed. So the program is the Ferris Wheel’s shape — start, wait, stop — with the numbers turned all the way round.
when program starts :: events hat
[A v] set speed to (100) % :: motors
[A v] start motor [clockwise v] :: motors
wait (2) seconds
[A v] stop motor :: motors
Walk it in the order the Brick runs it:
What success looks like: a rising whirr as the wheel gains speed, and the gear thrown clear down the table. If it dribbles out instead, the wheel had not reached speed — give it longer before blaming the mechanism.

Build the model before you read any further. Everything after this is about making it do something, and none of it will make much sense with nothing on the table in front of you.
Use the viewer's own controls to zoom and turn pages. Fullscreen makes it big enough to build from.
The same build on Google Drive — sometimes a video, sometimes a scan:
Use the viewer's own controls to zoom and turn pages. Fullscreen makes it big enough to build from.
Check the finished build against the picture before you switch anything on. A motor mounted the wrong way round is far easier to spot now than it is to debug later, when it looks like a program fault.
Work through them in order — each is harder than the last. The extra challenge comes after all three, and it is meant to make you plan before you build.
Make the shooter throw deliberately weakly: a shot that travels less than half the distance of your best one, and does it three times in a row within a hand-span of the same spot. Weak is easy. Weak and repeatable is the challenge.
Find the shortest spin-up time that still throws the gear its full distance. Test at least four different wait times, measure where the gear lands each time, and be able to say at roughly what point extra spin-up stops helping — and why a flywheel behaves that way.
Report the gearing on your own model. Turn the motor axle exactly one full turn by hand and count the turns of the shooting wheel. Then write down every gear pair in the train, and say for each one whether it gears up or down. Your ratio must be measured on the model, not copied from the lesson.
Two shooters, same kit, opposite jobs. Your team must produce a shooter that throws as far as possible, and a second setup that throws as gently and accurately as possible into a target the width of a book. You may rebuild the gear train between them, and you should — the answer is not only in the program. Plan on paper before you take anything apart. Decide which gears you will change and predict what each change buys you, then test whether the model agrees with you. Three questions when you demonstrate it. Which change made the biggest difference, the gears or the program? What did you give up to get distance? And if you were given one extra gear of any size, where would you put it and why?