Challenge 1
Make the animal swim out and come back to where it started. It must finish on the same spot it began, facing the same way, and you may not touch it. Mark the starting position before you run it so there is no arguing about the result.
Quick Learn — the model, the instructions, the program and the challenges. The theory is in Full Lesson.
EV3 Robotics›Level 2 · Intermediate›Lesson 13
Level 2 · Lesson 13 · EV3-L02-1360 minutes · Ages 9–16 · Model: Plesiosaurus
The Plesiosaurus: a long-necked sea reptile with a broad body and four wide paddle-limbs, one at each corner. It rolls forward on hidden wheels, and as it goes the four paddles sweep through the air as though it were swimming.
There is one motor in the whole animal, and it only ever turns one way.
By the end of the lesson you will be able to say exactly where the back-and-forth of the paddles comes from — because it is not in your program.
Plesiosaurs lived in the sea at the same time as the dinosaurs walked on land. They were not dinosaurs themselves. They breathed air, and they swam with four enormous flippers — which is unusual. Almost every big swimmer alive today, from tuna to dolphins, drives itself with its tail.
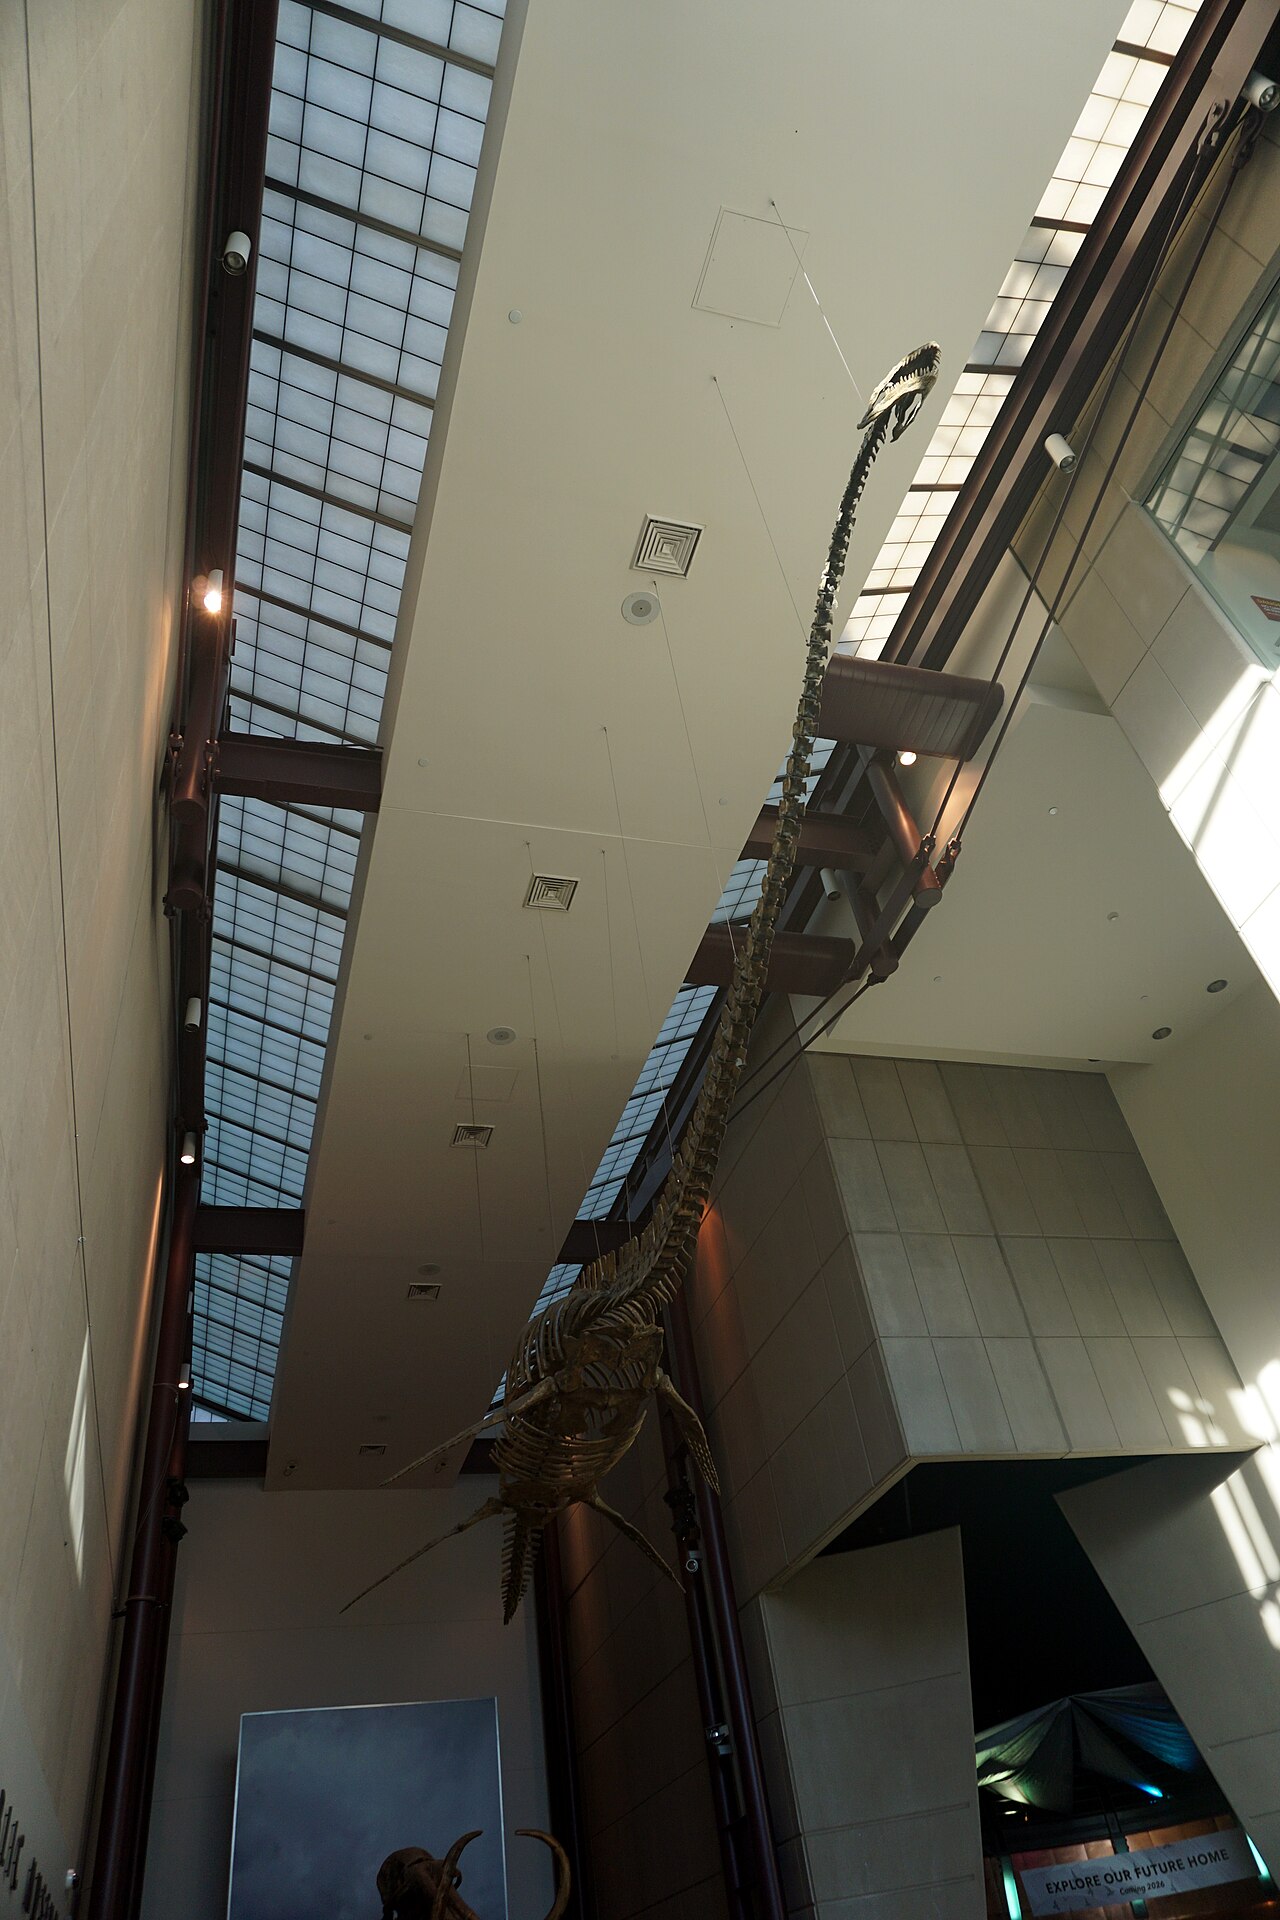
A flipper does not push water backwards like an oar. It works like an underwater wing: the animal sweeps it down and forward, and the shape of the flipper turns that sweep into a push. Four of them, beating in a steady rhythm, gave a very large animal a very steady cruise.
Notice what the animal actually does. Its muscles pull the flipper through a stroke — out and back, out and back — over and over. No muscle spins. Nothing in an animal goes round and round.
A steady beat is what makes it work. If the four flippers moved at random the pushes would fight one another and the animal would wallow. Real swimmers keep a rhythm, and they keep the same rhythm for hours, because it costs less energy than starting and stopping.
Animals stroke. Motors spin. Somewhere between the two, something has to do the converting.
A linkage can turn a motor that only ever goes one way into a movement that goes back and forth.
Cast your mind back to the Wipers in Lesson 19. To sweep a wiper across a windscreen and back, you wrote two motor blocks: one clockwise, one counterclockwise. The program did the reversing.
The Plesiosaurus reaches the same result from the other direction. The motor turns the wheels one way, forever. A rod from the wheel axle to the flipper means that as the wheel goes round, the far end of the rod is pushed forward, then back, then forward again — once per turn of the wheel. The build does the reversing.
This is one of the most useful mechanisms ever invented, and it is everywhere. The pistons in a car engine, the needle on a sewing machine, the pump on an oil field, the pedals on your bicycle turning your up-and-down legs into a spin — all the same idea, some of them running it backwards.
| Job | Lesson 19 — the Wipers | Lesson 45 — the Plesiosaurus |
|---|---|---|
| What reverses the movement | The program | The linkage |
| Motor direction | Changes every sweep | Never changes |
| Blocks needed for ten strokes | A loop with two motor blocks in it | One motor block. The mechanism repeats itself for free. |
| How you change the rhythm | Edit the numbers in the program | Change the speed — but the shape of the stroke is fixed by the build. |
When you need something to repeat back and forth, you can write it or you can build it. Building it is usually fewer blocks and always more reliable.
The Medium Motor is the smaller of the two EV3 motors. It is quick and light rather than strong, which makes it the right choice for anything that has to move a part of the robot rather than the whole robot — a gate arm, a pair of jaws, a winch, a pointer.
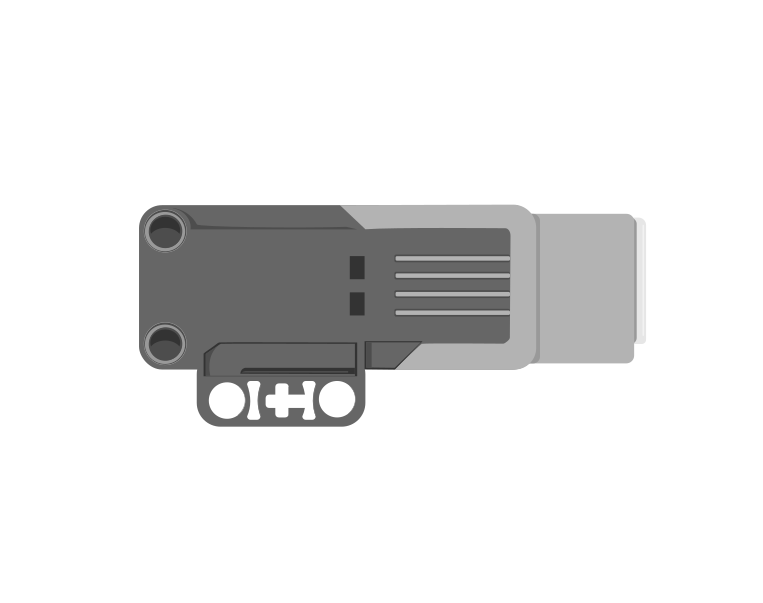 side
side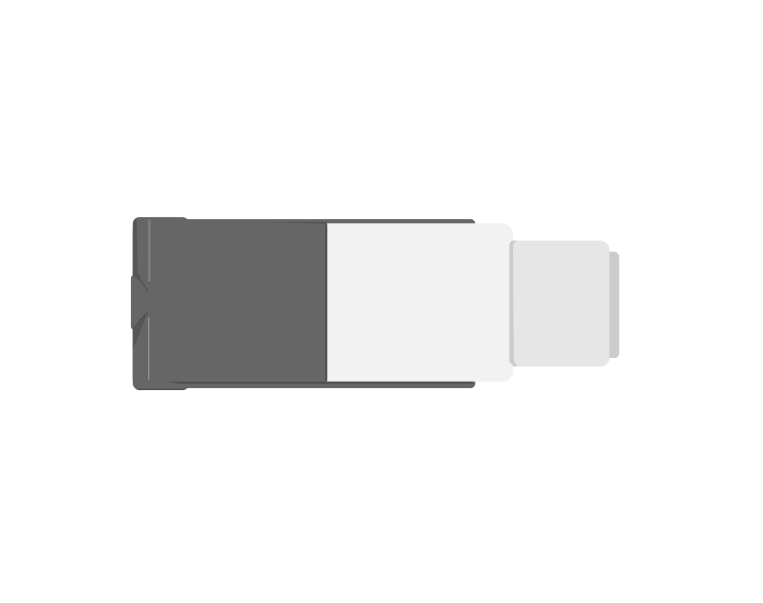 from above
| Block | What it does |
|---|---|
[A v] run [clockwise v] for (1) [rotations v] :: motors | Turns the motor a measured amount, then stops. One rotation is one full turn of the motor shaft. |
[A v] run [clockwise v] for (90) [degrees v] :: motors | The same idea, but in degrees — useful when a quarter or a half turn is what the mechanism needs. 360 degrees is one rotation. |
[A v] run [clockwise v] for (2) [seconds v] :: motors | Turns the motor for a length of time and then stops, whatever the shaft managed to do in it. The one measurement that always finishes. |
[A v] set speed to (50) % :: motors | Sets how fast the motor will run from now on. It does not start the motor by itself. |
[A v] start motor [clockwise v] :: motors | Starts the motor turning and moves straight on to the next block. It keeps going until something stops it. |
[A v] stop motor :: motors | Stops the motor. |
These two look similar and behave completely differently, and almost every early EV3 bug comes from picking the wrong one. Watch both run the same job, over and over.
versus
Let it loop a few times. The left dial keeps landing on the same mark; the right one leaves a new mark almost every run — that scatter is what “not repeatable” means.
The black mark is where the shaft should finish. The measured motor hits it every single run, because the program waits at that block until the motor has turned exactly that far. The timed motor is only running for a second — and a second covers a different amount depending on the battery, the friction and whatever the mechanism is carrying. Each orange dash is a run that finished somewhere it was not asked to.
If a mechanism has to end up in a particular place — a gate that must finish upright, a jaw that must close fully — use the measured block.
The dropdown at the end of the run block has a third setting, and it is the one that saves lifting mechanisms. for () seconds switches the block off a distance and onto a duration: it drives the motor for that long and then stops, whatever the shaft managed to do in the time.
That sounds strictly worse than a measured turn, and for most jobs it is. It matters because of what the measured block actually waits for. run for (90) degrees does not finish when 90 degrees’ worth of time has passed. It finishes when the shaft has turned 90 degrees — and if the mechanism runs out of travel first, the shaft never will.
Every arm, jaw and lift has a physical limit: a point where the mechanism reaches the top of its travel, or something in the build gets in the way. Push a motor into that limit and it stalls — the shaft stops turning and the motor sits there straining. The motor is fine and the program is spelled correctly. But the encoder has stopped counting, so a measured block that was told a bigger number is still waiting, and it will wait until the Brick is switched off.
Nothing after that block ever runs. Not the next motor block, not the sound, not the display, not the rest of the program. That is the whole failure, and it looks like a crash even though nothing has crashed.
when program starts :: events hat
[A v] set speed to (30) % :: motors
[A v] run [clockwise v] for (90) [degrees v] :: motors
[A v] reset degrees counted :: motors
write [HOME SET] at line (1) :: display
Watch the Brick screen, not the arm. HOME SET is the block after the motor block, so a blank screen means the program never got past it.
Compare the first two. The only difference between them is 45 and 90, the mechanism is identical, and one of them is a working program while the other locks up on the third block. Nothing in the listing distinguishes them — the end stop is a fact about the build, and the program has never heard of it.
This is the mistake almost every student makes the first time a Medium Motor lifts something. A lifting arm has a lowest position and a highest one; ask it to turn past either and the program hangs. It is worse than an ordinary bug, because the robot looks alive — the motor is still being driven, still buzzing, still hot — and the next block never comes.
The fix turns the problem into the technique. You often do not know how many degrees it is to the top of an arm’s travel — it depends on the build, and it changes the moment somebody rebuilds it. So do not measure it. Drive the arm gently into its own end stop for a couple of seconds, and then declare that position to be zero:
when program starts :: events hat
[A v] set speed to (30) % :: motors
[A v] run [counterclockwise v] for (2) [seconds v] :: motors
[A v] reset degrees counted :: motors
write [HOME SET] at line (1) :: display
Three things make that work, and all three are deliberate:
After that, use measured blocks for everything inside the travel and timed blocks whenever you are driving to a limit. The rule of thumb: if the movement ends against something solid, run for seconds.
A Medium Motor is normally plugged into port A or D, which leaves B and C free for the Large Motors that drive wheels. The letter in the block must match the port the cable is actually in — this is the single most common reason a program appears to do nothing at all.
Speed is set separately from movement. You tell the motor how fast it should go, and then you tell it to go — two blocks, in that order.
| Block | What it does |
|---|---|
[A v] set speed to (25) % :: motors | Sets the speed for this motor from now on. Nothing moves — it only changes what the next movement will do. |
[A v] run [clockwise v] for (2) [rotations v] :: motors | Now moves, at whatever speed was last set. |
when program starts :: events hat
[A v] set speed to (25) % :: motors
[A v] run [clockwise v] for (2) [rotations v] :: motors
Swap those two blocks round and the program still contains a speed of 25 % — it just never gets used. Both shafts below are asked for exactly 2 rotations; watch how long each one takes.
speed first — works
speed last — does nothing
Both shafts turn exactly 2 rotations. Only the time they take is different — and the right-hand program never gets the slow movement it was written to have.
The right-hand movement is over before the left is a third of the way round, because it ran at the default speed. Its set speed to () block does run — you can see it light up — but by then the movement it was meant to slow down has already happened. A speed block only ever affects the movements after it. This catches people out constantly.
A high speed is not a better program. Slow movements are gentler on the gears, easier to watch and debug, and look more like the real machine — a barrier that snaps up in a fraction of a second reads as broken rather than fast.
Say this back before moving on: “A pin off the centre of a turning wheel moves back and forth. That is where the stroke comes from, not from my program.”
Look at your animal. Four flippers, a long neck, wheels underneath — and how many things with a cable?
Medium — in this build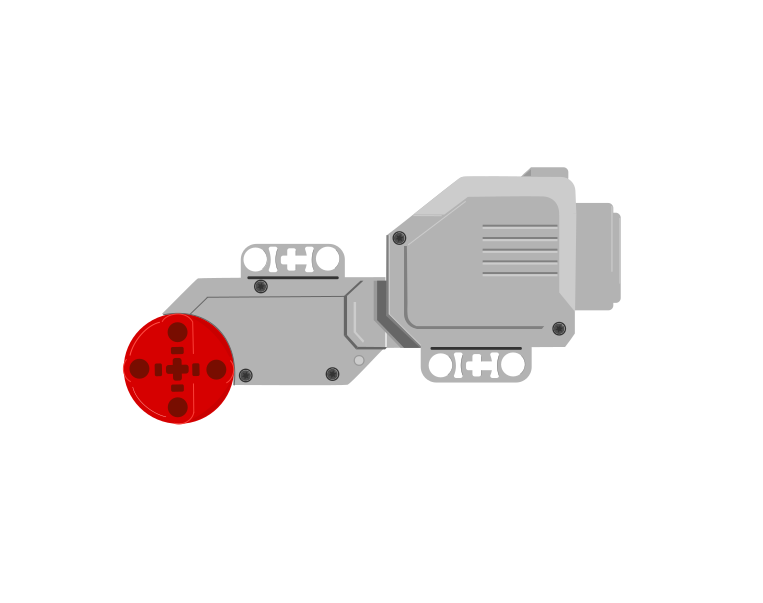 Large — not used here
| Part | What it is doing here |
|---|---|
| EV3 Intelligent Brick | Runs the program, and is the body of the animal. Most of the weight sits over the wheels, which is what stops it tipping on to its neck. |
| Medium Motor, port A | Turns the wheels. The flippers are along for the ride — everything you see them do comes from the wheels going round. |
| Sensors | None. It cannot see the edge of the table. That is worth remembering before you set it going. |
Push the animal along the table by hand, slowly. The flippers should sweep as it rolls, and each one should complete a full stroke for each turn of the wheel. If a flipper stays still, its rod has come off — find that now. With the motor running it will look exactly like a program fault.
Sensors go in ports 1, 2, 3, 4. Motors go in ports A, B, C, D. They are not interchangeable, and nothing will tell you politely if you swap them.
This model drives along the table, and you might expect ports B and C — the driving pair. It is not a driving pair. There is one motor turning one axle, and no way to steer. Port A is right, and the reason is worth holding on to: the port follows the arrangement of motors, not whether the model happens to move.
| Part | Port | Why this one |
|---|---|---|
| Medium Motor (wheels and flippers) | A | A single motor with a job of its own. B and C are for a steerable pair, and one motor cannot steer. |
| Sensors | none | Ports 1–4 stay empty. |
Check your own build now:
Two routes, and either is fine. USB is the reliable one and the one to fall back on when a room’s Bluetooth is busy; Bluetooth leaves the robot free to move, which some models need.
Do these in order. Naming the Brick after you go looking for it in the list is how groups end up driving each other’s robots.
EV3 until somebody changes it.EV3.The two failures, every class, every time. The Brick has gone to sleep while you were building — press the centre button to wake it. Or you have paired with the group at the next table, which is why the name matters.
The long version, including Port View and how to read the port tiles, is in the Brick & Bluetooth guide.
Bluetooth is the better choice for this one. The animal travels, and a USB cable will either stop it short or drag it off course — which looks convincingly like a build fault and is not one.
One change at a time, and predict before each run. Watch the flippers rather than the body — the body only ever goes in a straight line.
Step 5 is the lesson, and it is the same lesson as the Apache two lessons ago from a different angle. What the linkage decides, the program cannot argue with.
The program owns the speed and the direction. The build owns the shape of the movement.
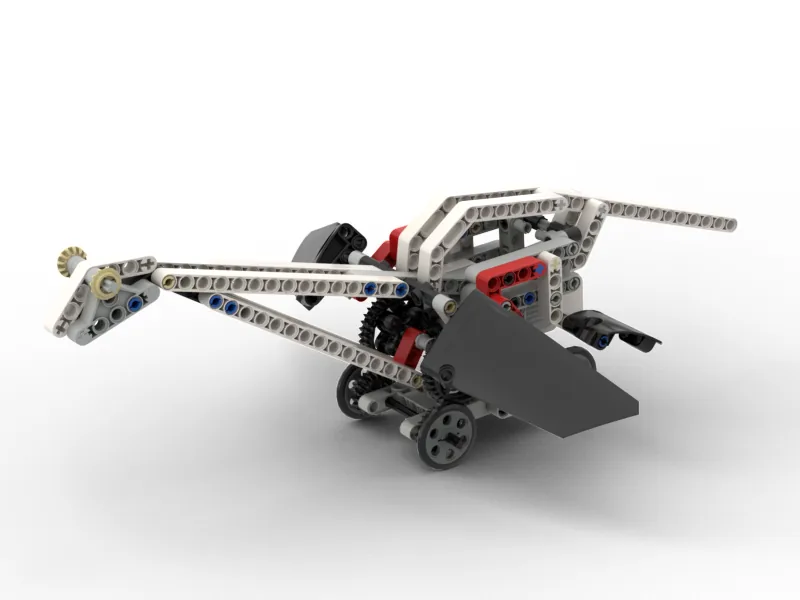
Five blocks. It is the shortest program in a long while, and that is the point of the lesson.
when program starts :: events hat
play sound [Animals / T-rex roar v] until done :: sound
[A v] set speed to (40) % :: motors
[A v] run [clockwise v] for (5) [rotations v] :: motors
play sound [Communication / Goodbye v] until done :: sound
Walk it in the order the Brick runs it:
Count the blocks that mention a flipper. It is none. Four limbs are stroking in rhythm and your program has no idea they exist. Everything they do was decided by whoever placed that pin off the centre of the wheel.
What success looks like: the animal swims forward in a straight line while all four flippers sweep in a steady beat, and stops on its own. If it curves, one side is dragging — look at the cable and the flipper rods, not at the program.
Build the model before you read any further. Everything after this is about making it do something, and none of it will make much sense with nothing on the table in front of you.
Use the viewer's own controls to zoom and turn pages. Fullscreen makes it big enough to build from.
The same build on Google Drive — sometimes a video, sometimes a scan:
Use the viewer's own controls to zoom and turn pages. Fullscreen makes it big enough to build from.
Check the finished build against the picture before you switch anything on. A motor mounted the wrong way round is far easier to spot now than it is to debug later, when it looks like a program fault.
Work through them in order — each is harder than the last. The extra challenge comes after all three, and it is meant to make you plan before you build.
Make the animal swim out and come back to where it started. It must finish on the same spot it began, facing the same way, and you may not touch it. Mark the starting position before you run it so there is no arguing about the result.
Give it a swimming behaviour with a rest in it: swim, pause, swim again, at two different speeds. The flippers must be visibly stroking at different rhythms in the two swims, and the animal should make a sound at each change so somebody watching knows a new phase has begun.
Work out the animal's stroke rate and use it. Measure how many flipper strokes happen per rotation of the motor, then write a program that swims an exact number of strokes — say twelve — and stops. Somebody should be able to count along with it and get the same number.
Make the animal swim a measured distance, and prove the number. Your Plesiosaurus has no sensors and no way of knowing where it is. Everything it does, it does by counting turns of its own motor. Your job is to turn that into distance. Plan on paper before you build. You will need to find out how far the animal travels in one rotation, and the only honest way is to measure it — several times, because it will not be the same every time. Decide what you will do about that difference before you see it. Then program it to travel a distance your teacher names, and run it once, in front of everyone, with no practice attempt. Two questions when you demonstrate it. How far off were you, and where did the error come from? And would your method still work if somebody changed the speed?