The Brick status light
The ring of light around the Brick’s buttons can be set to green, orange or red. It is the fastest possible way for a robot to say what it is doing — no reading required, visible from across the room.
Blocks reference
| Block | What it does |
|---|---|
set status light to [green v] :: display | Sets the ring to a chosen colour and carries straight on. |
set status light to [red v] :: display | The same block with a different colour picked from the dropdown. |
set status light to [orange pulse v] :: display | The three colours each have a pulse version, which flashes on and off until something changes it. A pulse reads as “busy”; a steady colour reads as “settled”. |
A colour per state
The light is most useful when each colour means one thing, consistently, for the whole program. Watch a short program set it three times as it goes.
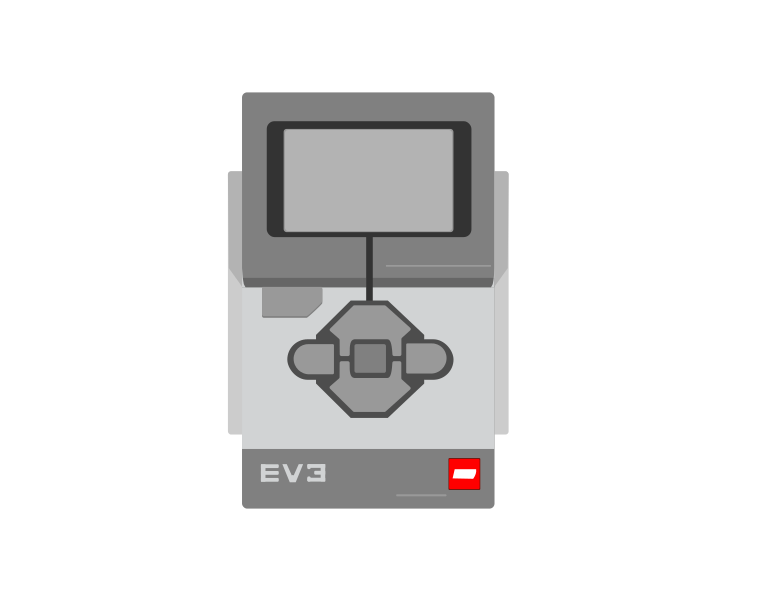
the ring around the buttons is the status light
The light is the only output here you can read without looking at the screen — which is why it is worth setting deliberately at every stage of a program.
Nothing in that program is about the light — it starts, waits for a button, turns a motor and stops. The light is simply told the truth at each stage, and the result is a robot whose state you can read without touching it. A common scheme:
- Green — ready, or running normally.
- Orange — waiting for something, or about to move. Pulsing orange is the natural choice here, because something is going on.
- Red — stopped, blocked, or finished.
Why it matters
Machines everywhere signal with colour — traffic lights, a kettle’s power light, the charging light on a laptop. It also makes debugging far easier: set the light at each stage of a program and you can see how far it got without adding a single screen message.
More output tutorials
- The Brick display — Show a picture or write text on the Brick screen.
- Sound and beeps — Play a sound or a beep, and choose whether the program waits for it.