The Brick buttons
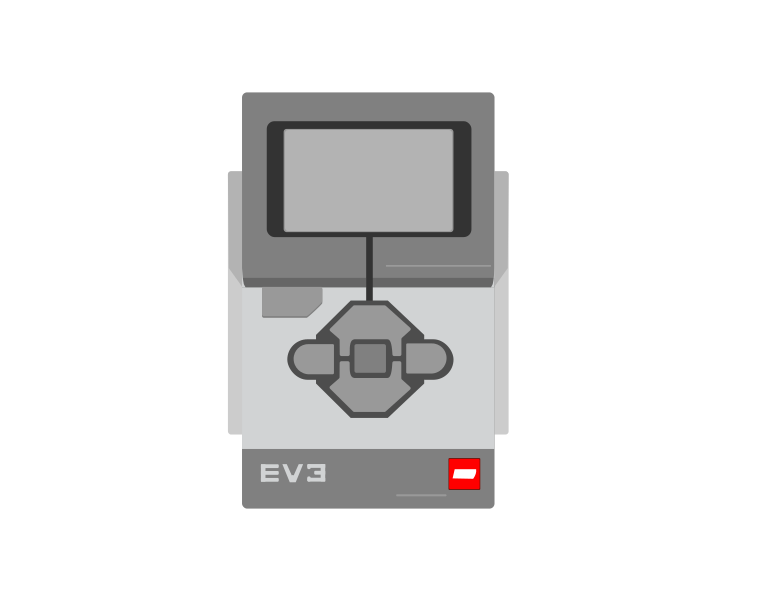
The Brick has five buttons of its own — up, down, left, right and centre. They need no sensor, no cable and no port, which makes them the easiest way to let a person tell the robot to do something.
Blocks reference
| Block | What it does |
|---|---|
when [center v] button [pressed v] :: events hat | Starts a whole stack when that button is pressed. |
wait until <is [center v] button pressed? :: sensors> | Holds an existing program until the button is pressed. |
Press to begin
A program sitting on a wait block looks exactly like a program that has crashed. Watch one wait — including through two presses of the wrong button.
the other way to do it
A program parked on a wait block looks identical to a crashed one. This is why the status light or a line on the screen is worth setting before you wait.
The wait is watching one button. Up and right change the (button) reading, and the program does not care. That reading is a number rather than a name: 0 for nothing, then 1 left, 2 centre, 3 right, 4 up, 5 down.
A hat, or a wait?
- A hat gives the button its own separate stack, which can run at any time. Good for a control the user may press whenever they like.
- A wait puts the button in the middle of a sequence. Good for “press to begin”, where nothing should happen before it.
Why it matters
Nearly every machine has a start button that is deliberately separate from switching the power on. A robot that begins moving the instant it is powered up is hard to set down and hard to test — one that waits for a press can be positioned first.
More sensing tutorials
- The Touch Sensor — Tell when the red button is pressed, released or bumped.
- The Ultrasonic Sensor — Measure how far away something is.
- The Colour Sensor — Read a colour, or read how bright a surface is.
- The Gyro Sensor — Measure how far the robot has turned.
- Reading a motor's position — Every motor is also a sensor — read how far it has actually turned.