The Colour Sensor
The Colour Sensor looks down at a surface and can answer three quite different questions: what colour is this?, how bright is this? and how light is the room? Choosing the wrong one is the usual reason a line-following robot refuses to work.
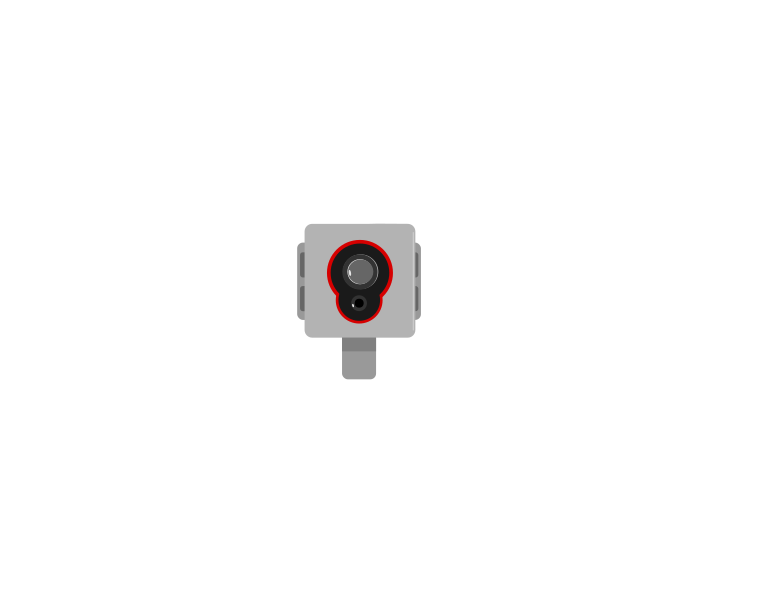 front
front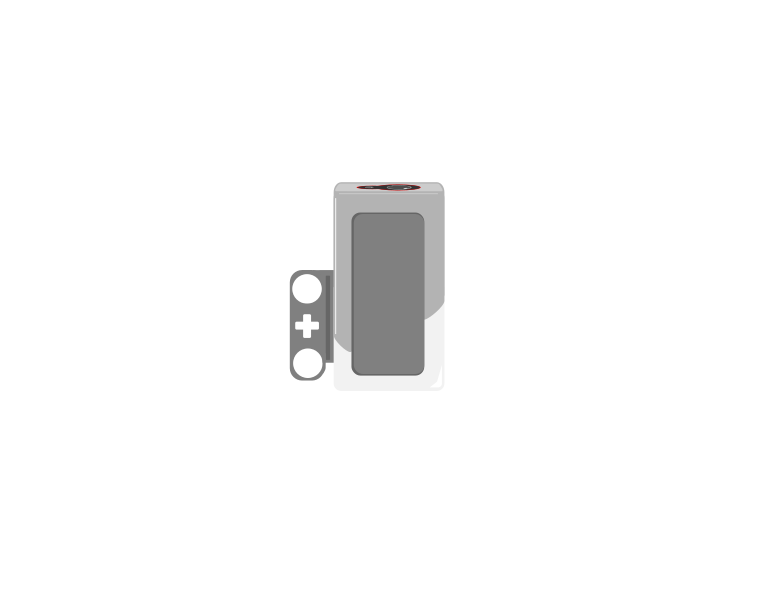 side
sideBlocks reference
| Block | What it does |
|---|---|
([3 v] color :: sensors) | Reports which colour it sees, from a short list — red, blue, green, black, white and a few more. |
([3 v] reflected light intensity :: sensors) | Reports how bright the surface is, as a number from 0 (black) to 100 (white). |
<[3 v] is color [red v]? :: sensors> | Reports true or false for one particular colour. |
([3 v] ambient light intensity :: sensors) | Reports how much light is falling on the sensor, 0 to 100, with its own lamp switched off. |
Which colour, exactly?
The sensor does not describe a colour — it picks one from a list of eight, and that list is the whole of what it can ever say:
| Reports | Means |
|---|---|
| 0 | no colour — too far away, or too dark to call |
| 1 · 2 · 3 | black, blue, green |
| 4 · 5 · 6 | yellow, red, white |
| 7 | brown |
Anything you put under it is forced into one of those eight. There is no orange and no purple: an orange brick comes back as red or as yellow, and often as red one moment and yellow the next as the robot creeps along. Light blue and grey are the other classic pair to avoid — grey is neither black nor white, so it flips between them.
This is why colour mode is a good fit for a task you control and a bad fit for one you do not. Sorting the LEGO bricks that come in the set works, because they are made in exactly these colours. Reading a printed sheet, a coloured tile from another set, or anything pastel is asking the sensor to answer a question it does not have a word for.
Two practical points follow from how it decides. It shines its own lamp and looks at how much red, green and blue comes back, so it must be close — about half a centimetre, and no more than a centimetre. Lift it and the answer decays to 0. And because it takes those three readings before it can answer, colour mode is the slowest thing this sensor does; a robot driving quickly can pass right over a small patch without ever reporting it.
When a colour must be recognised reliably, test it. Drive the robot slowly over the real surface with color shown on the screen and watch what it actually says — including what it says at the edges between two colours, which is where the wrong answers live.
Colour, or brightness?
Both questions are asked of the same surface at the same moment. Watch the two answers travel across a strip of colours and then over the edge of a black line.
Watch the two read-outs over the last third of the strip. One of them changes once. The other changes the whole way across.
Over the patches, both read-outs are useful. Over the edge of the line they part company: the colour name has only two answers to give and jumps between them, while the number slides smoothly from 88 down to 8. Every value in that slide tells you how far onto the line the sensor is — which is information the name simply does not carry.
- Use colour when the answer really is a name — sorting red bricks from blue ones, stopping on a green square.
- Use reflected light when the answer is a matter of degree — following the edge of a black line, where the useful readings are all the greys between black and white.
A line follower built on colour names only knows “black” or “not black”, so it can only lurch. Built on reflected light it can tell how far onto the line it has drifted, which is what makes smooth following possible.
The third mode: ambient light
The first two modes both switch the sensor’s own lamp on and measure what bounces back off the surface. Ambient light intensity does the opposite: the lamp goes off, and the sensor simply reports how much light is arriving from wherever — 0 in the dark, up to 100 in bright light.
| Mode | Own lamp | Measures | Points |
|---|---|---|---|
| colour | on | which of eight colours the surface is | at the surface, very close |
| reflected light | on | how much of its own light comes back | at the surface, very close |
| ambient light | off | how bright the surroundings are | wherever you want to measure |
That makes it the only one of the three that is not really about the floor. A number between 0 and 100 means very little on its own, so watch the same sensor sit through five different rooms — nothing underneath it changes at any point.
the sensor’s own lamp is off — it is measuring the room
Nothing under the sensor changed at any point in this run. Ambient light is the one mode that is not asking about the surface at all.
Those are the shape of the scale rather than exact figures, but the shape is the useful part: a lit room is nowhere near 100, and the top of the range is reserved for a light pointed straight at the sensor. Cover it with your hand and the number drops to near zero — which is the easiest way to check the sensor is doing what you think.
Point it at the ceiling and it tells you whether the room lights are on; point it forwards and a torch will spike the reading, which is a way of signalling to a robot without touching it.
Do not reach for it as a substitute for reflected light. Room light falling on a black line and on white paper is almost the same, so ambient mode can barely tell them apart — the reason reflected light works is precisely that the sensor brings its own light and measures how much of it survives.
It is also the mode most at the mercy of the room. A reading taken by a window in the morning will not match the same spot in the afternoon, so anything built on ambient light needs measuring on the day, in the place, with the lights as they will be.
Light and height matter
Even the two lamp-on modes are affected by room lighting — a reading taken by a sunny window differs from one taken in a corner. The sensor must also sit close to the surface and at a constant height, because lifting it changes the reading even though the surface has not changed.
More sensing tutorials
- The Touch Sensor — Tell when the red button is pressed, released or bumped.
- The Ultrasonic Sensor — Measure how far away something is.
- The Gyro Sensor — Measure how far the robot has turned.
- The Brick buttons — Use the five buttons on the Brick itself as an input.
- Reading a motor's position — Every motor is also a sensor — read how far it has actually turned.